
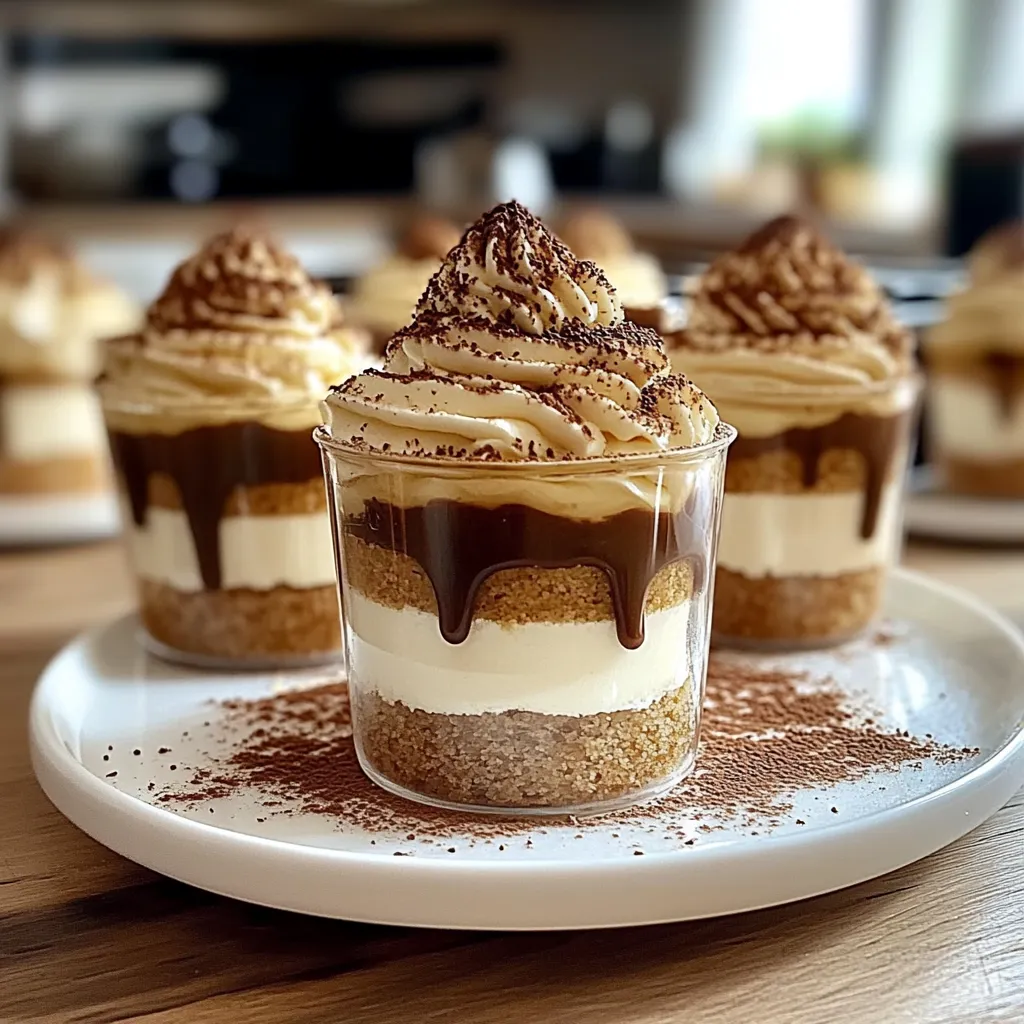
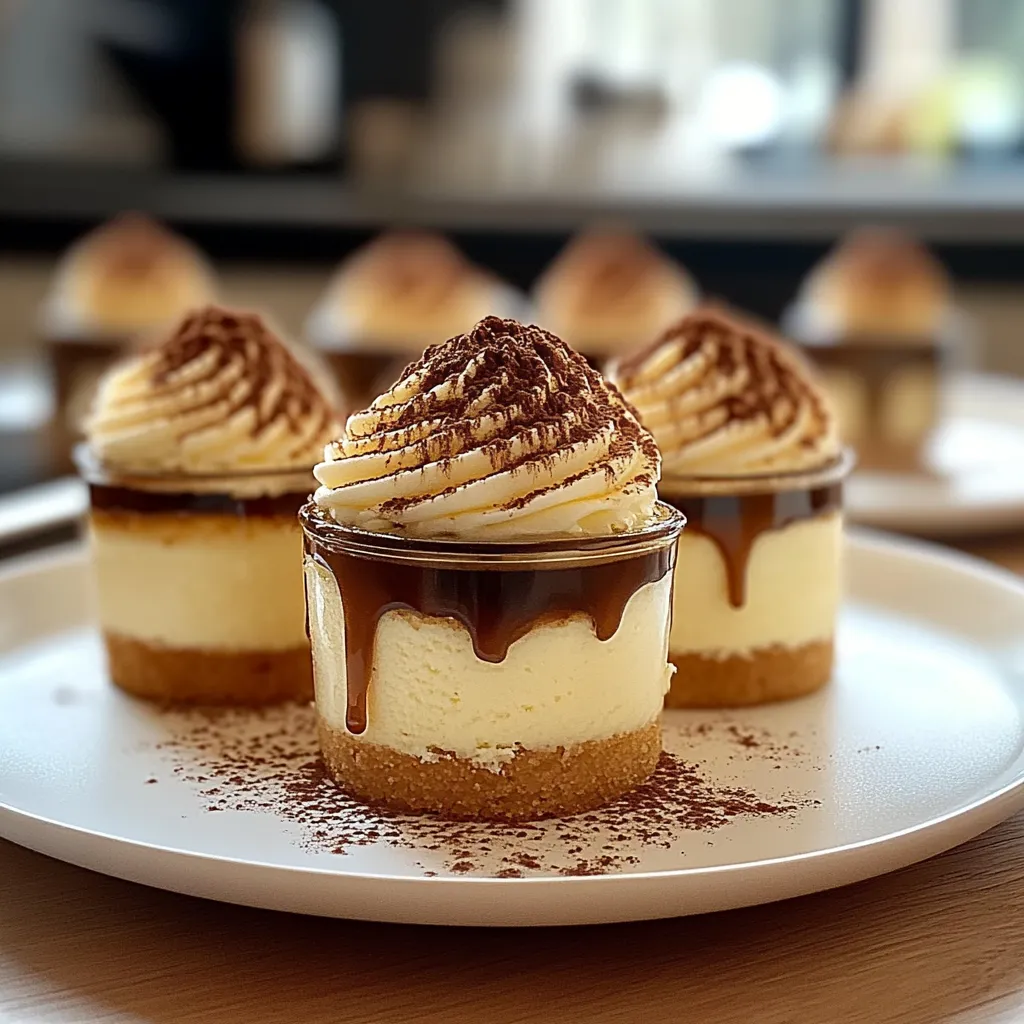
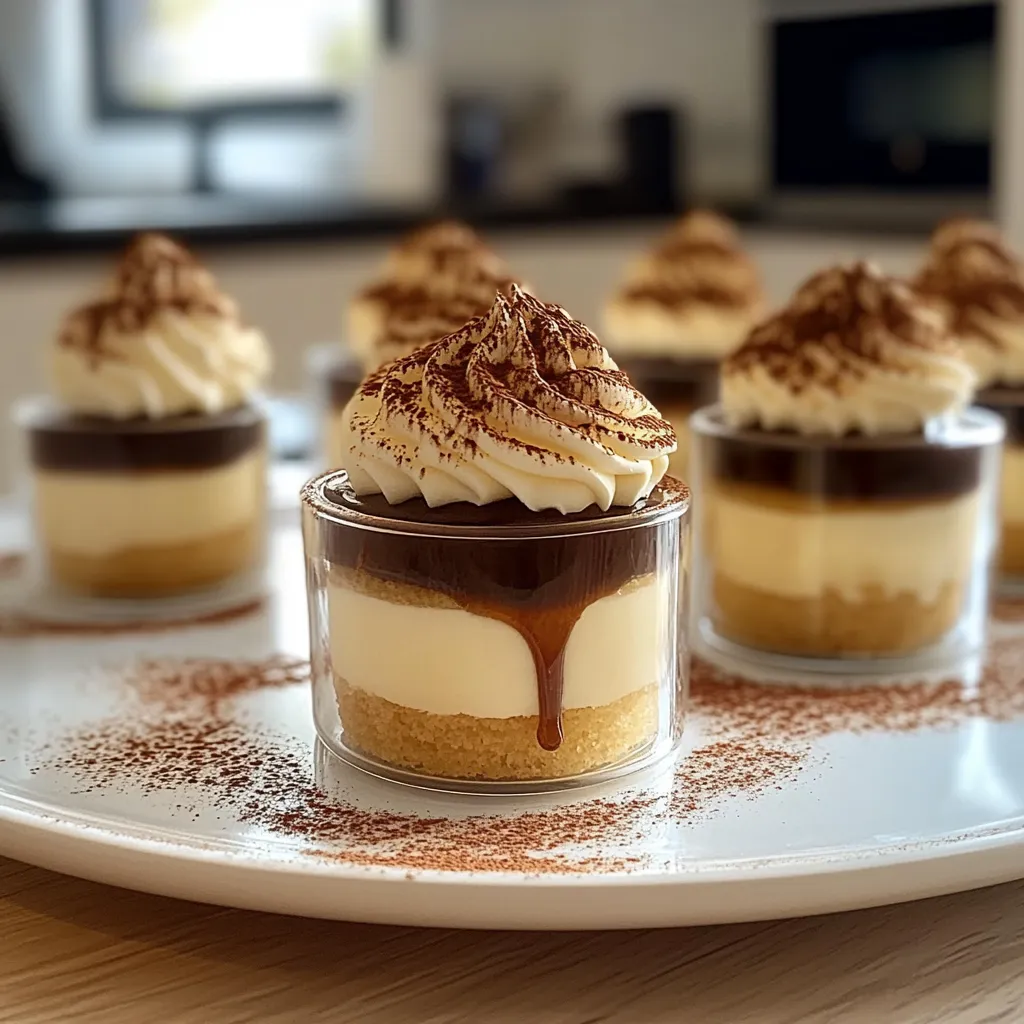
Irresistible MINI TIRAMISU CUPS Recipe for Effortless Indulgence

There’s something magical about desserts that can transport you back to cherished moments, isn’t there? Tiramisu always takes me to my grandmother’s kitchen, filled with the love and laughter of family gatherings. She’d whip up the most luxurious versions, each layer of creamy mascarpone and cocoa whispering sweet nothings into my heart. That’s what inspired me to create these delightful Mini Tiramisu Cups! They’re a modern twist on the classic and perfect for gatherings, or just to indulge yourself after a long day.
These mini cups not only capture that rich, creamy flavor, but they also bring a fun, personal touch to dessert. Whether it’s for a celebration or a cozy night in, you’ll love how easy they are to put together and how incredibly satisfying they taste! So roll up your sleeves and let’s dive into this delightful world of Mini Tiramisu Cups.
Why You’ll Love This Recipe
- Quick & Easy: No baking required! Just layer and chill, making them perfect for busy weeknights or last-minute guests.
- Engaging Presentation: Individual servings make them as cute as they are delicious—perfect for any gathering!
- Classic with a Twist: Comforting traditional flavors in a fun, modern format that everyone will love.
- Customizable: You can adapt them to suit dietary needs or try out different flavors—think chocolate or fruit-infused twists!
Ingredients
- 1 cup strong brewed coffee, cooled (preferably espresso)
- 3 tablespoons coffee liqueur (optional, but highly recommended!)
- 1 cup heavy cream, chilled
- 8 oz mascarpone cheese, at room temperature
- 1/2 cup granulated sugar
- 1 teaspoon vanilla extract
- 24 ladyfinger cookies (savoiardi)
- Cocoa powder, for dusting
- Dark chocolate shavings or coffee beans (for garnish, optional)
Note: Using fresh coffee is key here—instant coffee just can’t rival that rich flavor! And if you wish to skip the alcohol, feel free to omit the coffee liqueur.
Step-by-Step Instructions
- Brew Your Coffee: Start off by brewing your coffee (or espresso, if you’re feeling fancy) and letting it cool. You’ll want it strong because it needs to pack flavor in small cups!
- Whip the Cream: In a spacious mixing bowl, whip the chilled heavy cream until stiff peaks form. It’s like watching clouds turn into fluffy mountains—so satisfying!
- Mix the Mascarpone: In another bowl, whisk together the mascarpone cheese, sugar, and vanilla extract until smooth and creamy. Make sure there are no lumps—just imagine spreading thick frosting on a cake!
- Combine Mixtures: Gently fold the whipped cream into the mascarpone mixture. Use a spatula and be careful not to overmix it; you want that airy texture to stay! Think of it as a gentle hug for the cream.
- Dunk the Ladyfingers: Mix the cooled coffee and coffee liqueur in a shallow dish. Quickly dip each ladyfinger into the coffee mixture, ensuring it’s soaked but not soggy. A quick dip—like a little swim in the coffee pool!
- Layer It Up: In dessert cups or small glasses, create a layer with the soaked ladyfingers. Top with a layer of the mascarpone mixture. Repeat the layers until you reach the top. Finish with a final layer of mascarpone—like the perfect hat on your favorite outfit!
- Chill: Cover the cups with plastic wrap and pop them in the fridge for at least 4 hours, or preferably overnight. This is the hardest part—waiting! But trust me, it’s so worth it.
Pro Tips & Variations
- Flavor Twists: Try adding a layer of chocolate mousse or a fruit puree like raspberry between the layers for something a bit different!
- Test Textures: For a crunch, sprinkle crushed nuts, like hazelnuts or pistachios, between the layers.
- Dairy-Free Option: Swap the mascarpone for a vegan cream cheese alternative and use coconut cream as a substitute for heavy cream.
- Espresso Shot: For an extra caffeine kick, add a shot of espresso into the coffee layer!
Remember, this is your Mini Tiramisu Cups! Feel free to get creative and make them truly yours!
Serving Suggestions
These Mini Tiramisu Cups are absolute showstoppers on a dessert table! I love serving them alongside steaming cups of coffee or a robust cappuccino—like a little Italian café moment in the comfort of your home. For an extra touch of sweetness, pair them with a few chocolate biscotti on the side. When it comes time to serve, dust a light sprinkle of cocoa powder on top, maybe a few dark chocolate shavings or a single coffee bean for a dash of elegance. You can even set them out on a pretty tray to make your guests feel special, because who doesn’t deserve a little pampering?
Storage Tips
These luscious cups can be stored in the fridge for up to 3 days, making them a great make-ahead dessert. Just ensure they are covered well to keep the flavors vibrant. If you need to make them ahead of time, I recommend preparing the layers separately, and assembling them closer to when you’ll be serving—this keeps your ladyfingers perfectly intact and the textures just right!
If you find yourself with leftover cups (which, let’s be honest, is a rare occurrence), you can pop them in the freezer and enjoy them later, though the texture may change a bit! Just let them thaw in the fridge overnight before serving again. They’ll still taste divine!
FAQs
Can I make Mini Tiramisu Cups ahead of time?
Absolutely! In fact, they taste better when they have a chance to chill in the fridge, allowing the flavors to meld beautifully. Just follow the assembly instructions, cover them well, and pop them in the fridge for up to three days for the best flavor.
Do I really need to use ladyfinger cookies?
While ladyfingers are traditional and provide that classic tiramisu texture, if you’re in a pinch, you can use pound cake or even graham crackers as a substitute. Just remember to dunk them for that coffee flavor infusion!
Can I make these Mini Tiramisu Cups gluten-free?
Yes! You can use gluten-free ladyfingers, or swap in gluten-free cookies of your choice to keep it delicious and safe for your friends with gluten sensitivities. Just be sure to check that all your ingredients are gluten-free.
What if I don’t like coffee?
No worries at all! You can replace the coffee layer with a mix of chocolate milk or even a fruit puree like strawberry or passionfruit to create a delightful variation. The key is keeping the creamy mascarpone layer intact—everything else is open for your personal touch!
Conclusion
And there you have it—Mini Tiramisu Cups that burst with love and flavor, and bring a bit of that warm Italian café charm into your home. I hope you dive in and give this recipe a try! As you indulge in these creamy delights, I’d love to hear how they turn out for you. Did you put your own spin on it? Share your thoughts, and let’s keep the conversation going! Happy cooking and sweeten your days with these little treasures!
Print
Irresistible MINI TIRAMISU CUPS Recipe for Effortless Indulgence
- Total Time: 4 hours 20 minutes
- Yield: 6 servings 1x
Description
Savor the delightful MINI TIRAMISU CUPS This simple recipe brings irresistible indulgence without the fuss Perfect for any occasion
Ingredients
Instructions
Notes
Delicious Mini Tiramisu Cups that are quick and easy to make, perfect for gatherings or an indulgent treat.
- Prep Time: 20 minutes
- Category: Dessert
- Cuisine: Italian
Nutrition
- Serving Size: 6 servings
- Calories: 250
- Sugar: 15g
- Fat: 15g
- Carbohydrates: 25g
- Fiber: 1g
- Protein: 4g
Keywords: Mini Tiramisu Cups, dessert, Italian dessert, tiramisu, easy dessert recipes