
Decadent Crustless Pumpkin Pie Recipe Easy Delicious
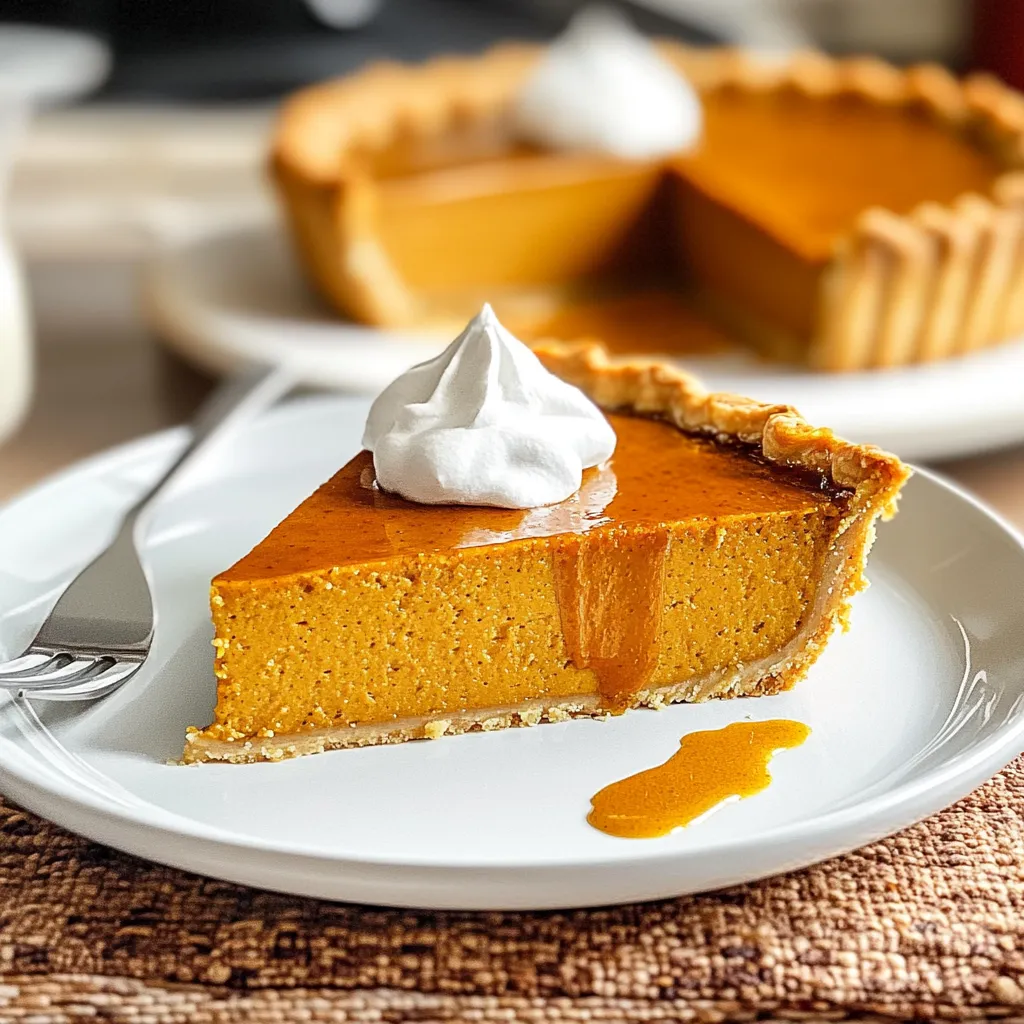
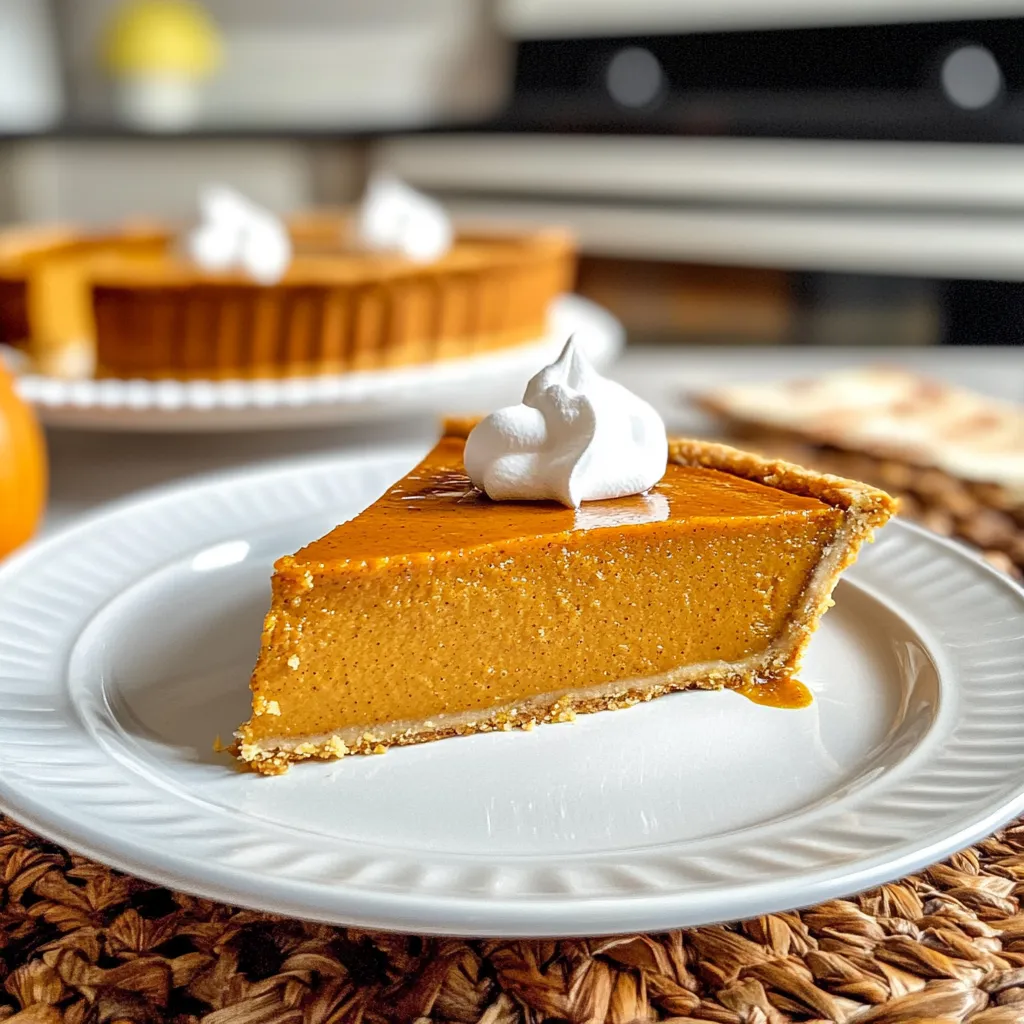
As the air turns crisp and the leaves begin to sprinkle down like confetti, I can’t help but feel a warm nostalgia wash over me. There’s something magical about fall—the rich colors, the cozy sweaters, and the aroma of spiced treats wafting through our homes. One dish that always brings back fond memories of the season is Crustless Pumpkin Pie. A delightful alternative to its traditional counterpart, this pie is not only easier to make but also allows the aromatic flavors of pumpkin and spices to shine through without the distractions of a heavy crust.
Growing up, my mother held this magical pie recipe close to her heart, whipping it up whenever family gathered for celebrations or simply a cozy weekend in. The creamy, velvety texture and the warm spices made it feel like a hug in a slice, and it quickly became a staple in my own kitchen. So grab your measuring cups and let’s make this comforting Crustless Pumpkin Pie together!
Why You’ll Love This Recipe
- 🌿 Easy to make: No pie crust means less fuss! Perfect for kitchen novices.
- 🍽️ Healthy option: Lower in calories and carbs, but packed with pumpkin goodness and flavor.
- ✨ Deliciously spiced: A cozy hug of cinnamon, nutmeg, and ginger awaits you.
- 💵 Budget-friendly: Made with pantry staples that won’t break the bank.
Ingredients
Here’s what you’ll need to craft this delectable Crustless Pumpkin Pie:
- 1 can (15 oz) pumpkin puree (not pie filling)
- 3/4 cup granulated sugar
- 3 large eggs
- 1 can (12 oz) evaporated milk
- 1 teaspoon vanilla extract
- 2 teaspoons ground cinnamon
- 1/2 teaspoon ground nutmeg
- 1/2 teaspoon ground ginger
- 1/4 teaspoon salt
- 1/2 teaspoon baking powder
📌 Note: Make sure to use pure pumpkin puree for the best flavor—it’s worth it! Don’t try to substitute with fresh pumpkin without cooking and pureeing it first; it will alter the flavor and texture.
Step-by-Step Instructions
Let’s roll up our sleeves and dive into making this creamy delight!
- Preheat your oven: Set your oven to 350°F (175°C). This gives it time to warm up, ensuring your pie bakes evenly.
- Mix your wet ingredients: In a large mixing bowl, whisk together the pumpkin puree, sugar, and eggs. Making sure there are no lumps is key to a silky smooth pie!
- Add the milk: Gradually stir in the evaporated milk and vanilla extract. This is where the magic starts to happen as your batter becomes creamy and fragrant!
- Spice it up: In a separate bowl, combine the cinnamon, nutmeg, ginger, salt, and baking powder. Mix well and then fold it into the wet mixture.
- Blend until smooth: Give everything a good whisk until your batter is fully combined and creamy. Remember, do not overmix! Just mix until all ingredients are combined nicely.
- Prepare your baking dish: Grease a 9-inch pie dish or a similar-sized baking pan with cooking spray or butter.
- Pour the batter: Pour the mixture into the greased dish, making sure it’s evenly distributed.
- Bake: Pop it in the oven and bake for about 60 minutes, or until the center is set and a toothpick inserted into the center comes out clean. The top might crack a bit, and that’s perfectly okay—it adds to the rustic charm!
- Cool and serve: Remove your pie from the oven and allow it to cool for at least 30 minutes before slicing. This step is important because the pie continues to set as it cools.
Pro Tips & Variations
Now that you’re a pumpkin pie pro, let’s get creative! Here are some fun twists to add your personal touch:
- Spice it up: Try adding a pinch of cloves or allspice for an extra depth of flavor!
- Nutty topping: Before baking, sprinkle a handful of chopped pecans or walnuts on top for an added crunch. They’ll toast beautifully while baking!
- Dairy swaps: If you’re vegan or lactose-intolerant, substitute the eggs with a flaxseed mixture (1 tablespoon of ground flaxseed with 2.5 tablespoons of water) and use a non-dairy milk alternative.
- Sweeten things up: If you prefer a different sweetness level, consider using maple syrup instead of granulated sugar for a more caramelized flavor.
Serving Suggestions
Once your Crustless Pumpkin Pie is good to go, you’re in for a treat! Here’s how I love to serve it:
- ❤️ With whipped cream: A dollop of fluffy whipped cream on top is a classic choice! You can even sprinkle a little cinnamon on top for that extra flair.
- ☕ With coffee: Enjoy this warm slice with a hot cup of coffee or spiced chai—such a cozy combo!
- 🍨 With ice cream: If you’re feeling indulgent, a scoop of vanilla or cinnamon ice cream pairs perfectly with the spiced pumpkin flavors.
- 🥄 As a breakfast treat: Yes, I said it! This pie is delightful for breakfast, served alongside yogurt and fresh fruit.
Storage Tips
Now, I can’t imagine there will be any leftovers, but just in case, here’s how to keep your Crustless Pumpkin Pie fresh:
- Refrigeration: Store slices in an airtight container in the fridge for up to 5 days. It can also be covered with plastic wrap or foil.
- Freezing: If you want to enjoy it later, place slices in freezer-safe bags and freeze for up to 3 months. Just make sure to layer parchment paper in between slices to prevent sticking.
- Reheating: To reheat, place slices in the microwave for about 15-20 seconds or warm them gently in the oven at 350°F (175°C) for about 10 minutes.
FAQs
Can I use fresh pumpkin instead of canned pumpkin puree?
Absolutely! If you prefer fresh pumpkin, make sure to roast it first, scoop out the flesh, and blend until smooth. Just be careful with the moisture; canned pumpkin has a more concentrated consistency. You may need to adjust the baking time slightly.
Why does my pie have cracks on top?
Cracks are somewhat common, especially with crustless pies. They can happen if the filling bakes too quickly, or if it’s overmixed. The good news? They don’t affect the taste at all; they just add character!
Can I make this pie ahead of time?
Definitely! This pie actually tastes better after a day or two as the flavors deepen. You can make it 1-2 days in advance and store it in the refrigerator. Just give it a little time to come to room temperature before serving.
Is this pie gluten-free?
Yes! Since there is no crust, this Crustless Pumpkin Pie is naturally gluten-free, making it a great option for those with gluten sensitivities.
What’s the best way to serve leftovers?
The best way to enjoy leftovers is to warm them up slightly and serve them with whipped cream or ice cream. It’s the perfect worry-free snack!
Conclusion
And there you have it! Your very own Crustless Pumpkin Pie that is sure to warm your heart and home this fall. I hope you enjoy this recipe as much as my family and I do. Please share your experiences in the comments below—I’d love to hear about your twists or how you serve it! Happy baking and warm wishes to you and yours! 🍂🥧
Print
Decadent Crustless Pumpkin Pie Recipe Easy Delicious
- Total Time: 75 minutes
- Yield: 8 servings 1x
Description
Savor the flavors of a delicious crustless pumpkin pie with this easy recipe perfect for the fall season and holiday gatherings 154 chars
Ingredients
Instructions
Notes
A delightful alternative to traditional pumpkin pie, this Crustless Pumpkin Pie brings the flavors of pumpkin and spices front and center without the fuss of a crust.
- Prep Time: 15 minutes
- Cook Time: 60 minutes
- Category: Dessert
- Cuisine: American
Nutrition
- Serving Size: 8 servings
- Calories: 180
- Sugar: 12g
- Fat: 8g
- Carbohydrates: 24g
- Fiber: 2g
- Protein: 4g
Keywords: crustless pumpkin pie, pumpkin pie recipe, fall dessert