
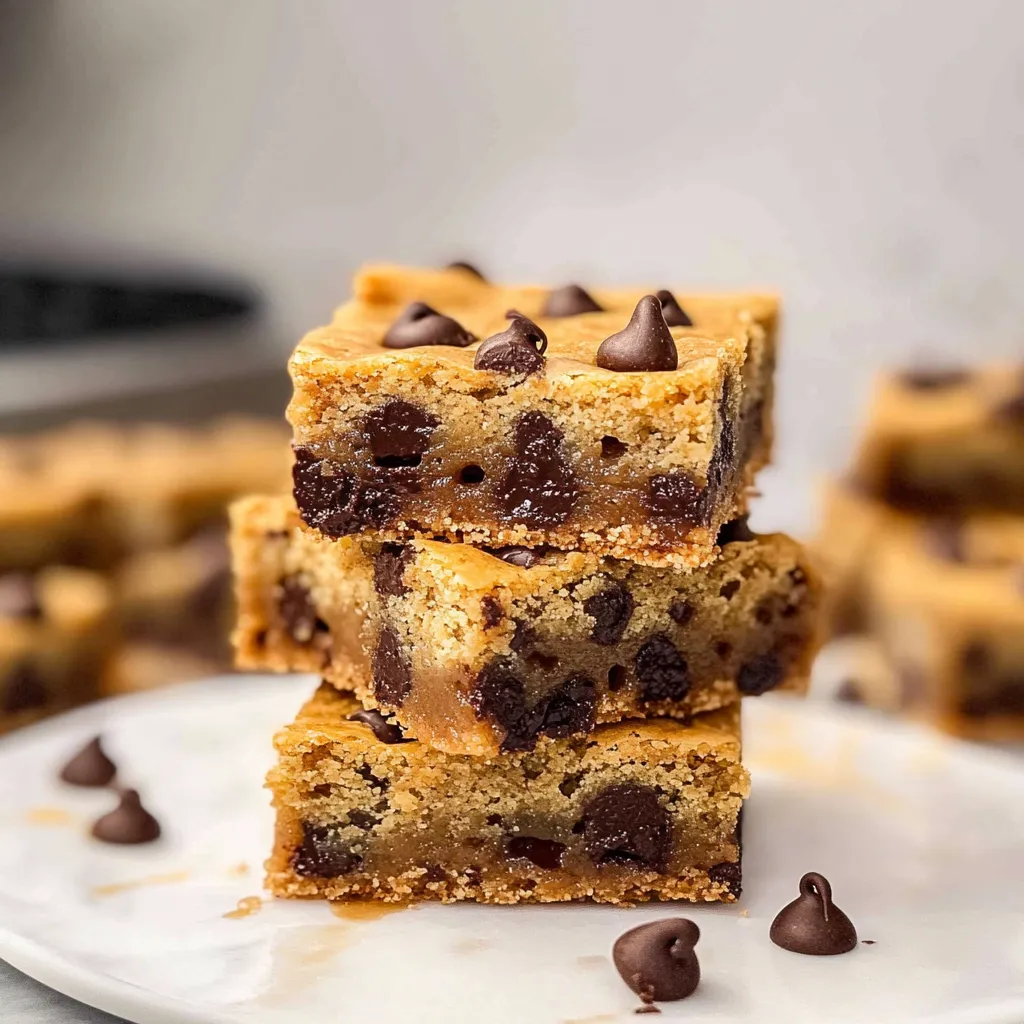
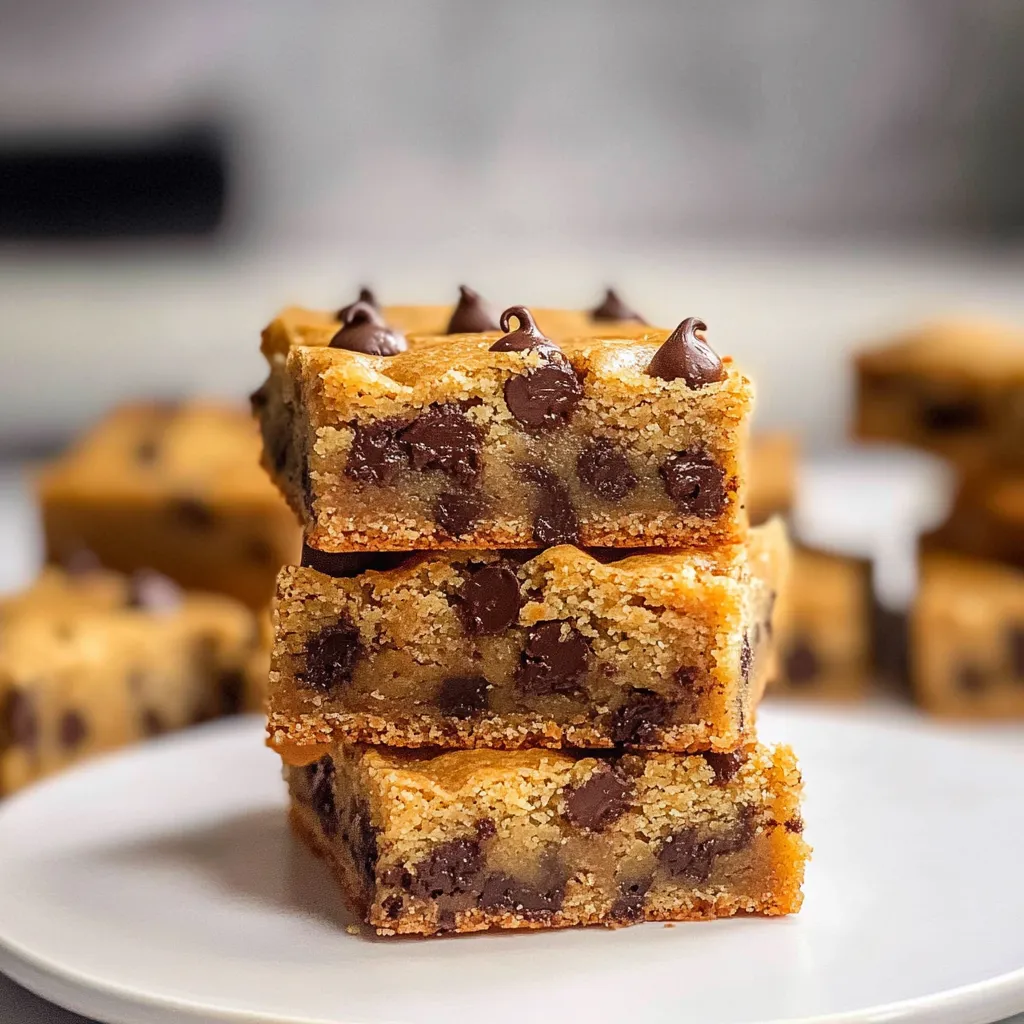
Irresistible Chocolate Chip Cookie Bars Recipe Easy Delicious
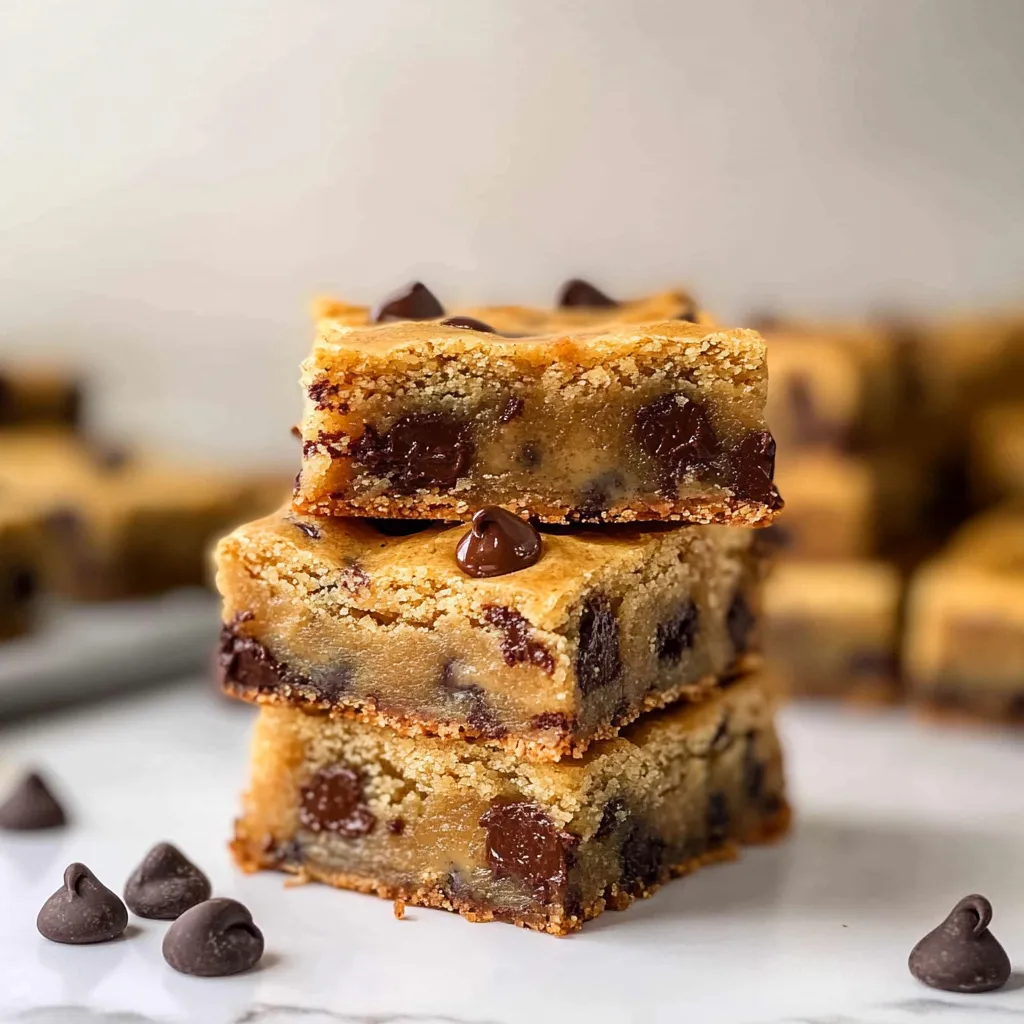
Ah, chocolate chip cookies—the holy grail of desserts! I can still remember coming home from school and being greeted by the warm, cozy smell of cookies baking in the oven. My mom would usually have a batch ready to go, their edges crisp and their centers delightfully gooey. Nothing quite compares to the charm of that sweet anticipation! Today, I’m excited to share with you a delightful twist on the classic treat: Chocolate Chip Cookie Bars. They’re just as delicious as cookies but way easier to prepare. No more worrying about imperfectly shaped cookies or having to keep track of baking sheets! Just one pan, easy cutting, and hop right into that chocolatey goodness.
Why You’ll Love This Recipe
- Easy to make—perfect for a weeknight treat!
- No cookie scooping necessary—just pour and bake!
- Chewy, gooey texture that’s totally irresistible.
- Customize it with your favorite mix-ins!
- Great for sharing—perfect for parties or potlucks.
Ingredients
Let’s gather our goodies! You probably have many of these ingredients hiding in your pantry right now. Here’s what you need:
- 1 cup (2 sticks) unsalted butter, melted.
- 1 cup brown sugar, packed (this gives them that chewy goodness!).
- 1/2 cup granulated sugar.
- 2 large eggs.
- 2 teaspoons vanilla extract.
- 2 1/4 cups all-purpose flour.
- 1 teaspoon baking soda.
- 1/2 teaspoon salt.
- 2 cups semi-sweet chocolate chips (or more if you’re feeling indulgent!).
Step-by-Step Instructions
All right, folks! It’s time to get baking. Here’s how to whip up these delicious Chocolate Chip Cookie Bars:
- Preheat the oven. Preheat your oven to 350°F (175°C). This is the perfect time to get your kitchen filled with that delightful baking scent!
- Prepare your pan. Grease a 9×13-inch baking dish with cooking spray or line it with parchment paper for easy removal later. Trust me, you’ll want to get every last bit of that cookie goodness out!
- Melt the butter. In a large mixing bowl, melt the butter in the microwave or on the stovetop. Let it cool slightly. It should be warm but not hot, so don’t burn yourself!
- Add the sugars. Stir in the brown sugar and granulated sugar until well combined. The mixture should be thick and glossy.
- Add eggs and vanilla. Crack your eggs into the bowl one at a time, mixing well after each addition. Then, stir in the vanilla extract—oh, that smell!
- Mix the dry ingredients. In a separate bowl, whisk together the flour, baking soda, and salt. This step ensures that the leavening agent is evenly distributed.
- Combine wet and dry ingredients. Gradually add the dry mixture to the wet, stirring until just combined. Pro Tip: Don’t overmix! We want to keep those cookie bars light and tender.
- Fold in chocolate chips. Grab your chocolate chips and gently fold them into your batter. This is where your cookie bars go from good to “I need to eat the whole pan!”
- Spread the batter. Pour the mixture into your prepared baking dish and use a spatula to spread it evenly. Don’t worry about making it perfect; the bars will spread in the oven!
- Bake! Pop the pan in the oven and bake for 20-25 minutes. You’ll know they’re done when the edges are golden brown and a toothpick inserted in the center comes out with a few moist crumbs (that’s how we want them!).
- Cool and cut! Let the cookie bars cool in the pan for about 10-15 minutes. Then, carefully lift them out using the parchment paper (if you used it) and cut them into squares. The hardest part? Waiting for them to cool completely before taking a bite!
Pro Tips & Variations
Here’s where you can get creative! Think of this as your flavor playground:
- Nuts: Want a little crunch? Toss in a cup of chopped walnuts or pecans.
- Mint Chocolate Chip: Swap in mint-flavored chocolate chips for a refreshing twist.
- Peanut Butter Swirl: Add spoonfuls of creamy peanut butter to the batter before baking for an unforgettable taste.
- Gluten-Free Option: Use a gluten-free all-purpose flour blend. Just make sure it includes xanthan gum for the best texture!
- Mix-ins: Feel free to throw in some dried cranberries, coconut flakes, or even colorful sprinkles for a fun party vibe!
Serving Suggestions
Here’s how I love to serve these cookie bars: warm, with a scoop of vanilla ice cream on top. Can you just imagine the melty chocolate goodness with that cold creaminess? You could also pair them with a rich cup of coffee or a glass of cold milk, which, let’s be honest, is a classic combo. They’re such a hit at gatherings or cozy nights in. You can even serve them in a colorful dish to really brighten up the table!
Storage Tips
Not that these bars will last long, but just in case you have leftovers (lucky you!), here’s how to store them:
- Room Temperature: Keep them in an airtight container at room temperature for up to 5 days. You can also place a slice of bread in the container to help keep them soft!
- Refrigeration: If you prefer them chilled, you can refrigerate them for about a week.
- Freezing: To freeze, wrap individual squares tightly in plastic wrap and then place them in a freezer-safe bag. They’ll stay tasty for up to 3 months. Just let them thaw at room temperature when you’re ready to indulge!
FAQs
Can I use unsalted butter instead of salted butter?
Absolutely! Just remember to add a pinch more salt to the recipe if you want to keep the flavor balance.
What if I don’t have brown sugar?
No worries! You can make your own by mixing granulated sugar with a tablespoon of molasses for each cup of brown sugar needed. It works like a charm!
How can I tell when the cookie bars are done baking?
Look for a golden edge and a center that looks set but still slightly soft. A toothpick inserted in the center should come out with a few moist crumbs—perfectly chewy!
Can I add different types of chocolate chips?
Of course! Feel free to mix dark chocolate, white chocolate, or even butterscotch chips for a taste explosion. Get playful with it!
How do I make these dairy-free?
Substitute the butter with your favorite dairy-free alternative, and make sure to use dairy-free chocolate chips. Easy peasy!
Conclusion
I hope these Chocolate Chip Cookie Bars bring a smile to your face and fill your kitchen with warmth and happiness. They’re perfect for sharing, but let’s be real, you might want to keep them all to yourself! I’d love to hear how your bars turn out, or if you try any fun variations. Drop a comment and let me know—happy baking, friend!
Irresistible Chocolate Chip Cookie Bars Recipe Easy Delicious
Description
Bake easy delicious chocolate chip cookie bars with this mouthwatering recipe Perfect for any gathering or a sweet treat at home 154 chars