
Indulge in Decadent Red Velvet Snowballs Irresistible Treats
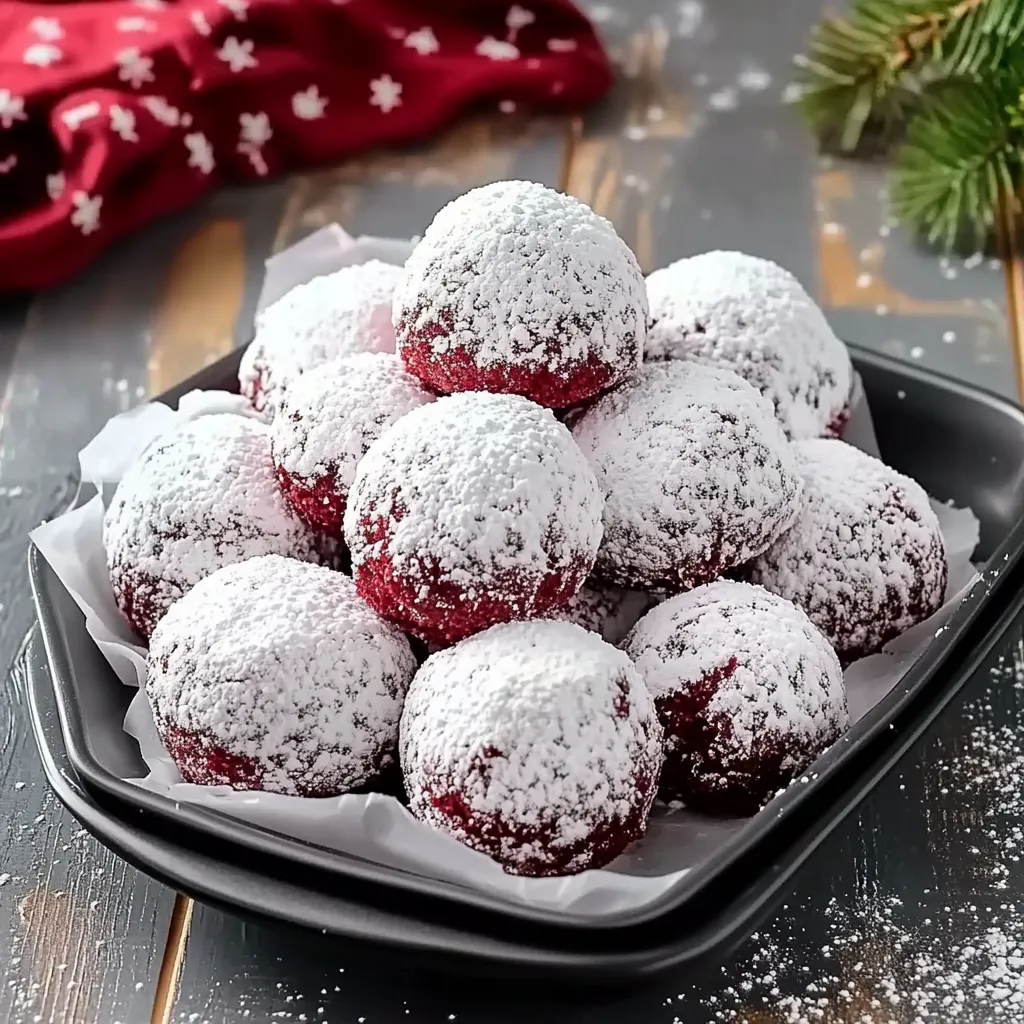
There’s something incredibly magical about the holiday season that makes me feel all warm and fuzzy inside. Maybe it’s the twinkling lights that line the streets or the smell of gingerbread wafting through the air. But for me, nothing quite encapsulates the spirit of comfort and joy like a batch of freshly baked Decadent Red Velvet Snowballs. These delightful treats are like little bites of happiness, soft and sweet, enrobed in a blanket of powdered sugar that looks like freshly fallen snow. They remind me of cozy gatherings around the fireplace, hot cocoa in hand, laughter echoing in the background—pure bliss!
Every holiday season, I whip up these beauties, and they never fail to impress. Whether they’re gracing the dessert table at a party or standing alone as a sweet surprise for my family, the vibrant color and luscious taste always steal the show. Plus, they’re surprisingly simple to make, so let’s dive in together!
Why You’ll Love This Recipe
- Irresistibly soft and luscious texture that’s melt-in-your-mouth good!
- Stunning red color makes them perfect for festive occasions.
- Super easy to whip up, no prior baking experience required!
- Great for making ahead of time—perfect for busy holiday schedules.
- Deliciously versatile! You can even switch up the flavors or decorations!
Ingredients
Before we get our hands doughy, here’s what you’ll need:
- 2 ½ cups all-purpose flour
- 1 cup unsweetened cocoa powder (the darker the better!)
- 1 cup sugar
- 1 teaspoon baking soda
- ½ teaspoon salt
- 1 cup vegetable oil
- 1 cup buttermilk, room temperature (homemade is great—add a tbsp of vinegar to regular milk and let sit for 10 mins!)
- 2 large eggs, preferably at room temperature
- 1 tablespoon vanilla extract
- 1 tablespoon red food coloring (use gel for a more vibrant color)
- 1 cup powdered sugar for rolling
Step-by-Step Instructions
Alright, let’s get to the fun part—making these gorgeous snowballs! Follow along, and don’t be afraid to laugh a little if you make a mess. It’s all part of the fun!
- Preheat Your Oven: Set your oven to 350°F (175°C). We want it nice and toasty for our snowballs!
- Mix Dry Ingredients: In a large mixing bowl, sift together the flour, cocoa powder, sugar, baking soda, and salt. This helps aerate the flour and ensures you won’t have any clumps. Give it a good whisk to combine.
- Mix Wet Ingredients: In a separate bowl, combine the vegetable oil, buttermilk, eggs, vanilla extract, and red food coloring. Whisk until nice and smooth—this should be vibrant and beautiful!
- Combine: Gradually add the wet ingredients to the dry ingredients, stirring gently until just combined. Remember, we don’t want to overmix here! A few lumps are perfectly fine.
- Chill the Dough: Cover the bowl with plastic wrap and refrigerate for about 30 minutes. This step is crucial! It helps the dough firm up, making it easier to scoop.
- Shape the Cookies: Once chilled, take spoonfuls of dough (about a tablespoon) and roll them into balls. Don’t worry if they’re not perfect—each one will have its own character!
- Bake: Place the snowballs on a lined baking sheet and bake for 12-15 minutes, or until they’re just set. They will still look slightly soft in the middle, which is what we want for that melt-in-your-mouth texture.
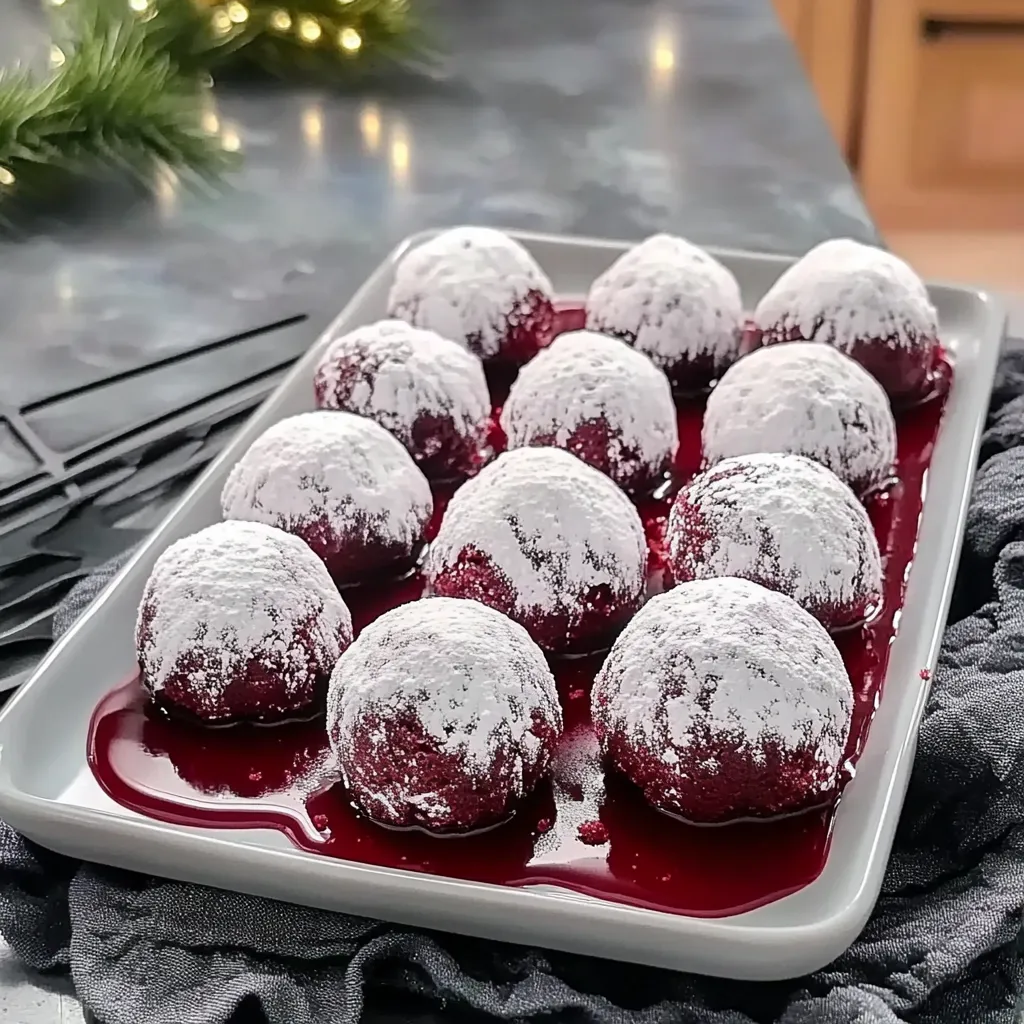
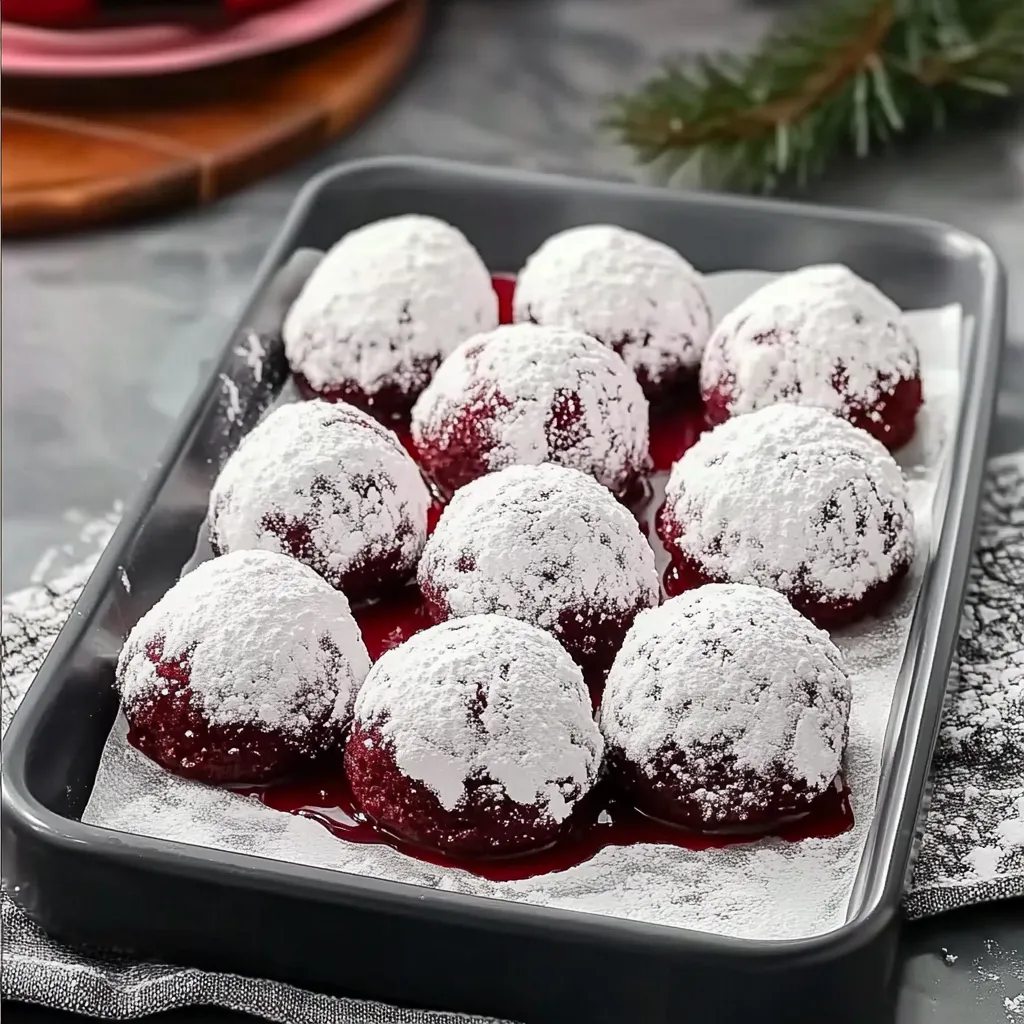
- Cool and Dust: Let them cool on the baking sheet for a few minutes, then transfer to a wire rack to cool completely. Once cooled, roll the snowballs in powdered sugar until they’re beautifully coated—just like winter snow!
Pro Tips & Variations
Here’s where the fun really begins! You can take these snowballs and spin them into something uniquely yours:
- Flavor Twists: Add a teaspoon of almond extract for a nutty twist, or mix in some mini chocolate chips for extra sweetness in every bite.
- Diet Swaps: Want to make these gluten-free? Just substitute the all-purpose flour with a gluten-free blend!
- Festive Toppings: Experiment with toppings! Drizzle melted white chocolate on top for a super indulgent finish, or sprinkle with crushed peppermint candies for a holiday vibe.
Serving Suggestions
When it comes to serving, I love to place these Decadent Red Velvet Snowballs on a festive platter and pair them with a cup of strong coffee or a sweet peppermint hot cocoa. Imagine inviting friends over, the smell of fresh coffee mingling with the sweet scent of these baked beauties—a perfect afternoon treat. They also work wonderfully as a centerpiece for a holiday dessert table. Just picture it: sugar-coated snowballs surrounded by twinkling lights and warm, glowing candles. It’s pure magic!
Storage Tips
If there are any snowballs left (which is often rare in my house!), storing them is easy-peasy:
- Room Temperature: Place them in an airtight container at room temperature for up to 3 days. They’ll stay soft and delicious!
- Refrigeration: You can refrigerate them, but they’ll dry out a little. If you must, keep them sealed and enjoy within a week.
- Freezing: Absolutely! These snowballs freeze beautifully. Just place them in a single layer on a baking sheet to freeze, then transfer to a freezer bag or container. They’ll last up to 3 months. Let them thaw at room temperature, and just before serving, dust them with powdered sugar again for that fresh look!
FAQs
Can I use cake flour instead of all-purpose flour?
Absolutely! Using cake flour will give these snowballs an even softer texture, which can be quite delightful. Just remember that cake flour absorbs less moisture, so keep an eye on the dough consistency.
Is there a way to make these snowballs without using food coloring?
Definitely! While the red color is iconic, you can skip the food coloring altogether. They will still taste fantastic, just with a chocolatey twist on the classic snowball.
Can I make these snowballs ahead of time?
You bet! These treats are perfect for making ahead of time. They can be stored in an airtight container for a few days or frozen for longer. Just make sure to roll them in powdered sugar right before serving for that fresh finish.
What should I do if my dough is too sticky?
No worries! If your dough feels too sticky after chilling, simply add a bit more flour, one tablespoon at a time, until you reach a workable consistency. Just ensure not to add too much or it can affect the texture!
Can I add nuts to the dough?
Of course! Chopped pecans or walnuts would add a lovely crunch and flavor. Just be mindful not to overpower the delicate red velvet taste. Fold them in gently after combining your wet and dry ingredients.
Conclusion
I hope you’re as excited to make these Decadent Red Velvet Snowballs as I am to share them with you! Each bite is a reminder of cozy gatherings and joyful celebrations. If you try this recipe, please let me know how it turns out! I’m always eager to hear your stories and see your beautiful creations. Happy baking, my friend, and may your kitchen be filled with warmth and love!

Indulge in Decadent Red Velvet Snowballs Irresistible Treats
- Total Time: 45 minutes
- Yield: 24 Snowballs 1x
Description
Savor Decadent Red Velvet Snowballs the ultimate indulgent treat perfect for any occasion Experience rich flavors with each delightful bite
Ingredients
Instructions
Notes
Indulge in the magic of the holiday season with these soft and luscious Decadent Red Velvet Snowballs, coated in powdered sugar for a delightful treat.
- Prep Time: 30 minutes
- Cook Time: 15 minutes
- Category: Dessert
- Cuisine: American
Nutrition
- Serving Size: 24 Snowballs
- Calories: 150
- Sugar: 10g
- Fat: 6g
- Carbohydrates: 22g
- Fiber: 1g
- Protein: 2g
Keywords: Red Velvet Snowballs, Holiday Desserts, Baking, Festive Treats