
Irresistible Santa Belt Xmas Macarons Recipe for Festive Joy

Ah, the holiday season! It’s that magical time of the year when lights twinkle, laughter fills the air, and kitchens become the warm, inviting heart of our homes. I fondly remember the first time I attempted to bake Christmas treats with my grandmother, her hands guiding mine as we whipped up sugary delights that filled our home with the sweetest aroma. Among those cherished memories, one treat stands out—macarons! This year, I’m taking it a step further with a festive twist, introducing the pretty and playful Santa Belt Christmas Macarons. They’re as delightful to make as they are to eat, and they’ll make a fabulous addition to your holiday dessert table!
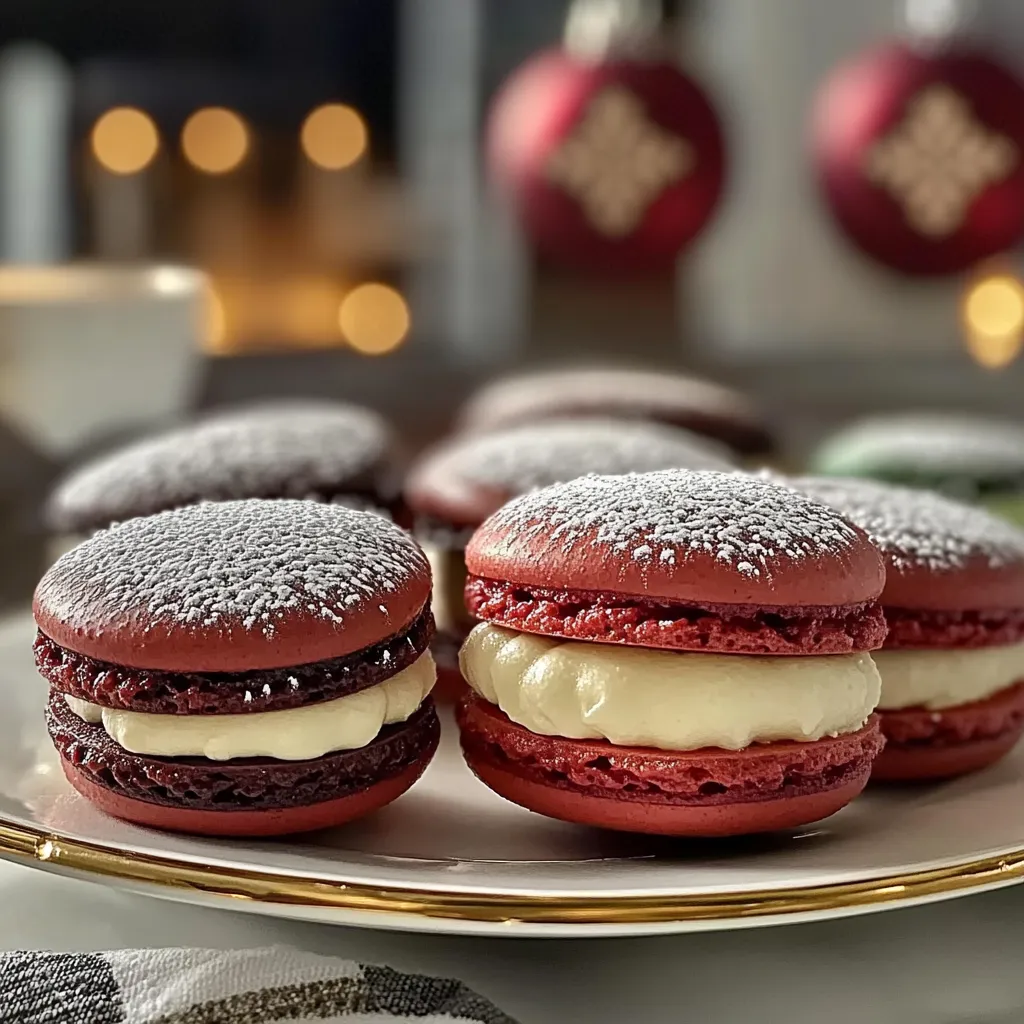
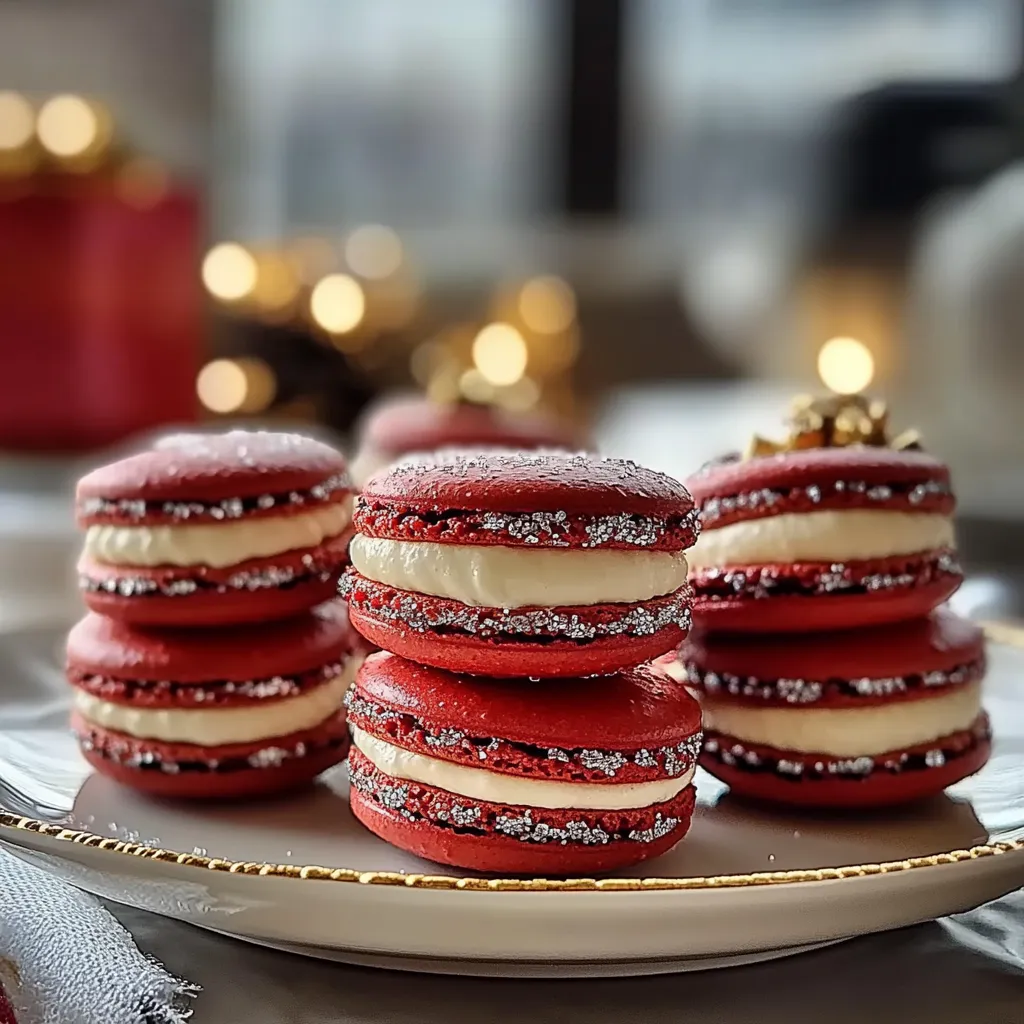
These macarons showcase a smooth, crisp shell with a delectable buttercream filling, all decked out in the cheerful motif of Santa’s belt. Not only do they taste incredible, but they’ll also bring a smile to everyone’s face, as they are absolutely adorable. Let’s get baking together, shall we?
Why You’ll Love This Recipe
- Festive Vibes: A perfect holiday treat to impress at gatherings.
- Customizable: Experiment with different fillings and colors!
- Eye-Catching: These are as much a feast for the eyes as they are for the stomach.
- Great Activity: Fun to make with friends or kids.
Ingredients
Now, let’s gather our beautiful ingredients! This will yield about 24 macarons (or 12 completed cookies), depending on your piping skill. Here’s what you need:
- 150g almond flour
- 150g powdered sugar
- 110g egg whites (about 4 large eggs, aged for 1-2 days)
- 50g granulated sugar
- 1 tsp vanilla extract
- Red gel food coloring
- Buttercream filling:
- 115g unsalted butter, softened
- 230g powdered sugar
- 1-2 tbsp heavy cream or milk
- 1 tsp vanilla extract
- Black gel food coloring (for the belt)
Note: Having aged egg whites is key! It helps in achieving those lovely, stable peaks we need for perfect macarons.
Step-by-Step Instructions
Let’s get our hands a little sticky and create some art in the kitchen!
- Prepare Your Baking Sheets: Line two baking sheets with parchment paper. For extra precision, you can draw circles on the parchment as a guide—about 2 inches in diameter and spaced 1 inch apart.
- Make the Dry Mix: In a food processor, combine the almond flour and powdered sugar. Pulse them together for about 30 seconds, then sift the mixture twice into a bowl. This helps ensure our macarons will be smooth and bubbly-free.
- Whip the Egg Whites: In a clean bowl, beat the aged egg whites until foamy. Gradually add granulated sugar and continue to whip until you reach stiff peaks. This should take about 5-7 minutes. Add the vanilla extract and the red gel food coloring when the whites are almost done; you want a cheerful, bright red color!
- Combine! Gently fold the dry mix into the whipped egg whites using a spatula. Be very careful not to overmix! The goal is to create a smooth, shiny batter that flows slowly off the spatula.
- Piping the Macarons: Transfer the batter to a piping bag fitted with a round tip. Pipe the batter onto the parchment paper circles. Tap the baking sheets against the counter a few times to release any air bubbles. This also helps form the “feet” characteristic of macarons.
- Rest: Allow the macarons to sit at room temperature for 30-60 minutes until a skin forms on top. This is crucial for that perfect shell!
- Bake: Preheat your oven to 300°F (150°C). Bake one tray at a time for about 15-20 minutes, or until you can gently lift a macaron off the parchment without sticking. Let them cool completely on the sheet before transferring them to a wire rack.
- Make the Buttercream: In a large bowl, beat the softened butter until creamy. Gradually add powdered sugar while mixing, then add heavy cream and vanilla. Mix until smooth. If you want a richer color, add black gel food coloring to mimic Santa’s belt!
- Assemble: Pair similar-sized macarons together. Pipe a generous amount of buttercream onto the flat side of one macaron, then sandwich with the other. Cute, right?
- Finish the Look: Use extra buttercream to pipe a belt buckle on the macarons to complete the Santa look. Optional: Dust with edible glitter or gold dust for a festive sparkle.
Pro Tips & Variations
Every macaron baker has their secret touches. Here’s what I’ve learned along the way:
- Flavor Swaps: Want to switch things up? Try different flavors for the buttercream—peppermint extract or orange zest can bring a holiday zing!
- Spice It Up: A sprinkle of cinnamon in your dry mix can add a warm touch, perfect for the holiday season.
- Dye Variations: Use blue or green dye for a whimsical holiday look, creating characters or other seasonal themes!
- Keep It Fresh: You can cheat a little and use store-bought frosting for the filling if you’re pressed for time. Don’t tell anyone!
Serving Suggestions
When these little beauties are ready, here’s how I like to present them:
- Display them on a festive cake stand surrounded by sprigs of holly or greenery for a cheerful look.
- Serve with hot cocoa or spiced apple cider; the flavors pair wonderfully!
- Wrap a few in cute, clear cellophane bags and tie them with a ribbon—perfect for gifts!
These mini masterpieces are sure to be a conversation starter during holiday gatherings!
Storage Tips
After you’ve dazzled your guests with these delightful treats, you might wonder how to store any leftovers (if there are any!). Here’s my advice:
- Fridge: Store macarons in an airtight container in the refrigerator for up to a week. Let them come to room temperature before serving for the best taste and texture.
- Freezer: You can freeze unfilled macarons for up to a month! Just make sure to layer them with parchment paper to avoid sticking.
- Reheating: Avoid reheating macarons; they are best enjoyed fresh or at room temperature. Trust me on this one!
What if my macarons don’t have feet?
This can happen for a few reasons. Make sure you beat your egg whites to stiff peaks and allow the macarons to rest before baking. Also, check your oven temperature; they might need a little more time. Don’t fret, practice makes perfect!
Can I use different fillings?
Absolutely! Have fun experimenting with your favorite fillings! Lemon curd, ganache, or flavored creams can create delightful surprises.
Why did my macarons crack on top?
This might mean you’ve overmixed your batter or not let them rest long enough. Be gentle when folding and be patient while they dry out a bit before baking!
How do I make these gluten-free?
Good news! These macarons are naturally gluten-free due to almond flour! Just make sure all your other ingredients are gluten-free as well.
Conclusion
There you have it—your guide to creating adorable and delicious Santa Belt Christmas Macarons! I hope you enjoy this recipe as much as I do. Baking these treats can be a lovely way to connect with family and friends during the holiday season. I’d love to hear how yours turn out or if you added a personal touch! So, roll up your sleeves, let the holiday spirit inspire you, and enjoy the process! Happy baking!
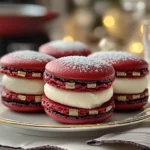
Irresistible Santa Belt Xmas Macarons Recipe for Festive Joy
- Total Time: 50 minutes
- Yield: 24 macarons 1x
Description
Delight in these Santa Belt Xmas macarons A fun festive treat thats perfect for holiday gatherings Easy to bake and beautifully decorated
Ingredients
Instructions
Notes
Delightful and festive Santa Belt Christmas Macarons, perfect for holiday gatherings. Easy to make and fun for the family.
- Prep Time: 30 minutes
- Cook Time: 20 minutes
- Category: Dessert
- Cuisine: French
Nutrition
- Serving Size: 24 macarons
- Calories: 100
- Sugar: 10g
- Fat: 4g
- Carbohydrates: 15g
- Fiber: 0g
- Protein: 1g
Keywords: Christmas, macarons, dessert, holiday baking, festive treats