
Decadent Heavenly Oreo Dessert: Irresistible Delight Awaits!

There’s something about childhood treats that just warms the heart, isn’t there? I remember snuggling up on the couch after school, flipping through cartoons while indulging in a glorious plate of Oreos. Those chocolatey cookies with their creamy centers always seemed like the ultimate reward after a long day. Fast forward to today, and I’ve transformed that nostalgic delight into a show-stopping indulgence: the Heavenly Oreo Dessert. This dessert is like a hug in a dish, perfect for family gatherings or when you need a sweet escape from reality.
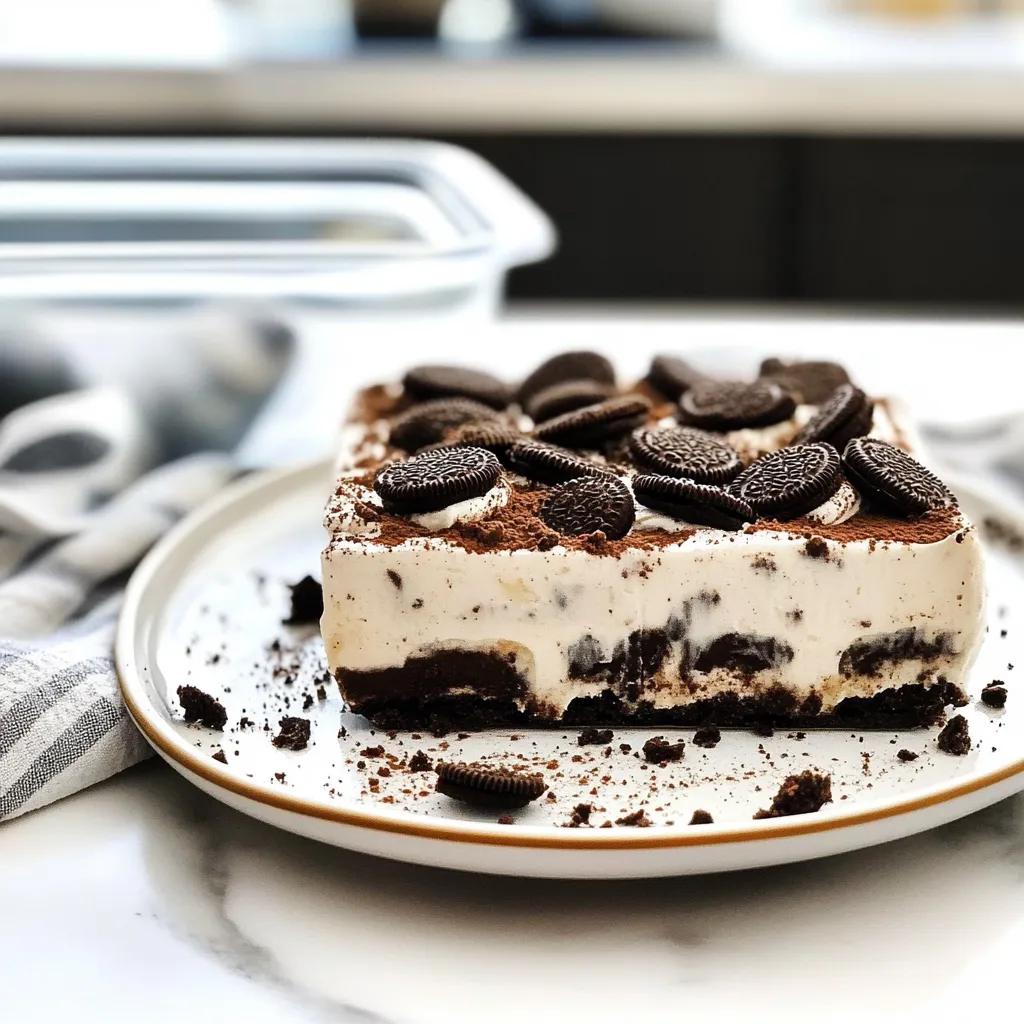
This Heavenly Oreo Dessert is a blend of creamy, crunchy, and rich flavors that dance together in such harmony! The anticipation builds as it sets in the fridge, and when you finally dig in, it’s all about that first divine bite. The textural contrast of the soft filling against the crisp Oreo crust is utterly heavenly — trust me, you won’t be able to stop at one bite!
Why You’ll Love This Recipe
- Super easy to whip up, even on a weeknight.
- No baking required — just chill and enjoy!
- Budget-friendly ingredients that pack a punch of flavor.
- A crowd-pleaser that satisfies both kids and adults.
- Perfect for special occasions or casual movie nights.
Ingredients
To create this Heavenly Oreo Dessert, gather the following ingredients:
- 24 Oreo cookies, crushed (you can use regular or double-stuffed for extra creaminess)
- ½ cup unsalted butter, melted
- 8 oz cream cheese, softened
- 1 cup powdered sugar
- 2 cups whipped topping (like Cool Whip or homemade whipped cream)
- 1 tsp vanilla extract
- 1 package of chocolate pudding mix (3.9 oz)
- 2 cups milk
- Extra crushed Oreos for garnish
Note: Make sure your cream cheese is at room temperature for that super-smooth filling. And while whipped topping makes life easier, feel free to whip up your own cream for a homemade touch!
Step-by-Step Instructions
Ready to dive into this delightful creation? Here’s how to bring your Heavenly Oreo Dessert to life:
- Start by preheating your refrigerator, yes, just to get it nice and chilly for later!
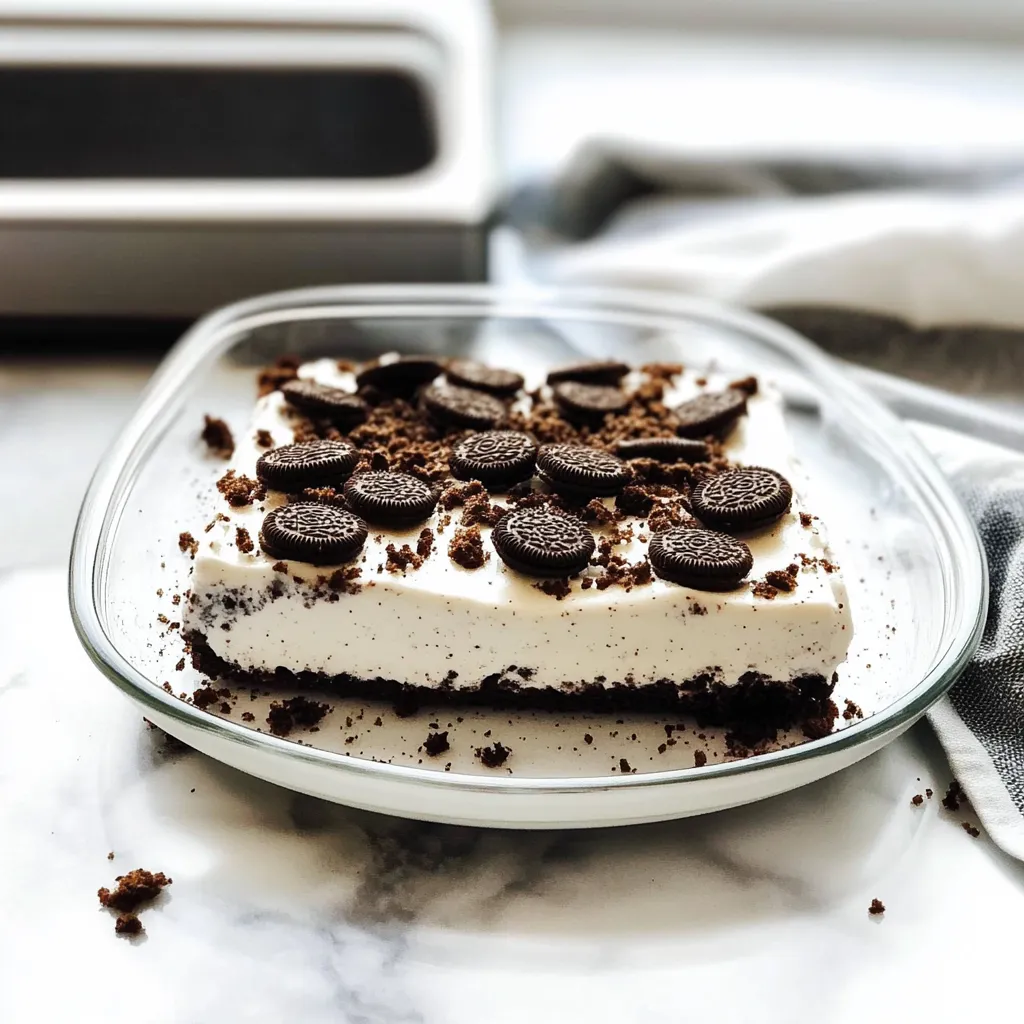
- In a mixing bowl, combine the crushed Oreo cookies with the melted butter. Mix until the cookies are evenly coated. It should resemble wet sand. This will be your crust!
- Press this crumb mixture into the bottom of a 9×13 inch baking dish to form an even layer. Use the back of a measuring cup or your hands to pack it down firmly. Set it aside.
- In a large bowl, beat the softened cream cheese with an electric mixer until it’s creamy and smooth. Add in the powdered sugar and vanilla extract, mixing until there are no lumps remaining.
- Gently fold in the whipped topping until well incorporated. This mixture will be your creamy layer that contrasts beautifully with the crunchy crust.
- Spread this cream cheese mixture over the Oreo crust in your baking dish. Smooth it out with a spatula for an even finish.
- In another bowl, whisk together the chocolate pudding mix and milk until it thickens. This will be your chocolate layer!
- Spread the chocolate pudding evenly over the cream cheese layer, smoothing with a spatula.
- Cover the entire dessert with plastic wrap and pop it into the refrigerator for at least 4 hours or overnight. This is crucial — it allows all the flavors to meld together beautifully.
Pro Tip: When spreading each layer, take your time to ensure they’re even. If one layer is thicker than the others, it can throw off the texture when you slice in!
Pro Tips & Variations
Once you’ve got the basics down, feel free to swap things up a little! Here are some fun ideas:
- Flavor Twists: Consider adding a hint of peppermint extract for a festive version or mix in some caramel sauce for extra decadence!
- Toppings: Top your dessert with mini chocolate chips, sprinkles, or even a drizzle of chocolate syrup for an eye-catching finish.
- Dietary Swaps: Want to make it gluten-free? Use gluten-free chocolate sandwich cookies and make sure your pudding mix also meets your dietary needs.
The sky’s the limit, and I’d love to hear about your creative twists when you try this recipe!
Serving Suggestions
When it’s finally time to dive into this dreamy dessert, consider serving it chilled right out of the fridge! It pairs wonderfully with a hot cup of coffee or a creamy glass of milk. You can also enjoy it alongside a fruit salad for a little contrast. Imagine biting into the rich Oreo layers while sipping on something warm — perfect for cozy evenings or gatherings!
Storage Tips
Best part? This dessert stays delicious for days! Here’s how to store it:
- Refrigerate: Cover the dessert tightly with plastic wrap or foil to keep it fresh. It should last up to 5 days in the refrigerator — if it lasts that long!
- Freeze: If you want to save some for later, slice it and store it in an airtight container. It can be frozen for up to 2 months. Just let it thaw in the fridge overnight before serving.
- Reheat: While this dessert is best enjoyed cold, you can let it sit at room temperature for 10-15 minutes before serving for that fresh-from-the-fridge experience.
FAQs
Can I use a different type of cookie for the crust?
Absolutely! While Oreos make the perfect crust, you can use any chocolate sandwich cookies or even graham crackers for a different flavor profile! Just keep the proportions the same.
How long does this dessert need to set?
For the flavors to blend beautifully, I recommend letting it chill for at least 4 hours, but overnight is even better! It will hold together more nicely when sliced.
Can I make this ahead of time?
Definitely! This is one of those fabulous desserts that gets even better with time. It’s perfect for making a day in advance, which only means more time for you to enjoy and less stress on the day of your gathering!
What if I don’t have whipped topping?
No worries! You can use homemade whipped cream instead. Just whip 1 cup of heavy cream with a tablespoon of sugar until soft peaks form. It adds a delightful freshness to the dessert!
Is this dessert suitable for kids?
Absolutely! Kids adore this dessert, and it’s a great way to get them involved in the kitchen. Don’t forget to let them help crush the Oreos — it’s super fun!
Conclusion
I hope you’re excited to sink your spoon into this Heavenly Oreo Dessert! It’s more than just a quick recipe; it’s a reminder of sweet moments shared with family and friends. Please let me know how yours turns out — I’d love to hear your thoughts, adjustments, and any special memories you create while making it. Share your favorite twist or simply drop a comment with your experience! Happy indulgence!
Print
Decadent Heavenly Oreo Dessert: Irresistible Delight Awaits!
- Total Time: 4 hours 20 minutes
- Yield: 12 servings 1x
Description
Indulge in a rich Oreo dessert that delivers a heavenly flavor experience. Discover this decadent sweet treat that’s sure to please!
Ingredients
Instructions
Notes
A delightful, no-bake dessert made with crushed Oreos, cream cheese, and chocolate pudding, perfect for family gatherings or special occasions.
- Prep Time: 20 minutes
- Category: Dessert
- Cuisine: American
Nutrition
- Serving Size: 12 servings
- Calories: 350
- Sugar: 30g
- Fat: 15g
- Carbohydrates: 50g
- Fiber: 1g
- Protein: 4g
Keywords: Oreo dessert, no-bake dessert, easy dessert, chocolate dessert, family dessert, Heavenly Oreo Dessert