
Irresistible Decadent Red Velvet Cheesecake Layer Cake Recipe
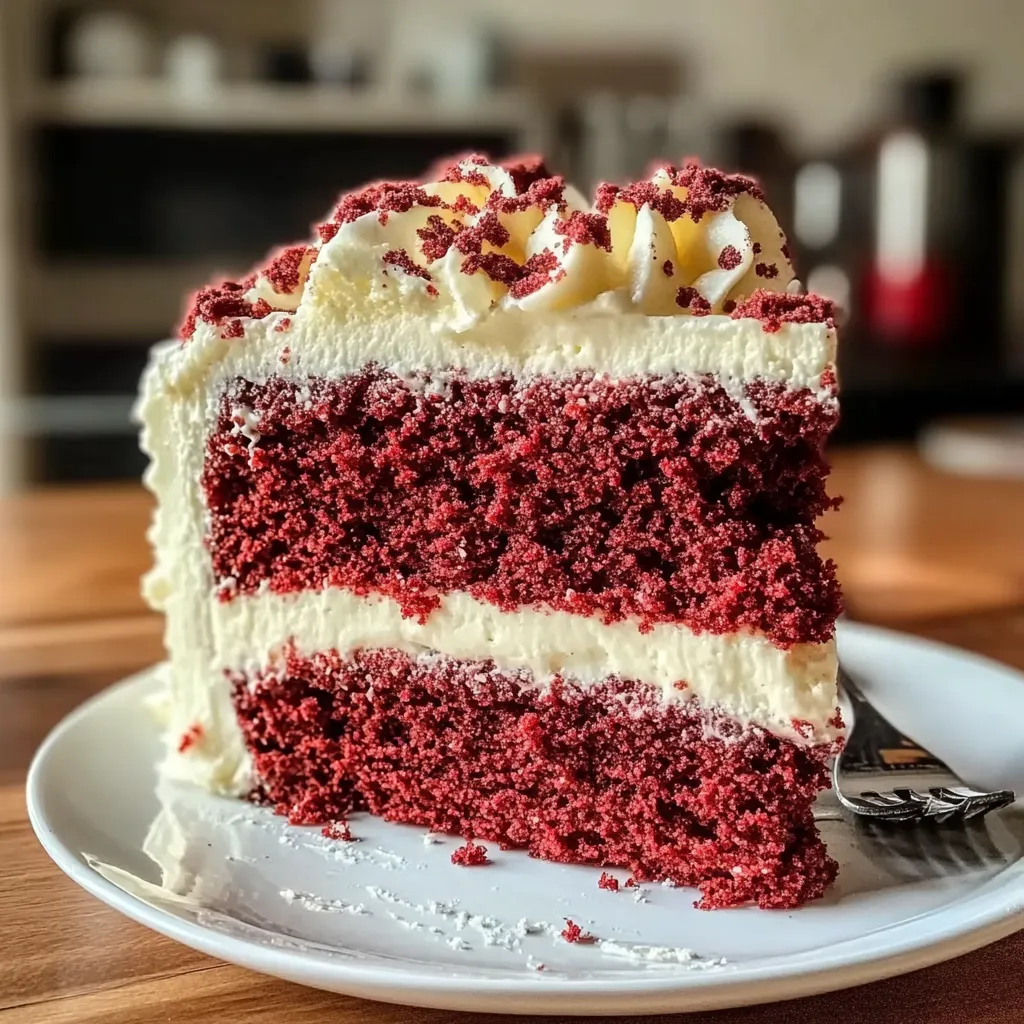
Oh, where do I even start with this Decadent Red Velvet Cheesecake Layer Cake? It’s like a warm hug on a chilly day, a true crowd-pleaser that makes every celebration just a bit more special. Growing up, red velvet cake was reserved for the biggest of occasions, from birthdays to anniversaries—its striking red hue always caught my eye, and let’s be honest, the cream cheese frosting was the cherry on top.
As the years passed, I imagined ways to elevate this classic, and that’s when the idea of layering a rich cheesecake in between the tender red velvet cake layers came to me. The result? An irresistible concoction that balances the velvety texture of red velvet with the creamy richness of cheesecake. Trust me, this cake is beyond indulgent, and one slice might just take you to dessert heaven!
So, grab your apron, and let’s get baking together. You won’t regret it!
Why You’ll Love This Recipe
- Impresses with minimal effort: Perfect for parties or a special treat.
- Layers of flavor: The combination of cheesecake and red velvet adds depth.
- Make it ahead: This cake tastes even better after a day in the fridge.
- Great for sharing: It’s hard to resist the charm of a towering cake!
Ingredients
Here’s what you will need to create your show-stopping cake:
- For the Red Velvet Cake:
- 2 ½ cups all-purpose flour
- 1 ½ cups granulated sugar
- 1 teaspoon baking soda
- 1 teaspoon baking powder
- 1 teaspoon salt
- 1 teaspoon cocoa powder
- 1 ½ cups vegetable oil
- 1 cup buttermilk, room temperature
- 2 large eggs, room temperature
- 2 tablespoons red food coloring
- 1 teaspoon vanilla extract
- 1 teaspoon vinegar (white or apple cider)
- For the Cheesecake Layer:
- 16 ounces cream cheese, softened
- 1 cup granulated sugar
- 2 large eggs
- 1 teaspoon vanilla extract
- 1 tablespoon all-purpose flour (to prevent cracking)
- For the Frosting:
- 1 cup unsalted butter, softened
- 16 ounces cream cheese, softened
- 5 cups powdered sugar
- 1 teaspoon vanilla extract
Note: Using room temperature ingredients helps create a smoother batter and batter consistency. If you’re in a hurry, simply let the eggs and cream cheese sit out for about 30 minutes before using them.
Step-by-Step Instructions
Let’s bring this gorgeous cake to life! Follow these steps for a delicious outcome:
- Preheat the oven: Preheat your oven to 350°F (175°C). Grease and flour three 8-inch round cake pans.
- Mix dry ingredients: In a large bowl, sift together the flour, sugar, baking soda, baking powder, salt, and cocoa powder. Set aside.
- Combine wet ingredients: In a separate bowl, whisk together the vegetable oil, buttermilk, eggs, food coloring, vanilla extract, and vinegar until well combined.
- Mix it all together: Gradually add the wet ingredients to the dry ingredients, carefully mixing until just combined. Watch out: Do not overmix; a few lumps are okay!
- Bake the cake: Divide the batter evenly among the three prepared pans. Bake for 25-30 minutes or until a toothpick inserted into the center comes out clean. Let the cakes cool in the pans for about 10 minutes, then turn them out onto wire racks to cool completely.
- Prepare the cheesecake layer: While the cake cools, reduce the oven temperature to 325°F (160°C). Beat the softened cream cheese until smooth. Gradually add the granulated sugar and beat until well combined. Add in the eggs, one at a time, mixing well after each addition, followed by the vanilla and flour. Only mix until just combined to avoid overbeating.
- Bake the cheesecake: Pour the cheesecake filling into a greased 9-inch round springform pan. Bake for 50-60 minutes or until the center is set but slightly jiggly. Once done, turn off the oven, crack the door open, and let the cheesecake cool inside for about an hour. This will help prevent cracks.
- Chill everything: After cooling, refrigerate the cheesecake until completely chilled (at least 4 hours or overnight is best). Also, cool the cake layers completely before frosting.
- Make the frosting: In a mixing bowl, beat the softened butter and cream cheese until fluffy. Gradually add powdered sugar and vanilla, beating until smooth and spreadable.
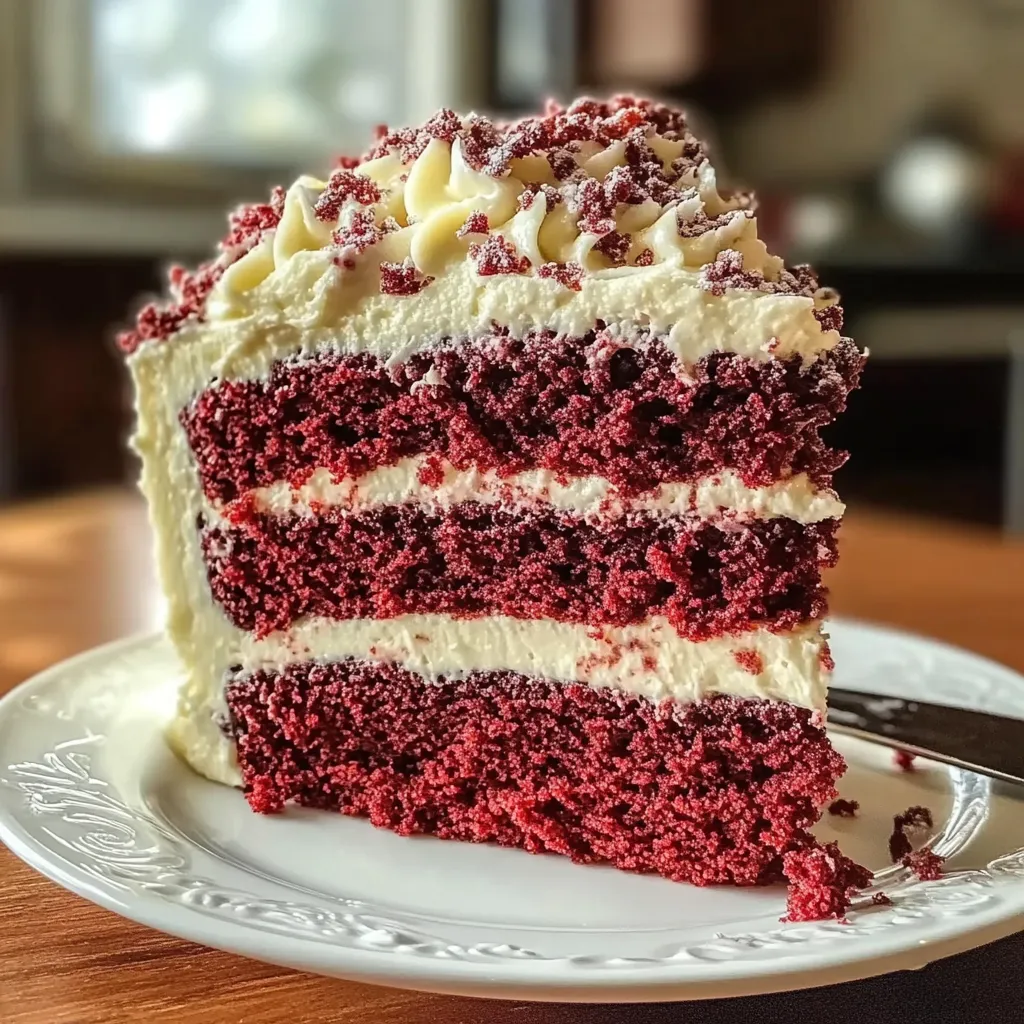
- Assemble your cake: Start with a red velvet layer on a cake stand or plate. Spread a layer of frosting on top, then gently place the chilled cheesecake on top. Repeat with another red velvet layer, more frosting, and finish with the final red velvet layer. Crumb-coat the entire cake with a thin layer of frosting and chill for about 30 minutes to set.
- Final frosting: Once set, generously frost the entire cake with the remaining frosting, using a spatula to create a smooth finish or some beautiful swirls!
Tip: Feel free to decorate with red velvet crumbs, chocolate shavings, or fresh berries for a pop of color!
Pro Tips & Variations
Here are a few fun twists and tips to personalize your cake:
- Spice it up: Add a pinch of cinnamon or nutmeg to the red velvet batter for a warm, spicy note.
- Mix in chocolate: For a richer flavor, use chocolate cream cheese instead of regular cream cheese in the frosting!
- Different frosting: Swap the cream cheese frosting for a whipped cream topping for a lighter texture.
- Ditch the layers: If you’re short on time, skip the layers and make a red velvet cheesecake instead. Just pour the red velvet batter over the cheesecake filling and bake in a springform pan.
Serving Suggestions
This Decadent Red Velvet Cheesecake Layer Cake is perfect for any occasion! Serve it up at holiday gatherings, birthdays, or even a cozy weekend get-together. Pair it with a hot cup of coffee, tea, or a refreshing glass of milk. I also love to serve it alongside fresh berries or a drizzle of raspberry sauce to cut through the richness.
Take a moment to enjoy the scents of baked red velvet and cheesecake wafting through your kitchen. Trust me, your friends and family will be wowed not just by the appearance, but by the fantastic flavors that burst deliciously in every bite!
Storage Tips
Once you’ve indulged in a slice or two (or more, I won’t judge!), here’s how to store the leftovers:
- Refrigerating: Store the cake in an airtight container in the fridge for up to 5-7 days. Be sure to keep it covered to prevent it from drying out!
- Freezing: You can freeze the cake! Just wrap individual slices tightly in plastic wrap, then foil, and place them in a freezer bag. It’ll keep for about 2-3 months. When you’re ready for a slice, simply thaw it in the fridge overnight.
- Reheating: If you want to enjoy it warm, simply pop a slice in the microwave for 10-15 seconds. This will restore some of its original moistness!
FAQs
Can I make this cake gluten-free?
Absolutely! Substitute all-purpose flour with a 1:1 gluten-free baking blend, and you’ll still get that gorgeous red velvet texture!
Is it necessary to chill the cheesecake layer overnight?
While it’s not mandatory, chilling overnight allows the cheesecake to firm up beautifully and makes slicing easier. But if you’re eager, a few hours in the fridge will do!
What can I use if I don’t have buttermilk?
You can easily make a substitute by mixing 1 cup of milk with 1 tablespoon of vinegar or lemon juice. Let it sit for about 5-10 minutes, and you’re good to go!
Can I use different food coloring?
Of course! Feel free to use natural alternatives, but keep in mind the shade might be different. Gel food coloring tends to give the best results in terms of vibrant color.
Conclusion
I hope you feel as excited as I do to create this Decadent Red Velvet Cheesecake Layer Cake! It’s not just about the cake; it’s about gathering loved ones around your kitchen table, sharing a slice and laughter. I’d love to see how your cake turns out, so don’t hesitate to share your photos or comments below. Happy baking, friends! Enjoy every delicious bite!
Print
Irresistible Decadent Red Velvet Cheesecake Layer Cake Recipe
- Total Time: 2 hours 10 minutes
- Yield: 12 servings 1x
Description
Indulge in this rich red velvet cheesecake layer cake, a perfect blend of flavors that’ll delight dessert lovers. Elevate your baking game today!
Ingredients
Instructions
Notes
This Decadent Red Velvet Cheesecake Layer Cake is a true crowd-pleaser that combines the velvety texture of red velvet cake with the creamy richness of cheesecake, making every celebration a bit more special.
- Prep Time: 40 minutes
- Cook Time: 1 hour 30 minutes
- Category: Dessert
- Cuisine: American
Nutrition
- Serving Size: 12 servings
- Calories: 500
- Sugar: 40g
- Fat: 25g
- Carbohydrates: 60g
- Fiber: 1g
- Protein: 7g
Keywords: Red Velvet Cake, Cheesecake Layer Cake, Dessert Recipe, Cake Recipe, Celebration Cake