
Decadent Chocolate Peanut Butter Brownies Recipe You’ll Love!
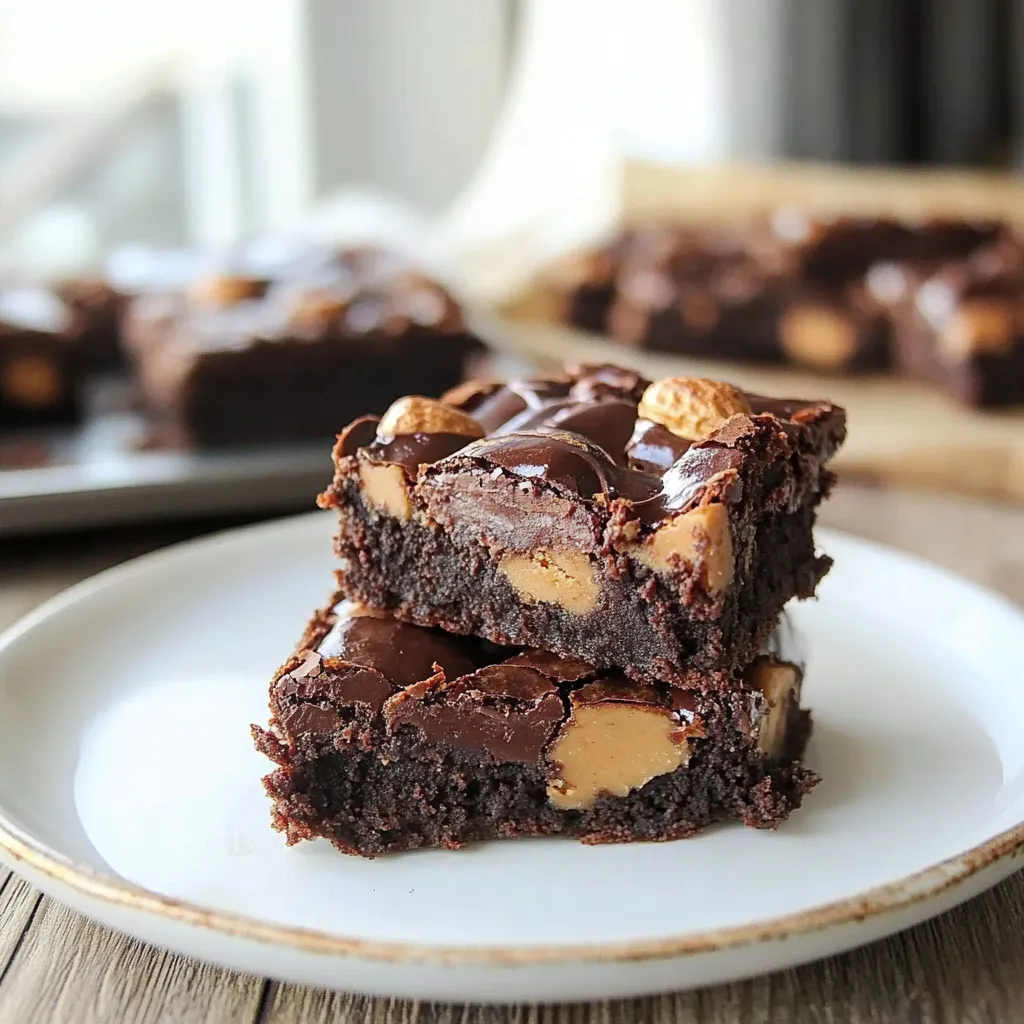
Hey there, friend! Let me take you on a little journey back to my childhood, where the aroma of freshly baked brownies filled our home every Sunday afternoon. Those were the days when my mom would whip up a batch of her famous brownies, and I’d dash into the kitchen with my siblings, eager to snag a warm piece right from the pan—fudgy, chocolaty goodness that melted in your mouth! Over the years, I’ve tweaked her recipe here and there, and today, I’m delighted to share my ultimate indulgence: Chocolate Peanut Butter Brownies. Trust me, these beauties are a glorious mash-up of rich chocolate and creamy peanut butter that’ll transport you straight back to those cozy kitchen days.
Why You’ll Love This Recipe
- Decadent flavors: The chocolate-peanut butter combination is an absolute match made in heaven!
- Easy to make: Minimal fuss, just mix, bake, and enjoy!
- Perfect for sharing: Bring them to gatherings or keep them all to yourself—no judgment here!
- Adaptable: Whether you like nuts, swirls, or a bit of sea salt on top, you can make these brownies your own.
- Weeknight treat: Perfect for satisfying those late-night sweet cravings.
Ingredients
Let’s gather our ingredients! Here’s what you’ll need:
- 1 cup unsalted butter (2 sticks), melted
- 2 cups granulated sugar
- 1 cup packed brown sugar
- 4 large eggs
- 1 tablespoon pure vanilla extract
- 1 cup all-purpose flour
- 1 cup unsweetened cocoa powder
- 1 teaspoon baking powder
- 1 teaspoon salt
- 1 cup creamy peanut butter
- 1 cup semi-sweet chocolate chips
Helpful notes: Use high-quality cocoa powder for richer chocolate flavor. And, if you can, get natural peanut butter—it’s just a tad less sweet and brings a lovely, authentic peanut taste!
Step-by-Step Instructions
Now that we have our ingredients all set, let’s dive into the magic of baking!
- Preheat your oven: Preheat your oven to 350°F (175°C). Grease a 9×13 inch baking pan or line it with parchment paper for easy removal.
- Combine the sugars and butter: In a large mixing bowl, whisk together the melted butter, granulated sugar, and brown sugar until well combined. The mixture should look smooth and glossy.
- Add the eggs and vanilla: Crack in the eggs one by one, mixing well after each addition. Add the vanilla extract and give it another good stir. You’re looking for a light, fluffy mixture now!
- Incorporate the dry ingredients: In a separate bowl, sift together the flour, cocoa powder, baking powder, and salt. Gradually fold this dry mix into your wet mixture until just incorporated. Watch out! Avoid overmixing; we want those brownies to be fudgy!
- Swirl in the peanut butter: Now comes the fun part! Scoop the peanut butter and drop dollops into the brownie batter. Using a knife or a skewer, gently swirl the peanut butter into the brownie mix. Don’t overdo it; a few swirls are perfect!
- Add the chocolate chips: Fold in those delicious semi-sweet chocolate chips for an extra melty surprise in every bite.
- Pour and spread: Transfer your batter into the prepared baking pan and spread it out evenly. It’s thick and luscious at this point!
- Bake: Pop it in the oven and bake for 25-30 minutes. You’ll know they’re done when the edges look set and a toothpick inserted in the center comes out with a few moist crumbs (but not wet batter!).
- Cool and cut: Let your brownies cool in the pan on a wire rack for at least 20 minutes. Then, cut them into squares and try to resist the urge to devour them all at once!
Pro Tip: For the cleanest cuts, run your knife under hot water and wipe it dry before cutting each piece. You want those perfectly fudgy edges!
Pro Tips & Variations
Feeling adventurous? Let’s jazz things up a bit:
- Add nuts: Toss in some chopped walnuts or pecans for a delightful crunch!
- Get nutty with flavors: A sprinkle of cinnamon or a dash of espresso powder can boost the chocolate flavor even more.
- Top it all off: Drizzle with melted chocolate or a sprinkle of sea salt just before serving for that extra fancy touch.
- Go gluten-free: Swap out the all-purpose flour for a 1:1 gluten-free baking mix!
Serving Suggestions
Picture this: you take a slightly warm brownie out of the oven, let it cool just a tad, and then serve it up with a scoop of vanilla ice cream melting on top. Or, if you’re feeling extra indulgent, how about a drizzle of hot fudge? Warm brownies, cool ice cream, and a drizzle of fudge—perfection! Pair them with a steaming cup of coffee or tea, and you’ve got yourself a delightful afternoon treat or a heavenly dessert after dinner. So cozy!
Storage Tips
These brownies are perfect for batch baking. If you have leftovers (which is rare, I promise!), here’s how to store them:
- Room temperature: Keep them in an airtight container for up to 3 days—if they last that long!
- Refrigerate: For longer storage, pop them in the fridge for up to a week. Just remember that they might get a little firmer, so allow them to sit out a bit before enjoying.
- Freeze: Wrap individual pieces tightly in plastic wrap and place them in a freezer-safe bag. They can be frozen for up to 3 months. Thaw them in the fridge overnight and enjoy a moment of bliss!
Can I use a different nut butter instead of peanut butter?
Absolutely! Almond butter or even sunflower seed butter can work beautifully. Just keep in mind that the flavor will change slightly.
Can I make these brownies ahead of time?
Yes! These brownies actually taste even better the next day as flavors meld, so feel free to bake them a day in advance. Just store them correctly, and you’re good to go!
Why are my brownies cakey instead of fudgy?
If your brownies turned out cakey, it’s possible they were over-mixed or baked too long. Remember, fudgy brownies should have that gooey, melt-in-your-mouth texture, so keep an eye on them toward the end of baking!
What should I do if my brownie batter seems too thick?
If your batter feels thick, don’t worry! This is normal for brownie batter. Just ensure that all ingredients are well mixed. If you really feel it’s too thick, adding a tablespoon or two of water or milk can help loosen it up a bit.
Can I add toppings?
Of course! Some great options include crushed nuts, chocolate chips, or a sprinkle of powdered sugar. Feel free to get creative!
Conclusion
I hope you give these Chocolate Peanut Butter Brownies a try! They have a special place in my heart (and my taste buds!), and I just know you’ll love them, too. Whether you share them with friends, family, or keep them all to yourself (no judgment here!), these brownies are sure to bring smiles all around. I’d love to hear how yours turn out—drop a comment or share your baking adventures! Happy baking, my friend!
Print
Decadent Chocolate Peanut Butter Brownies Recipe You’ll Love!
- Total Time: 45 minutes
- Yield: 12 servings 1x
Description
Indulge in rich chocolate & creamy peanut butter with these decadent brownies. Perfect treat for any sweet lover! Try this easy recipe today!
Ingredients
Instructions
Notes
These Chocolate Peanut Butter Brownies are a rich, fudgy dessert that combines the decadence of chocolate with the creaminess of peanut butter. Perfect for sharing or indulging on your own.
- Prep Time: 15 minutes
- Cook Time: 30 minutes
- Category: Dessert
- Cuisine: American
Nutrition
- Serving Size: 12 servings
- Calories: 320
- Sugar: 30g
- Fat: 18g
- Carbohydrates: 40g
- Fiber: 2g
- Protein: 5g
Keywords: brownies, chocolate, peanut butter, dessert, easy recipe