
Mouthwatering Crispy Cheesy Beef Chimichangas Recipe Revealed!

There’s something undeniably comforting about a dish that wraps up bold flavors and warm memories in a crispy package. For me, Crispy Cheesy Beef Chimichangas bring back those sunny afternoons spent in my grandmother’s kitchen, where the delicious scent of seasoned beef simmering with garlic and onions filled the air. My grandma would whip them up for family gatherings, and every crunch was met with happy smiles and satisfied bellies.
Whether you’re bringing friends together for a cozy night in or simply craving something satisfying after a long day, these chimichangas are the perfect answer. Each bite bursts with savory goodness, and the crispy exterior paired with the ooey-gooey cheesy filling will have you reaching for seconds. It’s the ultimate comfort food, and I can’t wait to share this recipe with you!
Why You’ll Love This Recipe
- Easy weeknight dinner that requires minimal effort.
- Super budget-friendly—great for feeding a crowd without breaking the bank.
- Packed with comforting flavors that remind you of home.
- Customizable with your favorite spices and toppings!
- Perfect for meal prepping or freezing for later.
Ingredients
Gathering the ingredients for Crispy Cheesy Beef Chimichangas is part of the fun! Here’s what you’ll need:
- 1 pound ground beef (or substitute with turkey or meatless crumbles for a lighter option)
- 1 tablespoon olive oil
- 1 small onion, diced
- 2 cloves garlic, minced (fresh garlic adds a punch of flavor!)
- 1 teaspoon ground cumin
- 1 teaspoon chili powder
- Salt and pepper, to taste
- 1 cup shredded cheese (cheddar, Monterey Jack, or a blend—make it cheesy!)
- 1 cup refried beans (optional, for added creaminess)
- 4 large flour tortillas
- Vegetable oil, for frying
Step-by-Step Instructions
Let’s dive into the cooking process! You’ll be amazed at how easy it is to create these crispy delights.
- Heat the olive oil in a large skillet over medium heat. Add the diced onion and cook it until it’s soft and translucent, about 3-4 minutes. The smell will be heavenly!
- Add the minced garlic and cook for about 30 seconds, stirring constantly to avoid burning. Your kitchen will now smell like a cozy taco shop.
- Next, add the ground beef to the skillet. Use a wooden spoon to break it up into crumbles and cook until it’s browned and no longer pink—about 6-8 minutes.
- Sprinkle in that gorgeous cumin, chili powder, salt, and pepper. Stir well and let it cook for another minute to release the spices’ aromatic goodness.
- If you’re using refried beans, add them in now and mix everything together. Stir in the shredded cheese until melted, making sure it’s all well combined and deliciously gooey.
- Now comes the fun part! Lay the tortillas flat on a clean surface. Spoon about 1/4 of the beef mixture into the center of each tortilla. Fold in the sides, and then roll it up tightly, like a burrito. Tip: Be sure not to overfill them or they might burst while frying!
- Heat a few inches of vegetable oil in a deep skillet over medium heat. You want it hot but not smoking. A good way to test if it’s ready is to drop in a small piece of tortilla; if it sizzles, you’re good to go!
- Carefully place each chimichanga seam-side down into the hot oil. Fry each side until golden brown and crispy, about 3-4 minutes per side. Keep an eye on them; they fry quickly!
- Using tongs, remove the chimichangas and place them on paper towels to drain any excess oil. Let them cool for a minute or two before serving—trust me, it’ll be worth the wait as they crisp up a bit more!
Pro Tips & Variations
Want to get a little adventurous with your chimichangas? Here are some fun tips and variations:
- Add some heat: Spice things up with diced jalapeños or a splash of hot sauce in the beef mixture.
- Swap the protein: Use chicken, pork, or even go vegetarian by adding black beans and corn!
- Herbs and spices: Add fresh cilantro, a squeeze of lime juice, or even a dash of smoked paprika for a smoky twist.
- Taco toppings: Serve your chimichangas with sour cream, guacamole, or salsa on top for an extra layer of flavor.
Serving Suggestions
Chimichangas are versatile and can be served in a variety of delicious ways! Try them alongside a fresh salad, loaded with vibrant veggies and a zesty dressing to balance the rich, cheesy flavors. Or pair them with some seasoned rice or fluffy quinoa to make it a complete meal. These also go incredibly well with a big bowl of warm tortilla soup or homemade tortilla chips and salsa for dipping.
And let’s not forget the drinks! I love serving my chimichangas with a refreshing margarita or a fizzy drink that complements the spices. For a cozy touch, a cup of hot chocolate or a spiced chai can also be a delightful pairing!
Storage Tips
If you’re lucky enough to have leftovers, here’s how to keep them fresh! Let the chimichangas cool completely before transferring them to an airtight container. You can refrigerate them for up to 3 days. If you want to prolong their life, freeze them by wrapping each chimichanga tightly in aluminum foil and placing them in a freezer bag. They’ll be good for about 2-3 months.
When you’re ready to enjoy them again, reheat in the oven at 375°F (190°C) for about 20 minutes, or until heated through and crispy again. Avoid the microwave, as that can make them soggy. You want that delightful crunch on the outside!
FAQs
Can I make these chimichangas ahead of time?
Absolutely! You can prepare the filling, fill, and roll the chimichangas, then store them in the fridge for a day before frying them up. Just make sure to keep them tightly wrapped so they don’t dry out.
What type of cheese works best for chimichangas?
I love using a mix of cheddar and Monterey Jack for that perfect melty goodness, but feel free to mix it up! Pepper Jack adds a nice kick, too!
Can I bake chimichangas instead of frying them?
Yes! For a lighter option, you can brush them lightly with olive oil and bake at 400°F (200°C) on a baking sheet lined with parchment paper. Bake for about 25-30 minutes or until golden and crispy.
What can I serve with chimichangas?
Great question! Chimichangas pair perfectly with sour cream, guacamole, and salsa for dipping. You can also serve them with a side of rice, a fresh salad, or even your favorite Mexican side dishes, like refried beans or elote.
Conclusion
Now that you know how to make these Crispy Cheesy Beef Chimichangas, I hope you’re feeling inspired to roll up your sleeves and give them a whirl in your kitchen. They’re not just a meal; they’re an experience filled with warmth, flavor, and a dash of nostalgia. Don’t forget to bring your family and friends into the mix—there’s nothing better than sharing good food with good people. I’d love to hear how yours turn out! Leave a comment below sharing your favorite twists on this recipe or any memories that come to mind as you fry up these delicious treats.
Print
Mouthwatering Crispy Cheesy Beef Chimichangas Recipe Revealed!
- Total Time: 50 minutes
- Yield: 4 servings 1x
Description
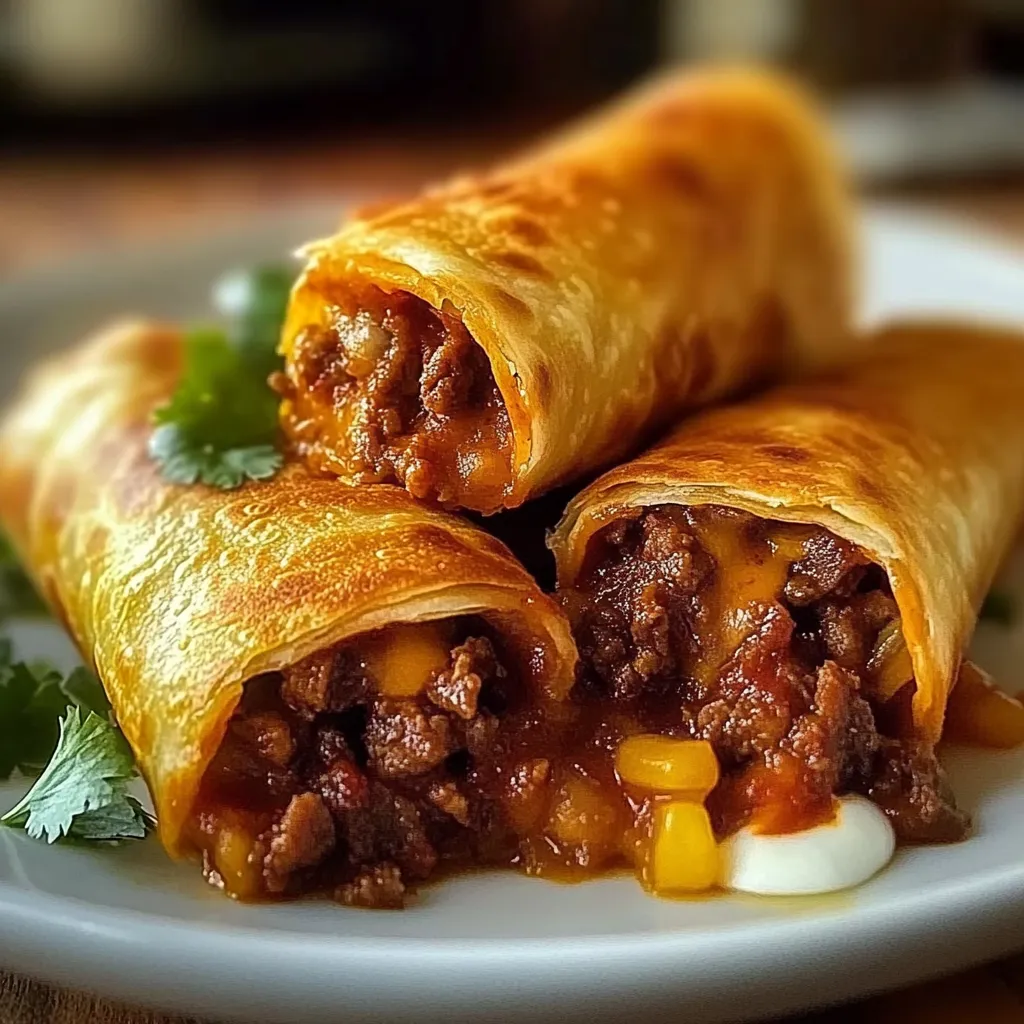
Discover the secret to making Crispy Cheesy Beef Chimichangas that are irresistibly crunchy and packed with flavor. Perfect for any meal!
Ingredients
Instructions
Notes
These Crispy Cheesy Beef Chimichangas are packed with bold flavors and warm memories, offering a crunchy exterior and a gooey cheesy filling that’s perfect for any occasion.
- Prep Time: 20 minutes
- Cook Time: 30 minutes
- Category: Dinner
- Cuisine: Mexican
Nutrition
- Serving Size: 4 servings
- Calories: 450
- Sugar: 1g
- Fat: 28g
- Carbohydrates: 30g
- Fiber: 2g
- Protein: 24g
Keywords: chimichangas, beef recipe, comfort food, Mexican cuisine, easy dinner recipe