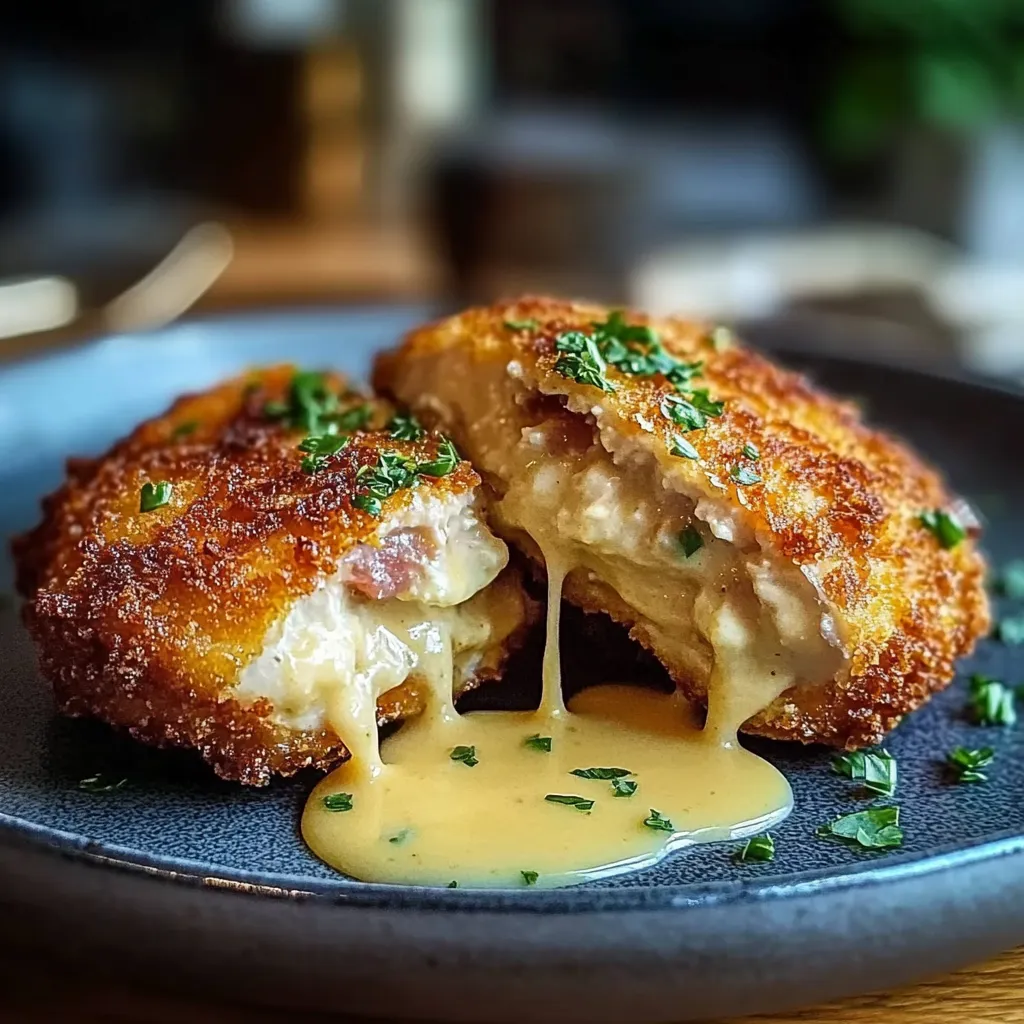
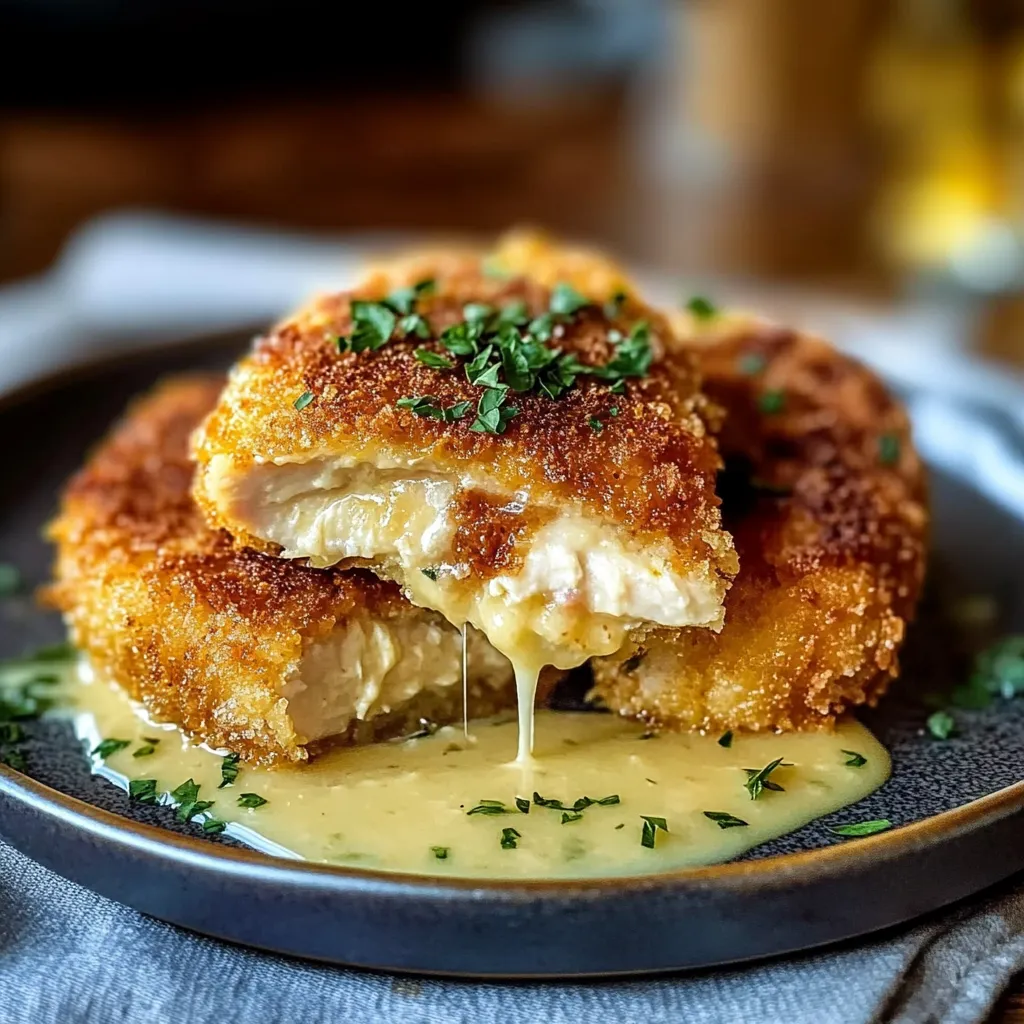
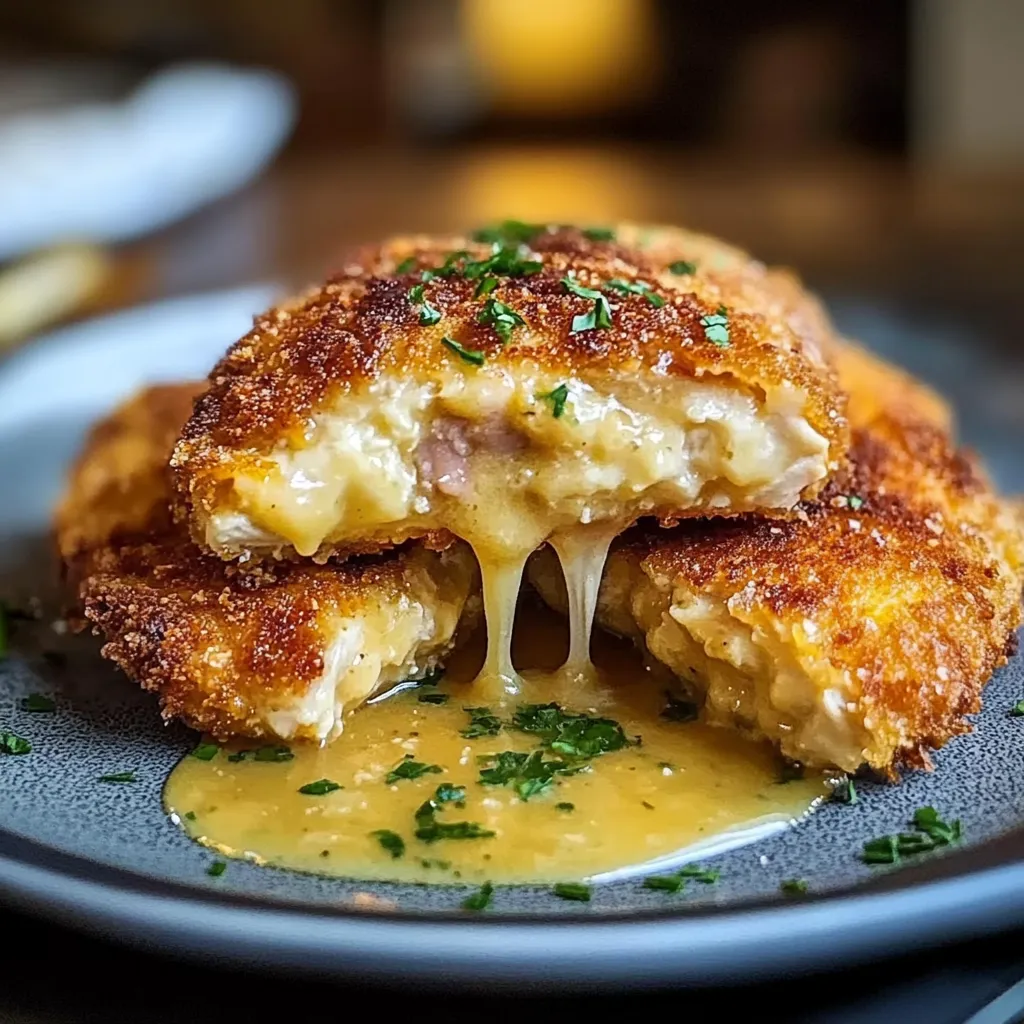
Easy Chicken Kiev Simple Juicy Recipe for Home Chefs

Ingredients
- 4 boneless, skinless chicken breasts
- 1/2 cup unsalted butter, softened (1 stick)
- 1/4 cup fresh parsley, finely chopped
- 2 cloves garlic, minced
- 1 tablespoon fresh lemon juice
- 1/4 teaspoon salt
- 1/4 teaspoon black pepper
- 1 cup all-purpose flour
- 2 large eggs, beaten
- 2 cups breadcrumbs (preferably panko for extra crunch)
- Vegetable oil for frying

Preparing the Herb Butter
The key to a perfect Chicken Kiev lies in the flavorful herb butter that oozes from the chicken when you cut into it. Follow these steps to prepare it:
Mixing the Ingredients
- In a medium bowl, combine the softened butter, chopped parsley, minced garlic, lemon juice, salt, and pepper.
- Use a fork to blend all the ingredients until they’re well combined and you have a smooth mixture.
Shaping the Butter
- Transfer the butter mixture onto a piece of parchment paper.
- Shape it into a log, roughly 4 inches long and 1 inch in diameter.
- Wrap the parchment around the butter and place it in the freezer for at least 30 minutes to firm up.
Preparing the Chicken
Once the herb butter has chilled, it’s time to prepare the chicken breasts.
Pounding the Chicken
- Place a chicken breast between two sheets of plastic wrap or parchment paper.
- Use a meat mallet to gently pound the chicken to an even thickness of about 1/2 inch. This step is crucial for even cooking.
- Repeat with the remaining chicken breasts.
Filling the Chicken
- Remove the herb butter from the freezer and unwrap it.
- Cut the log into 4 equal pieces.
- Place one piece of the butter in the center of each chicken breast.
- Fold the sides of the chicken over the butter, then roll it up tightly, tucking in the ends to seal the butter inside.
- Secure each roll with toothpicks or kitchen twine to hold its shape while cooking.

Breading the Chicken
Next, it’s time to coat the chicken in breadcrumbs for that crispy texture we all love.
Setting Up the Breading Station
- In one shallow bowl, place the flour.
- In a second shallow bowl, add the beaten eggs.
- In a third shallow bowl, place the breadcrumbs.
Breading Process
- Take each chicken roll and dredge it in flour, turning to coat completely.
- Next, dip it into the beaten eggs, allowing any excess to drip off.
- Finally, roll the chicken in the breadcrumbs, pressing gently to adhere.
- Repeat this process for all chicken rolls.
Cooking the Chicken Kiev
Now that the chicken is breaded, it’s time to fry it to golden perfection.
Heating the Oil
- In a large skillet, heat about 1/2 inch of vegetable oil over medium heat. You can test the oil is ready by dropping a small piece of bread into the oil; if it sizzles, it’s go time.
Frying the Chicken
- Carefully add the breaded chicken rolls to the skillet, being cautious not to overcrowd the pan.
- Fry for about 4-5 minutes on each side, or until the chicken is golden brown and cooked through. You may need to adjust the heat to ensure the chicken doesn’t burn.
- Use a meat thermometer to check that the internal temperature of the chicken reaches 165°F (75°C).

Serving Chicken Kiev
Once your Chicken Kiev is cooked to perfection, it’s time to serve it up!
Plating Recommendations
- Remove the chicken from the skillet and place it on a paper towel to drain any excess oil.
- Transfer to a serving plate. You can garnish with freshly chopped parsley or lemon wedges for an added touch.
- Serve with a side of your favorite vegetables or a light salad to balance the richness of the dish.
Optional Sides
- Mashed potatoes
- Steamed asparagus
- Rice pilaf
- Garlic bread
Storing Leftovers
If you have any leftovers (which is rare!), you can store them in an airtight container in the refrigerator for up to 3 days.
- Reheat in the oven at 350°F (175°C) for about 15-20 minutes until heated through.
- Avoid microwaving as it may cause the chicken to become soggy.
Tips for Perfect Chicken Kiev
To ensure your Chicken Kiev turns out beautifully every time, consider the following tips:
- Always pound the chicken to an even thickness for uniform cooking.
- Freeze the herb butter before use, as it keeps its shape and prevents it from melting too quickly during cooking.
- Don’t skip the breading step; it adds flavor and texture.
- Use a thermometer to confirm doneness — it takes the guesswork out.
FAQs
Can I make Chicken Kiev ahead of time?
Yes! You can prepare the chicken rolls and bread them ahead of time. Just store them in the refrigerator until you’re ready to fry them. This helps save time on busy nights.
What can I substitute for parsley in the herb butter?
You can use other fresh herbs like dill, chives, or basil to add different flavors to your herb butter, depending on your taste preferences.
Can I bake Chicken Kiev instead of frying it?
Yes, you can bake Chicken Kiev for a healthier option. Preheat your oven to 375°F (190°C), place the breaded chicken on a baking sheet, and bake for about 25-30 minutes or until cooked through and golden brown.
Is Chicken Kiev suitable for freezing?
Absolutely! You can freeze unbreaded chicken rolls for up to 2 months. Just make sure to thaw them in the refrigerator before cooking. Cooked Chicken Kiev can also be frozen for later enjoyment.
What is the best side dish to serve with Chicken Kiev?
Chicken Kiev pairs well with mashed potatoes, garlic bread, or a fresh garden salad. Choose sides that balance the richness of the chicken.
Final Thoughts
Chicken Kiev is a delightful way to elevate a simple chicken dinner into something extraordinary. With its crispy exterior and flavorful, buttery center, it’s sure to impress your family and guests. By following this guide, you’ll be well on your way to mastering this classic dish. Enjoy your homemade Chicken Kiev!
Print
Easy Chicken Kiev Simple Juicy Recipe for Home Chefs
- Total Time: 50 minutes
- Yield: 4 servings 1x
Description
Try this simple juicy Chicken Kiev recipe for home chefs Impress with a crunchy exterior and tender chicken thats easy to make at home
Ingredients
Instructions
- Prep Time: 30 minutes
- minutes: 30
- Cook Time: 20 minutes
- Category: Main Course
- Method: Frying
- Cuisine: Eastern European
Nutrition
- Calories: 400 calories
- Sugar: 1 gram
- Fat: 25 grams
- Saturated Fat: 25 grams
- Carbohydrates: 20 grams
- Fiber: 1 gram
- Protein: 30 grams
Keywords: Chicken Kiev, easy recipe, dinner, main dish, cooking
