
Ultimate Guide to Easy Dried Orange Slices Simple Delicious
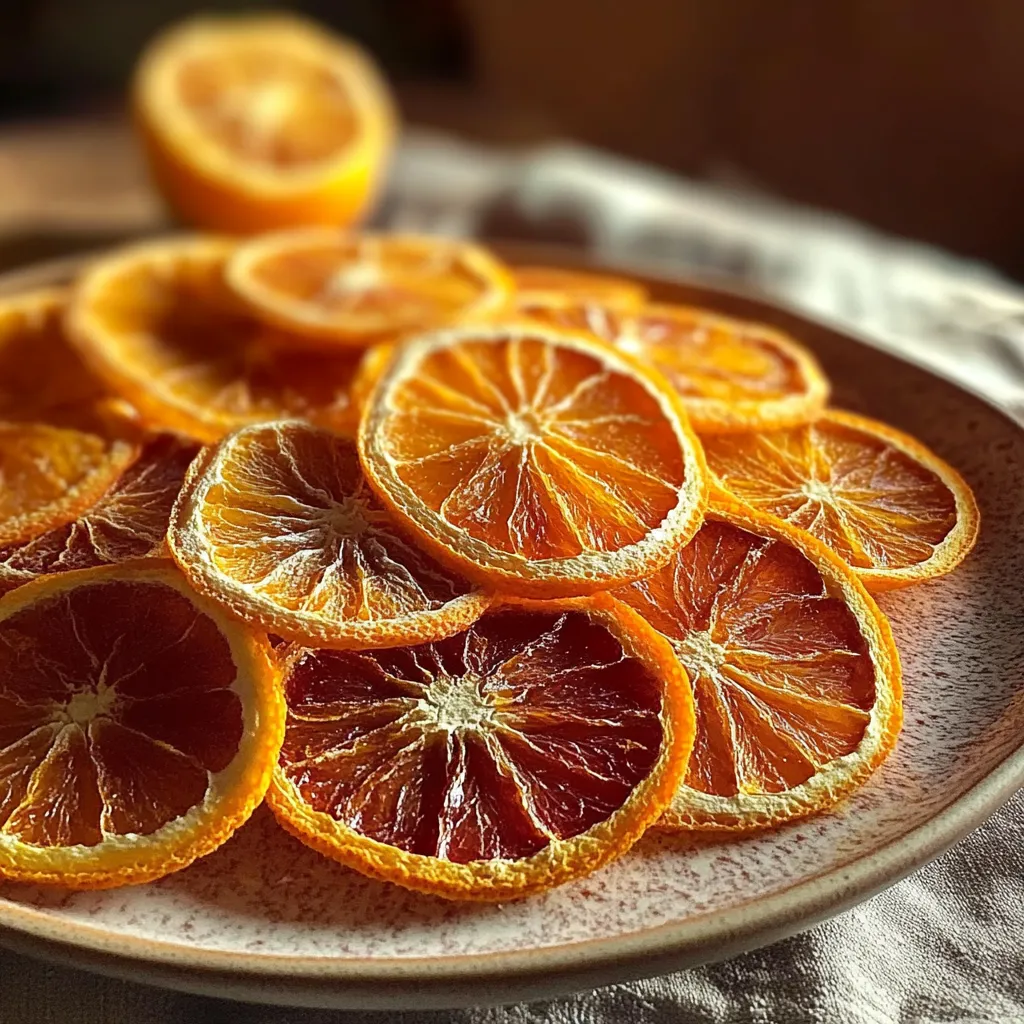
As the crisp air of fall starts to embrace us and the days become shorter, I often find myself reminiscing about cozy afternoons spent wandering through local markets, where the scent of warm spices and citrus mingles in the air. It’s during these moments that I discovered the beauty of dried orange slices. I remember first trying them as a garnish for spiced teas and festive cocktails, my heart fluttering at how something so simple could bring such warmth and charm. They add a sparkle to any dish, whether you’re crafting a party decoration, enhancing a holiday treat, or just indulging in a quiet moment with a cup of tea. Today, I’m excited to share my go-to recipe for Easy Dried Orange Slices, which are not only stunning but also incredibly easy to make!
Why You’ll Love This Recipe
- Effortless and straightforward – perfect for beginners!
- Transformative – they elevate your dishes and drinks instantly.
- Natural sweetness that brings warmth and brightness.
- Great for snacking or a lovely addition to holiday decor.
- Can be customized with spices for added flavor!
Ingredients
- 3–4 medium oranges (navel or blood oranges are delicious!)
- 1–2 tablespoons of sugar (optional, for dusting)
- 1 teaspoon of cinnamon (optional, for a warm spice note)
- Fresh mint leaves (for garnish, optional)
Tip: The key to vibrant colors in your dried slices is to use fresh, unblemished oranges. Since the zest will shine through, organic oranges are a fantastic choice if you can find them!
Step-by-Step Instructions
- Prep Your Oranges: Start by preheating your oven to 175°F (or about 80°C). It’s a low and slow approach, ensuring those lovely slices dry evenly without burning.
- Slice It Up: Grab a sharp knife or mandoline and slice the oranges into thin wheels, about 1/4 inch thick. The thinner, the better! If they are too thick, they might take too long to dry.
- Arrange on a Baking Sheet: Line a baking sheet with parchment paper (this makes cleanup a breeze!). Lay the orange slices out in a single layer, ensuring they’re not overlapping. Give them room to breathe!
- Sweeten (Optional): If you want a touch of sweetness, sprinkle the sugar lightly over the slices. You can also sprinkle cinnamon for a twist of spice that’s perfect for fall!
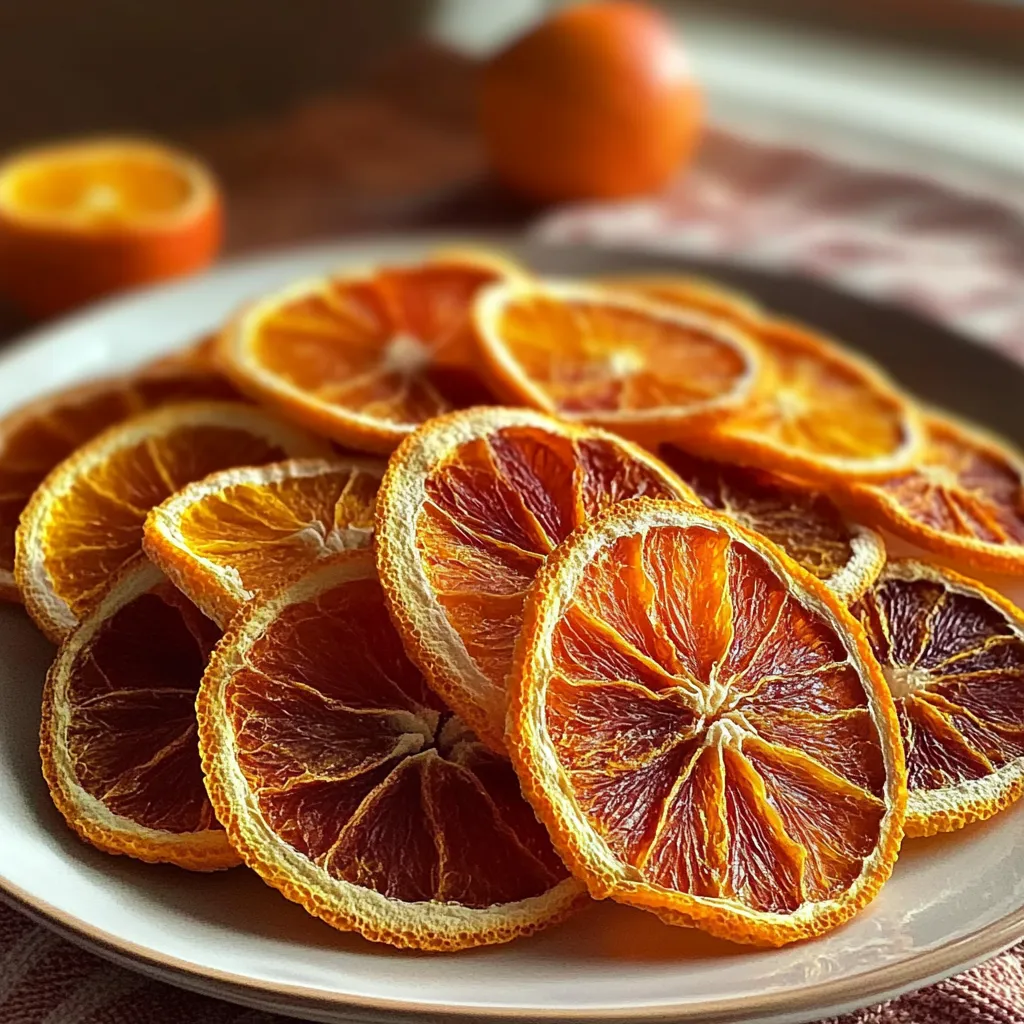
- Bake & Wait: Pop the tray in the oven and set a timer for 3-4 hours. Yes, you read that right! It’s about patience. The oranges should look dried and slightly translucent but not browned. Feel free to flip them halfway for even drying!
- Cool & Store: Once they’re dried to your liking, take the baking sheet out of the oven and let them cool completely. Once cooled, they can be stored in an airtight container for up to two weeks. But let’s be honest, they may not last that long!
Word of advice: Resist the urge to rush this process! You want those delightful slices dried out beautifully, so keeping the oven at a low temperature is key.
Pro Tips & Variations
Your kitchen is your canvas! Here are a few playful ideas to take your dried orange slices up a notch:
- Spicy Kick: Try adding a sprinkle of cayenne pepper for a unique, spicy touch.
- Mixed Citrus: Mix in other citruses like lemons or limes for a vibrant platter.
- Herbal Notes: Infuse the sugar with dried lavender or rosemary before sprinking, for a floral twist.
- Gifts from the Kitchen: Package your dried slices in pretty bags as holiday gifts. They bring a delightful charm!
Serving Suggestions
The beauty of these Easy Dried Orange Slices lies in their versatility. Here are some dreamy ways to serve them:
- In Your Drinks: Float a slice on top of your hot tea or mulled wine for a beautiful garnish.
- As a Snack: Enjoy them on their own or with a handful of nuts; it creates a lovely balance of flavors.
- On Your Breakfast: Add them to your oatmeal or yogurt for a zesty morning kick.
- Cheese Boards: Include them on a charcuterie board for a gorgeous pop of color alongside your favorite cheeses.
Picture a cozy evening with friends, sipping on spiced apple cider, and garnishing each glass with these radiant orange slices. Instant charm, don’t you think?
Storage Tips
These beauties can be stored without losing their charm! Here’s how:
- Refrigerate: If you’d like them to last longer, store them in an airtight container in the fridge. They’ll maintain their flavor for a couple of weeks.
- Freeze: For longer storage, freeze them on a baking sheet first until solid, then transfer to a freezer-safe bag. They can last up to six months!
- Reheat: Should you want to enjoy them again, a quick pop in the oven at a low heat can revive their fragrance.
FAQs
Can I use other fruits to make dried slices?
Absolutely! Apples, lemons, grapefruits, and even pears can be dried in the same way. Just remember that different fruits may need slight adjustments in drying time!
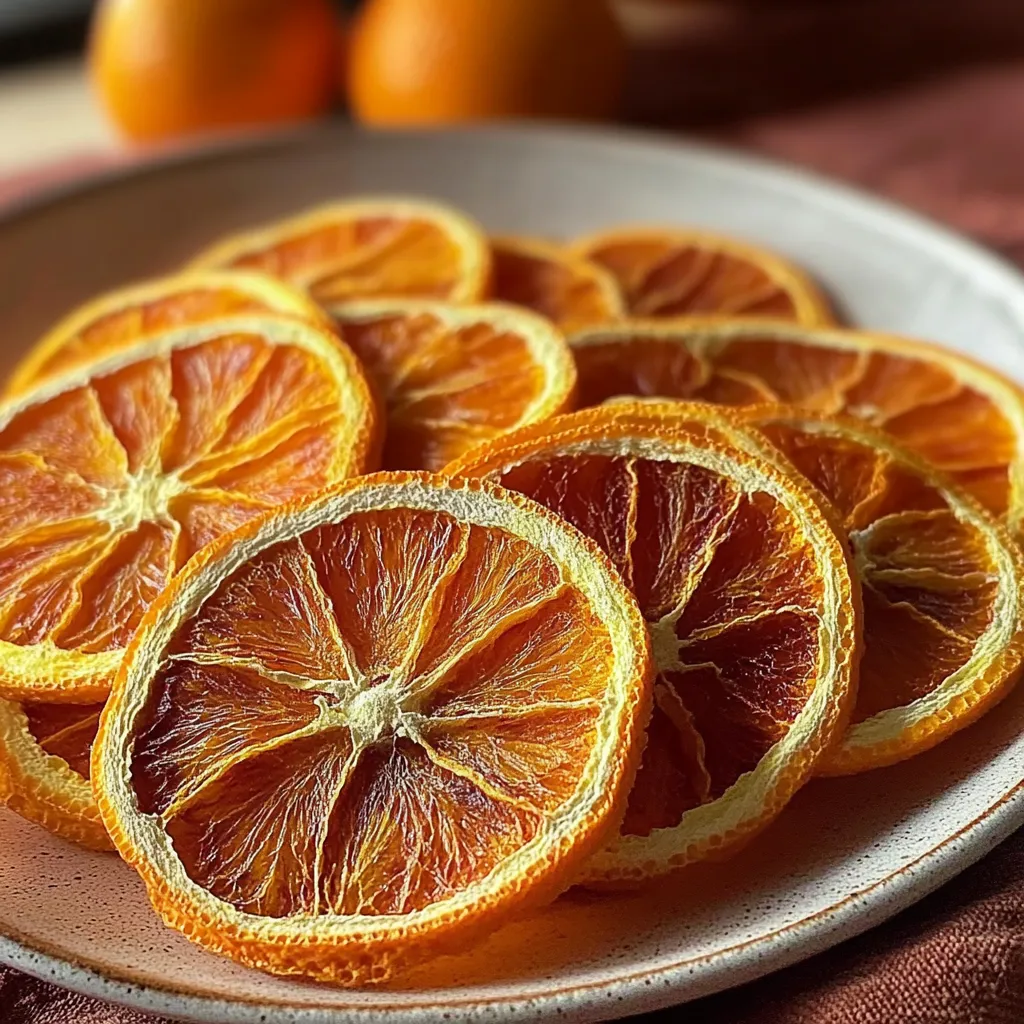
How do I know when the orange slices are done drying?
Look for a translucent appearance with no moisture! They should be stiff but not brittle. The edges might curl slightly, and that’s perfectly fine!
Do I need to peel the oranges before slicing?
No need to peel! The peel holds so much flavor and adds to the visual appeal. Plus, it makes things simpler!
What can I do with dried orange slices besides snacking?
The possibilities are endless! Use them for potpourri, as beautiful wreath decorations, or even infused in homemade oils for cooking!
Conclusion
Making Easy Dried Orange Slices not only adds a splash of color and flavor to your life, but it also turns an ordinary kitchen session into something a bit more special. Whether you use them in drinks, as a delightful snack, or present them as stunning decorations, I hope they bring joy to your kitchen and home! If you try this recipe, please share your thoughts, or any creative twists you experiment with—I’d love to hear about your delicious adventures! Happy drying!

Ultimate Guide to Easy Dried Orange Slices Simple Delicious
- Total Time: 195 minutes
- Yield: About 20 slices 1x
Description
Discover quick methods for dried orange slices that are simple tasty and perfect for snacks or decor Enhance your culinary skills today
Ingredients
Instructions
Notes
A simple and delightful recipe for making dried orange slices that add charm and flavor to your drinks and dishes.
- Prep Time: 15 minutes
- Cook Time: 180 minutes
- Category: Dessert
- Cuisine: American
Nutrition
- Serving Size: About 20 slices
- Calories: 50 calories per serving
- Sugar: 8g
- Fat: 0g
- Carbohydrates: 13g
- Fiber: 2g
- Protein: 1g
Keywords: dried orange slices, snacks, holiday decor, citrus, easy recipes