
Deliciously Spooky Eyeball Cake Pops Fun DIY Recipe Tips
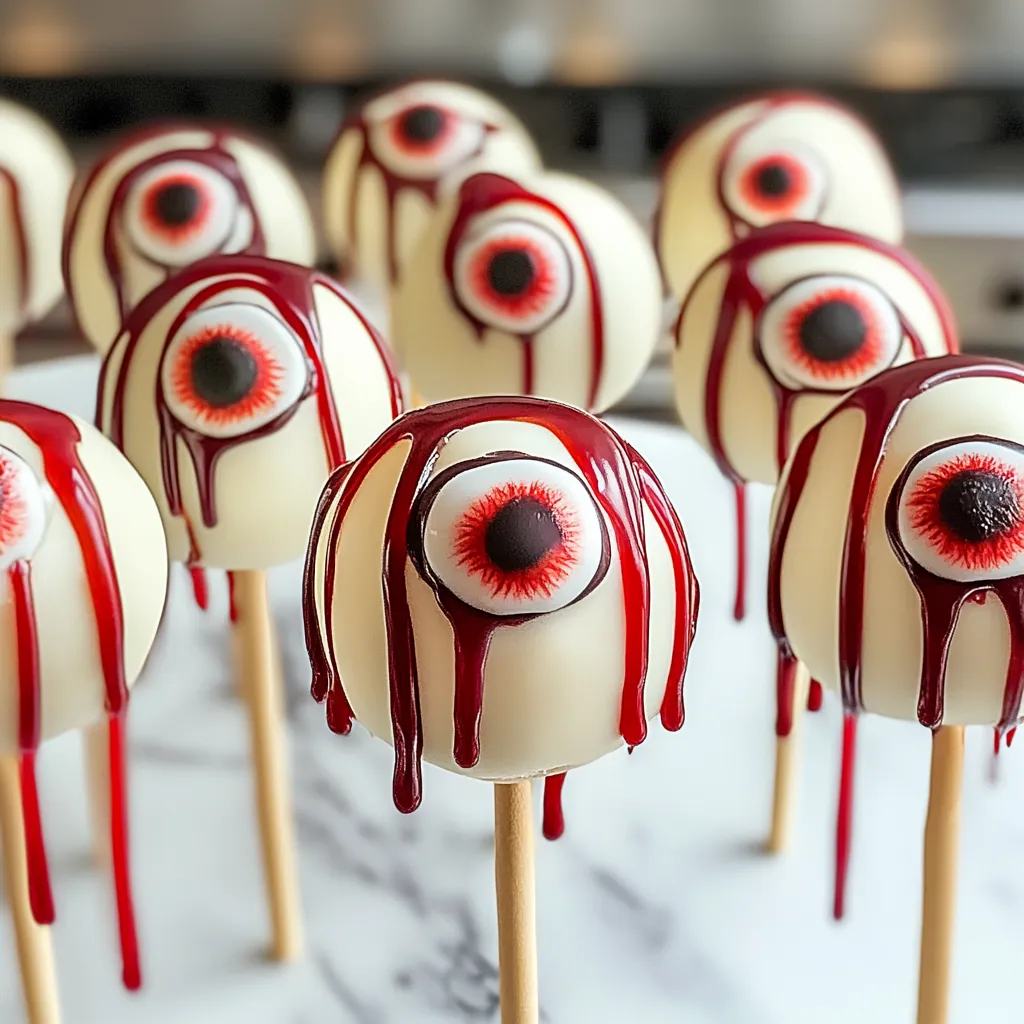
Gather ’round, my friends! Halloween is just around the corner, and that means it’s time to get our spooky on! I vividly remember my first Halloween party in high school; it was all about the creepy decorations, the ghost stories, and of course, the ghoulish treats. One year, my friend brought these absolutely fabulous cake pops shaped like eyeballs, and they were the star of the show! I can still picture those vibrant red veins and the sweet whites staring up at me. That’s the spirit that inspired me to create this Eyeball Cake Pops recipe. It’s so much fun to make and even more delightful to eat – you’ll have your friends and family squealing with joy (or fright!) when they see these little creations. Plus, they’re perfect for parties, especially during spooky season!
Why You’ll Love This Recipe
- Creative and Fun: These eyeball cake pops are a hit, especially with kids and Halloween lovers!
- Perfect for Parties: They’re great for adding a spooky twist to your gathering.
- Customizable: You can play around with flavors and colors to make them your own.
- Easy to Make: Even if you’re not a baking wizard, these pops come together easily with a little patience.
- Tasty Treat: Who doesn’t love cake, frosting, and chocolate? It’s a combo that never disappoints!
Ingredients
Let’s gather our little potion ingredients! You’ll need:
- 1 box of cake mix (flavor of your choice – I recommend vanilla or chocolate)
- Ingredients needed for cake mix (usually eggs, oil, water)
- 1 1/2 cups frosting (store-bought or homemade)
- 1 package of candy melts (white)
- 1 package of edible googly eyes
- Red gel food coloring (for those spooky veins)
- 4 ounces of lollipop sticks (you can find these in baking supply stores)
- Sprinkles (optional, for extra decoration)
Note: Don’t skip on the candy melts; they’re the magic that transforms these cake pops into eye-popping treats!
Step-by-Step Instructions
Now, let’s dive into the fun part! Here’s how to whip up these delightfully eerie eyeball cake pops:
- Bake the Cake: Preheat your oven according to the instructions on your cake mix box. Prepare your cake batter as directed and pour it into a greased cake pan. Bake until a toothpick comes out clean, usually about 25-30 minutes. Keep an eye on it – nobody wants a cake disaster!
- Cool and Crumble: Once baked, allow the cake to cool completely – this is crucial for handling it later! Once cool, crumble the cake into a large bowl. Use your fingers or a fork – get in there and break it down into fine crumbs.
- Mingle with Frosting: Add the frosting to the crumbled cake. Start with about a cup and mix it in well. You want the mixture to be moldable, but not soggy. If it’s too dry, add a bit more frosting until you reach that perfect consistency.
- Shape the Eyeballs: Your mixture is ready! Roll it into 1-inch balls. They don’t have to be perfect; the wobbly look adds to the charm! Place the balls on a baking sheet lined with parchment paper.
- Chill Out: Pop the baking sheet into the fridge for about 30 minutes. This will help the cake pops hold their shape when you dip them in chocolate.
- Melt Chocolate: While your pops chill, melt the white candy melts according to the package instructions. You can do this in a microwave or a double boiler—just make sure to stir often so they don’t burn!
- Prepare the Eyeballs: Take the chilled cake balls out of the fridge. Dip the tip of each lollipop stick into the melted chocolate, then insert it into the center of each cake ball. This helps the stick stay in place!
- Dip the Cake Pops: Now comes the fun part! Dip each cake pop into the melted chocolate, letting the excess drip off. You want a nice, even coating. If you’re feeling adventurous, you can sprinkle some colored sprinkles on top before the chocolate hardens.
- Decorate with Eyes: Place a googly eye on each dipped cake pop before it sets. Get creative with the placement for extra spooky vibes!
- Add Some Veins: Using the red gel food coloring, gently squeeze out some “veins” on the eyeballs. Be sure to do this while the chocolate is still wet so they stick. This step is essential for that authentic eyeball look!
- Let Them Set: Place the finished cake pops upright in a cake pop stand or a piece of styrofoam to let the chocolate harden completely.
Pro Tips & Variations
Wanna jazz it up? Here are some playful twists you can try:
- Flavor Variations: Experiment with different cake flavors like red velvet or lemon for a fun surprise!
- Vegan Adaptation: Use a vegan cake mix and vegan frosting for a delightful dairy-free version.
- Colorful Fun: Instead of just white chocolate, use colored candy melts for a rainbow of eyeball colors! Think green for monster eyeballs!
- Add Texture: Crushed nuts or cookies can be added to the cake mixture for extra crunch!
Serving Suggestions
How do I like to serve these spooky treats? Picture a platter filled with these creepy yet cute eyeball pops sitting on a black lace tablecloth, nestled among some flickering candles and fake spider webs. They’re perfect for Halloween parties, kids’ events, or just enjoying at home with a spooky movie. Pair them with a big mug of hot cocoa or some autumn spiced cider for a delightful treat that cheers up any chilly night!
Storage Tips
Wondering how to keep these delectable eyeball pops fresh? Here’s what to do:
- Refrigerate: Keep the cake pops in an airtight container in the fridge for up to a week. Just remember to separate layers with parchment paper to avoid any sticking.
- Freeze: You can freeze these cake pops before dipping! Just wrap them tightly in plastic wrap and then in foil, and they’ll keep for about 2 months. To eat, let them thaw in the fridge for a few hours before dipping.
- Reheat Dipping Chocolate: If you have leftover melted chocolate, store it in the fridge and warm it up in the microwave shortly before dipping more pops.
FAQs
Can I use a cake from scratch instead of a mix?
Absolutely! If you have a favorite cake recipe, go for it! Just make sure it’s a nice, moist cake so it crumbles well for the pops.
What if I want to make these non-spooky?
No worries! You can make them for any occasion. Just skip the red food coloring and use metallic sprinkles for a festive touch instead!
Can I ship these as gifts?
Yes! Just make sure to pack them securely in a sturdy box with padding between each pop so they don’t squish. They’ll make delightful, spooky gifts!
How can I cleanly melt the candy melts?
Microwaving in 30-second intervals, stirring in between, is the key! It helps avoid hot spots. Using a double boiler is another great method for keeping it smooth.
Conclusion
There you have it, friends! These Eyeball Cake Pops are one of those delightful things that spark joy in both creation and consumption. I can’t wait for you to whip these up in your kitchen and share your spooky treats! Don’t forget to tell me how they turned out or what fun variations you tried. Happy baking, and may your Halloween be filled with chills and delightful treats!
Print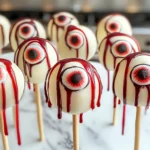
Deliciously Spooky Eyeball Cake Pops Fun DIY Recipe Tips
- Total Time: 1 hour
- Yield: 24 cake pops 1x
Description
Create spooky eyeball cake pops with this fun DIY recipe Discover tips for making these delicious treats perfect for Halloween parties 153 chars
Ingredients
Instructions
- Prep Time: 30 minutes
- chill time: 30 minutes
- Cook Time: 30 minutes
- Category: Dessert
- Cuisine: American
Nutrition
- Calories: 150 calories
- Sugar: 10 grams
- Fat: 6 grams
- Saturated Fat: 6 grams
- Carbohydrates: 22 grams
- Fiber: 1 gram
- Protein: 2 grams
Keywords: Halloween, cake pops, dessert, eyeball cake pops, spooky treats