
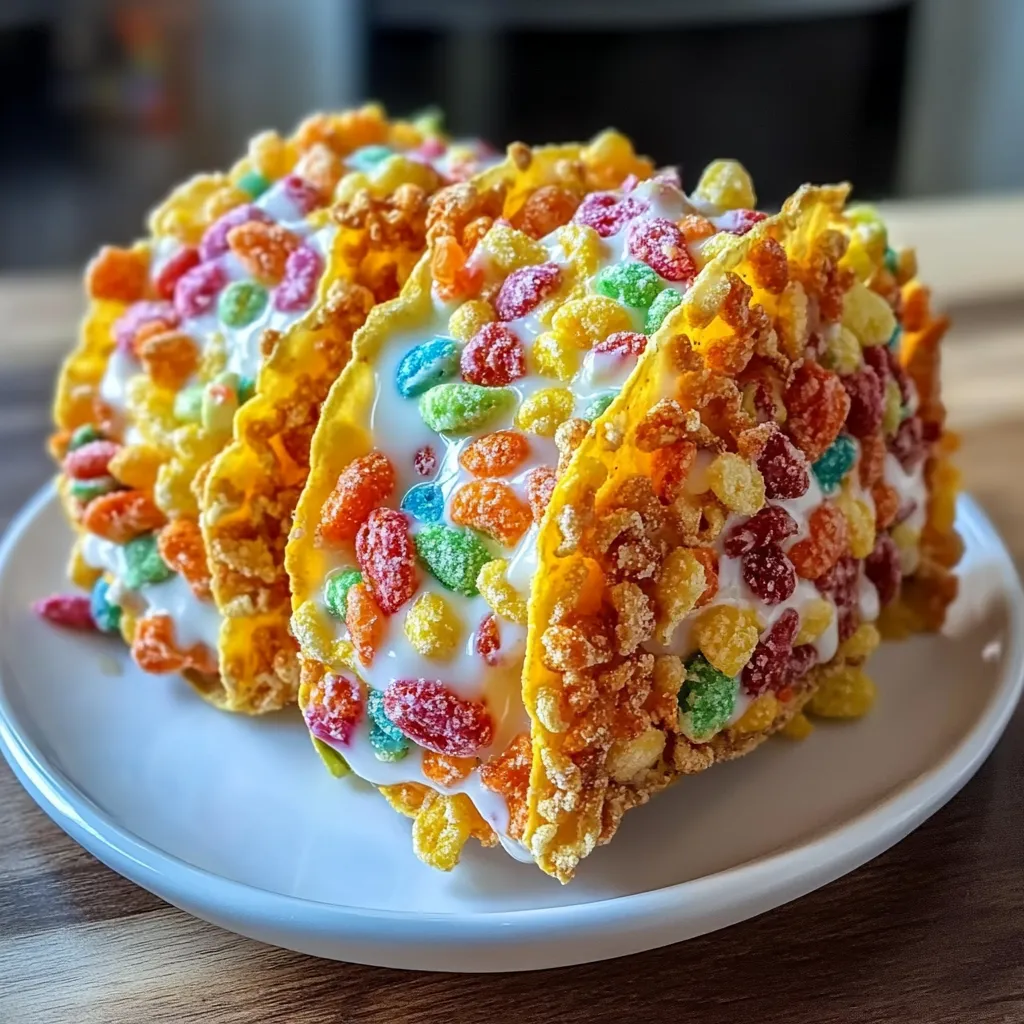
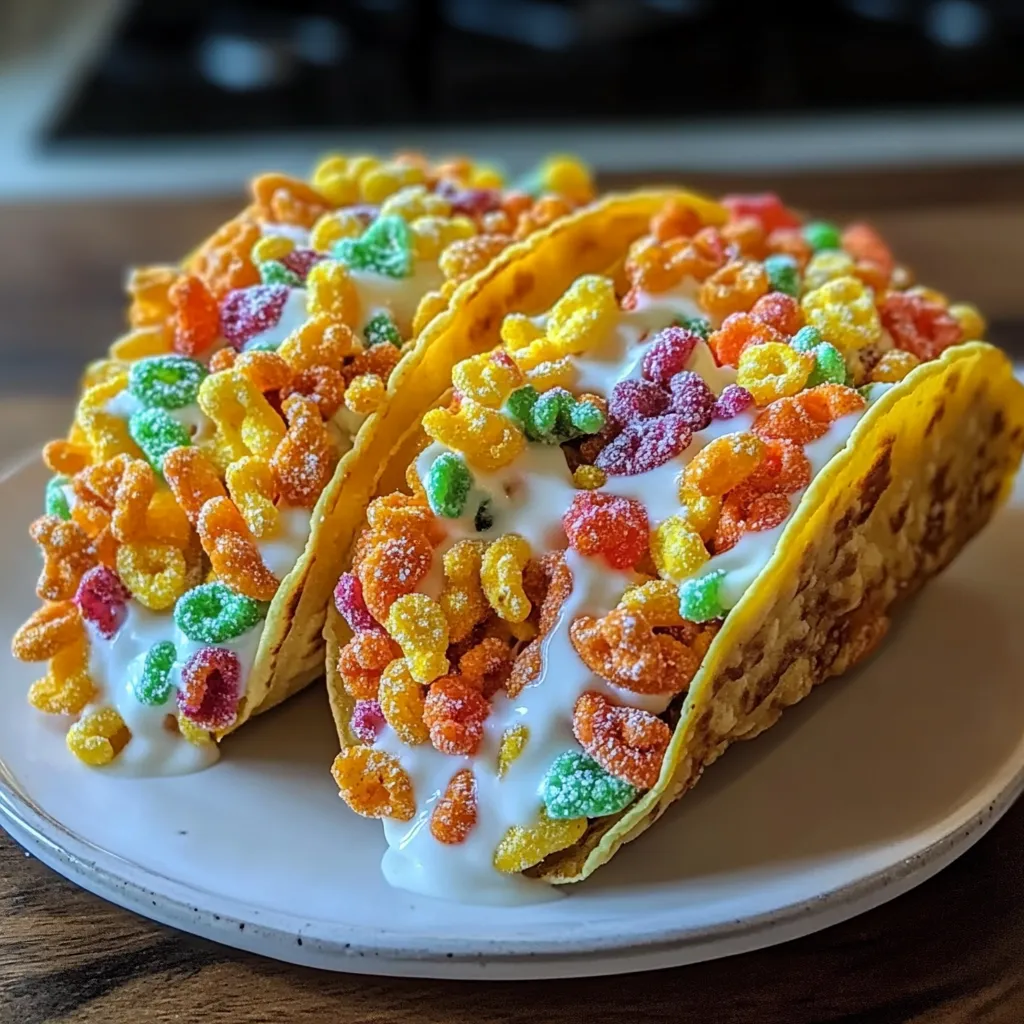
Fruity Pebbles Cheesecake Tacos Irresistible Dessert Treat
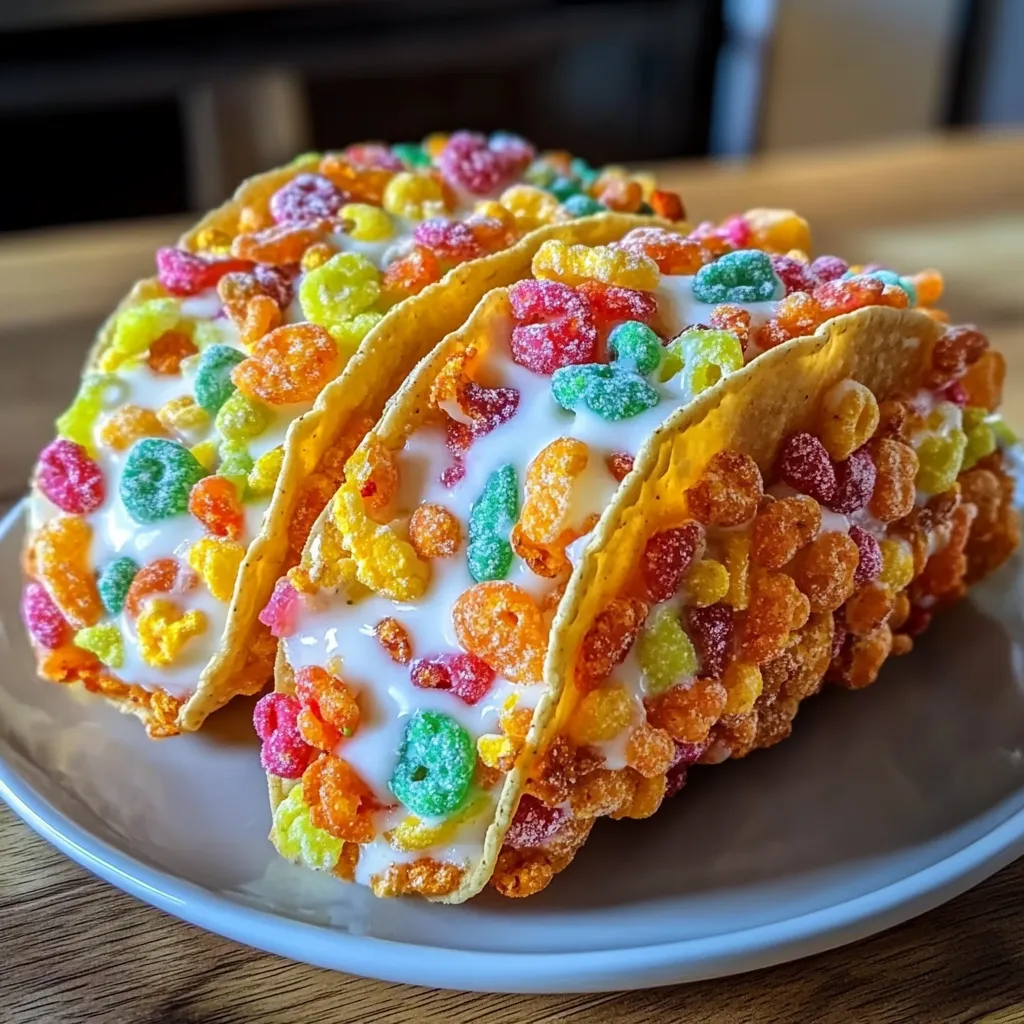
Oh, the joy of desserts! They have this magical way of lifting our spirits and bringing a smile to our faces. I can still remember the first time I had Fruity Pebbles cereal as a child; the vibrant colors alone made breakfast feel more like a party than a meal. So, when I decided to combine the nostalgia of those rainbow-hued cereal treats into something a little more decadent, Fruity Pebbles Cheesecake Tacos were born! Trust me, dear friends, this combination is not only as delicious as it sounds but also loads of fun. Picture these adorable, crunchy taco shells filled with creamy, dreamy cheesecake goodness and topped with a sprinkling of fruity cereal bliss – it’s a treat that’s bound to brighten any day!
Why You’ll Love This Recipe
- Simple to whip up, making it perfect for a weeknight treat or a weekend gathering.
- Fun for all ages – kids and adults alike will adore assembling their own tacos!
- Bright, colorful presentation that’s a feast for the eyes as well as the tastebuds.
- Customizable! Switch up the fillings or toppings to suit your personal taste.
Ingredients
Let’s gather our supplies! Here’s what you’ll need to create these delightful Fruity Pebbles Cheesecake Tacos:
- For the Taco Shells:
- 1 cup fruity pebble cereal (plus extra for garnish)
- 2 tablespoons sugar
- ¼ cup unsalted butter, melted
- 1 cup graham cracker crumbs
- 1 teaspoon cinnamon
- For the Cheesecake Filling:
- 8 oz cream cheese, softened
- ½ cup powdered sugar
- 1 teaspoon vanilla extract
- ½ cup heavy whipping cream
- 1 tablespoon lemon juice
Notes:
- If you’re feeling fancy, consider using a flavored cream cheese for an extra kick!
- Whipping the heavy cream to soft peaks before folding it into the cream cheese mixture will lend a light and airy texture to your filling.
Step-by-Step Instructions
Ready to bring these dreamy tacos to life? Let’s get to it!
- Prepare the Taco Shells: Start by preheating your oven to 350°F (175°C). In a bowl, combine the fruity pebble cereal, sugar, melted butter, graham cracker crumbs, and cinnamon. Make sure everything is well mixed!
- Shape the Shells: Using a tablespoon or small cookie scoop, scoop a small amount of the mixture and press it firmly into a taco mold or upside-down muffin tin to shape your taco shells. Don’t worry about perfection; a little texture adds character!
- Bake! Bake in the preheated oven for about 8-10 minutes or until they’re golden and fragrant. Be sure to keep an eye on them; if they burn, they won’t have that delightful crunch we love.
- Cool the Shells: Remove from the oven and let them cool completely in the molds. This step is crucial to achieve that perfect crispy texture!
- Make the Cheesecake Filling: In a mixing bowl, combine softened cream cheese, powdered sugar, and vanilla extract. Mix until smooth and creamy. Then add the heavy whipping cream and lemon juice, folding gently until the mixture is light and fluffy.
- Assemble: Once your taco shells have cooled, carefully remove them from the molds. Spoon in the cheesecake filling, filling each taco generously.
- Add the Finishing Touches: Top each taco with an extra sprinkle of fruity pebbles. The crunch and the vibrant color will make your dessert look irresistible!
Honestly, what’s better than vibrant colors and sweet flavors? Just make sure to enjoy these right after you make them for that delightful crunch!
Pro Tips & Variations
Get ready to get creative! Here are a few fun variations and tips to elevate your Fruity Pebbles Cheesecake Tacos:
- Flavor Twists: Consider adding a splash of flavored extract like almond or coconut for an extra layer of yumminess!
- Mix It Up: Use other cereals like Cocoa Pebbles or Cinnamon Toast Crunch for alternative flavors.
- Garnishes: Drizzle with chocolate or caramel sauce for that extra dessert decadence, or top with fresh fruit!
- Diet Swaps: Want a healthier version? You could use Greek yogurt instead of cream cheese for the filling (just note it will change the texture a bit).
Serving Suggestions
Picture this: a rustic wooden platter filled with your Fruity Pebbles Cheesecake Tacos arranged like a colorful flower garden. These tacos make for a show-stopping dessert at any gathering! They pair beautifully with a dollop of whipped cream and a tall glass of cold milk or a fruity smoothie to wash it all down. And let’s not forget a cozy evening on the couch with these sweet tacos and a binge-worthy show; it just feels like pure bliss!
Storage Tips
Got leftovers? Not a problem! Here’s how to keep those fruity treasures fresh:
- Refrigerating: Keep any leftover taco shells in an airtight container at room temperature for up to 2 days. For the cheesecake filling, store it in the fridge in a covered container for up to 5 days.
- Freezing: You can freeze the taco shells for later use, but the cheesecake filling doesn’t freeze well due to its creamy texture. You can also freeze assembled tacos; just be prepared for them to be a bit softer when thawed.
- Reheating: If you want to crisp up the taco shells again before serving, a quick 5 minutes in the oven at 350°F will do the trick. Enjoy them while they’re fresh!
Can I use a different kind of cereal?
Absolutely! While Fruity Pebbles are a nostalgia-driven choice, feel free to experiment with your favorite cereals. Cocoa Pebbles, Fruit Loops, or any other crunchy varieties can make for delicious taco shells.
What can I add to the cheesecake filling?
The filling can be customized in so many ways! Add in some mini chocolate chips, rainbow sprinkles, or even a dollop of fruit puree to stir in some natural sweetness and flavor. You’re the chef here – have fun with it!
How do I make these ahead of time?
You can pre-make the taco shells and the cheesecake filling separately. Store them in airtight containers and assemble just before serving to preserve that lovely crunch!
Can I make this gluten-free?
Absolutely! Use gluten-free graham cracker crumbs and ensure your fruity pebbles are certified gluten-free. There are plenty of options out there that maintain that delightful crunch.
Conclusion
And there you have it, friends! Fruity Pebbles Cheesecake Tacos, a whimsical dessert that merges our childhood favorites with a deliciously creamy twist. I can just picture you all gathering around the kitchen, filling your taco shells, and enjoying this colorful treat with loved ones. I’d love to hear how yours turned out! Feel free to comment below with your experience, variations, or just a hello! Happy baking and, most importantly, happy eating!
Print
Fruity Pebbles Cheesecake Tacos Irresistible Dessert Treat
- Total Time: 30 minutes
- Yield: 4 servings 1x
Description
Experience the fun of Fruity Pebbles Cheesecake Tacosan irresistible dessert treat thatll make your taste buds dance with joy
Ingredients
Instructions
- Prep Time: 20 minutes
- Cook Time: 10 minutes
- Category: Dessert
- Cuisine: American
Nutrition
- Calories: 250 calories
- Sugar: 12 grams
- Fat: 15 grams
- Saturated Fat: 15 grams
- Carbohydrates: 30 grams
- Fiber: 1 gram
- Protein: 3 grams
Keywords: Fruity Pebbles, Cheesecake, Tacos, Dessert, Fun Recipe