
Savory Garlic Swirl Rolls Unleash Flavorful Delight Now
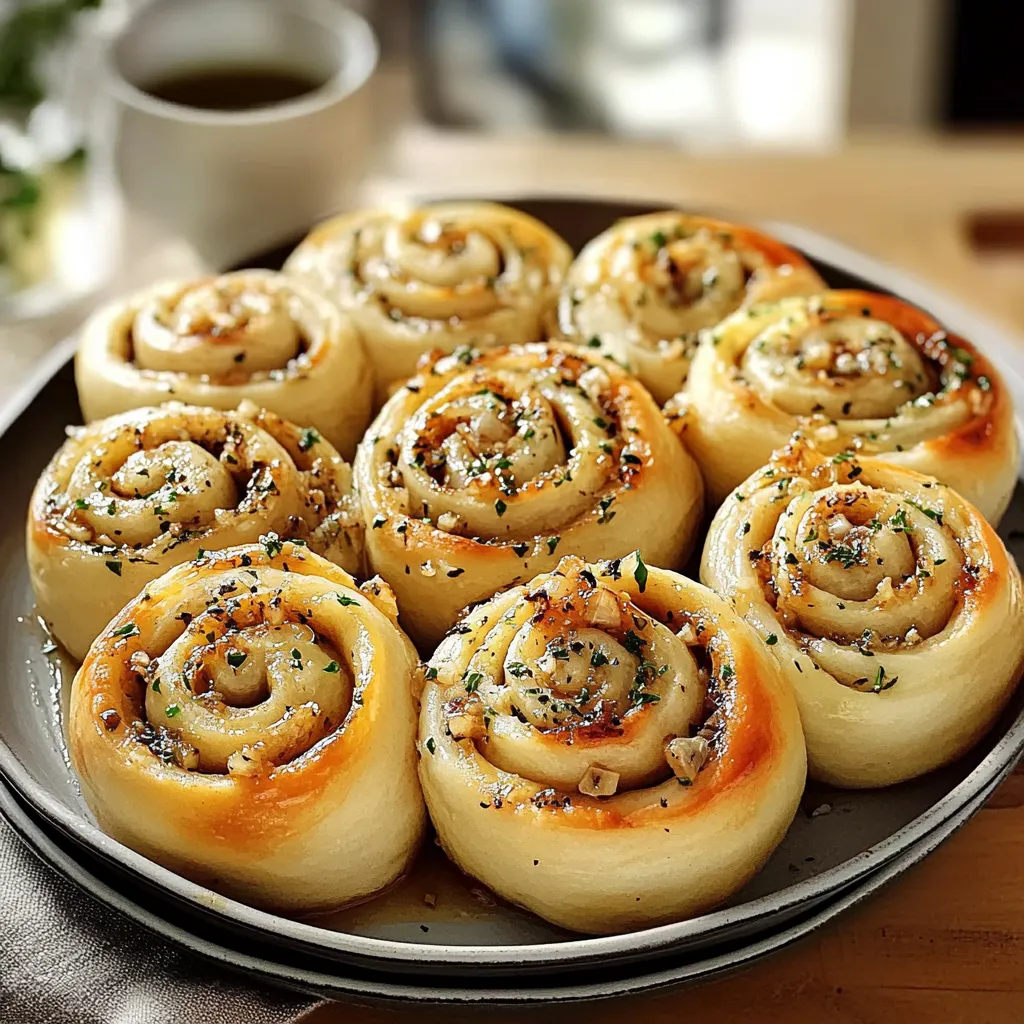
There’s something magical about the aroma of fresh bread baking in the oven, isn’t there? I can still recall those chilly winter afternoons spent in my grandmother’s cozy kitchen, the air thick with the scent of garlic and warm, yeasty dough. She would always have a batch of her famous garlic rolls rising on the countertop, whispering promises of comfort and flavor. It’s those culinary memories that inspired me to create my own twist—Garlic Swirl Rolls. These are fluffy, buttery delights with a rich garlic flavor that wraps around your heart and fills your home with warmth.
What I love most about these Garlic Swirl Rolls is how simple they are to make and how they bring everyone together. Whether it’s a casual weeknight family dinner or a cozy weekend get-together, these rolls instantly elevate the occasion. Plus, they’re a great way to impress friends without too much fuss. Honestly, who can resist a warm roll straight out of the oven, with a swirl of garlic butter melting into the fluffy dough?
Why You’ll Love This Recipe
- Easy and fun to make, perfect for all skill levels.
- Delicious flavor that complements any meal.
- Impressive enough to wow your guests.
- Perfect for meal prep or as a side dish for gatherings.
Ingredients
Alright, let’s gather our ingredients. I promise you won’t need to scour the ends of the earth for these!
- 2 ¼ teaspoons active dry yeast (or 1 packet)
- 1 cup warm milk (about 110°F or 43°C)
- ¼ cup granulated sugar
- 3 ½ cups all-purpose flour (plus more for dusting)
- ½ teaspoon salt
- ½ cup unsalted butter, melted
- 6 cloves of garlic, minced (fresh is the way to go for maximum flavor!)
- ¼ cup fresh parsley, finely chopped
- ½ teaspoon ground black pepper
- 1 large egg (for egg wash, optional)
Pro tip: You can easily swap out the parsley for fresh rosemary for an earthy twist, or add a sprinkle of grated cheese for an extra touch of decadence!
Step-by-Step Instructions
Time to get our hands a little floury! Don’t worry; you’ll be savoring these rolls in no time.
- Activate the Yeast: In a small bowl, combine warm milk and sugar. Sprinkle the yeast on top and let it sit for about 5-10 minutes until it’s bubbly and frothy. That means it’s ready to work its magic!
- Make the Dough: In a large mixing bowl, combine flour and salt. The warm milk mixture should be added to the flour, along with half of the melted butter. Mix it all together until it forms a sticky dough. Don’t be afraid to get your hands in there!
- Knead It Out: Dust your countertop with a little flour and knead the dough for about 5-7 minutes until it’s smooth and elastic. If you’re not sure, the dough should spring back when you poke it—like a good pillow for your head!
- First Rise: Place your kneaded dough in a greased bowl, cover it with a clean kitchen towel, and let it rise in a warm place for about 1 hour, or until doubled in size. This is when the magic happens!
- Prepare the Garlic Butter: While the dough rises, mix the rest of the melted butter with minced garlic, parsley, and black pepper in a bowl. Your kitchen is going to smell heavenly, I promise!
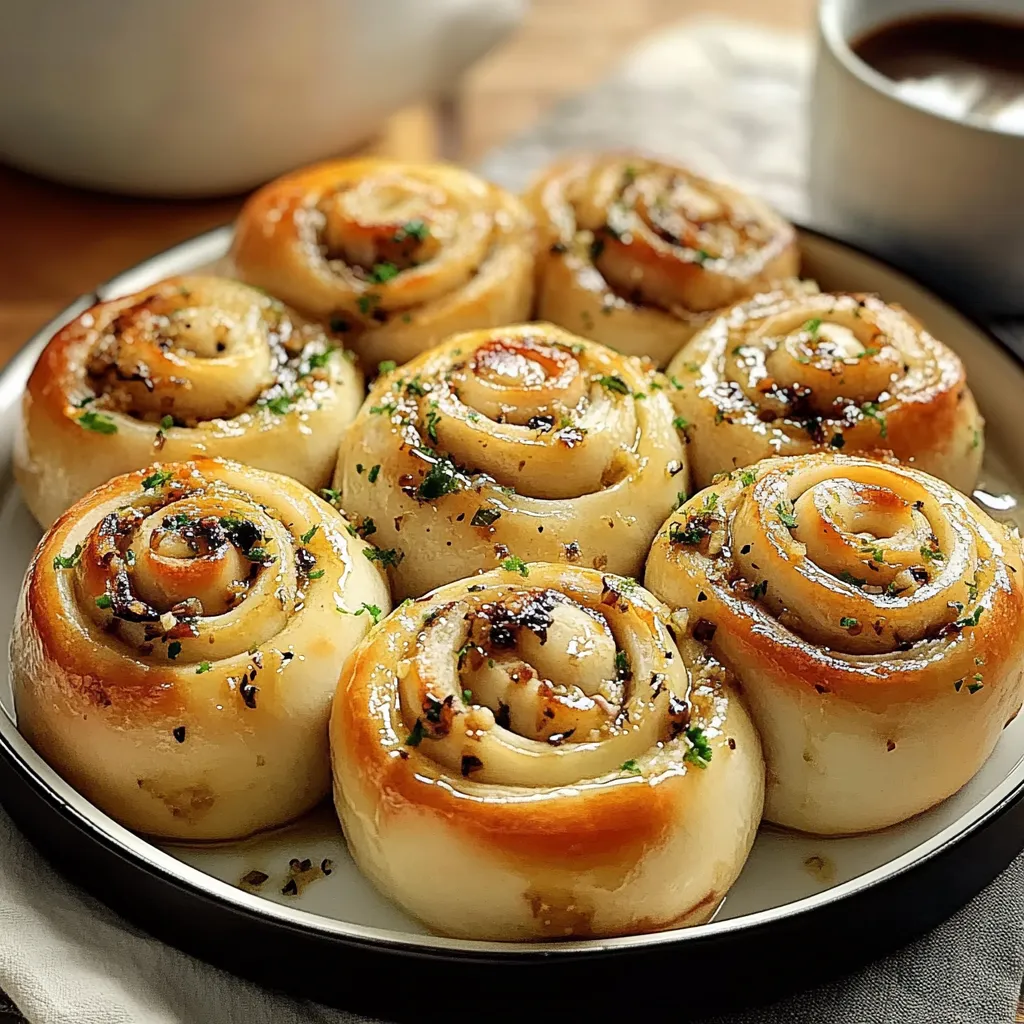
- Roll It Out: Once your dough has risen, punch it down gently. On a floured surface, roll it out into a large rectangle, about ¼ inch thick. Spread the garlic butter mixture evenly over the dough, leaving a little space at the edges.
- Roll and Cut: Starting from one edge, carefully roll the dough into a tight log, like wrapping up a cozy blanket. Use a sharp knife or dental floss (seriously, it works like a dream!) to cut the log into 12 equal pieces.
- Second Rise: Place the rolls in a greased baking dish, cover, and let them rise for another 30 minutes. Feel free to take this time to make some tea or crack open a book.
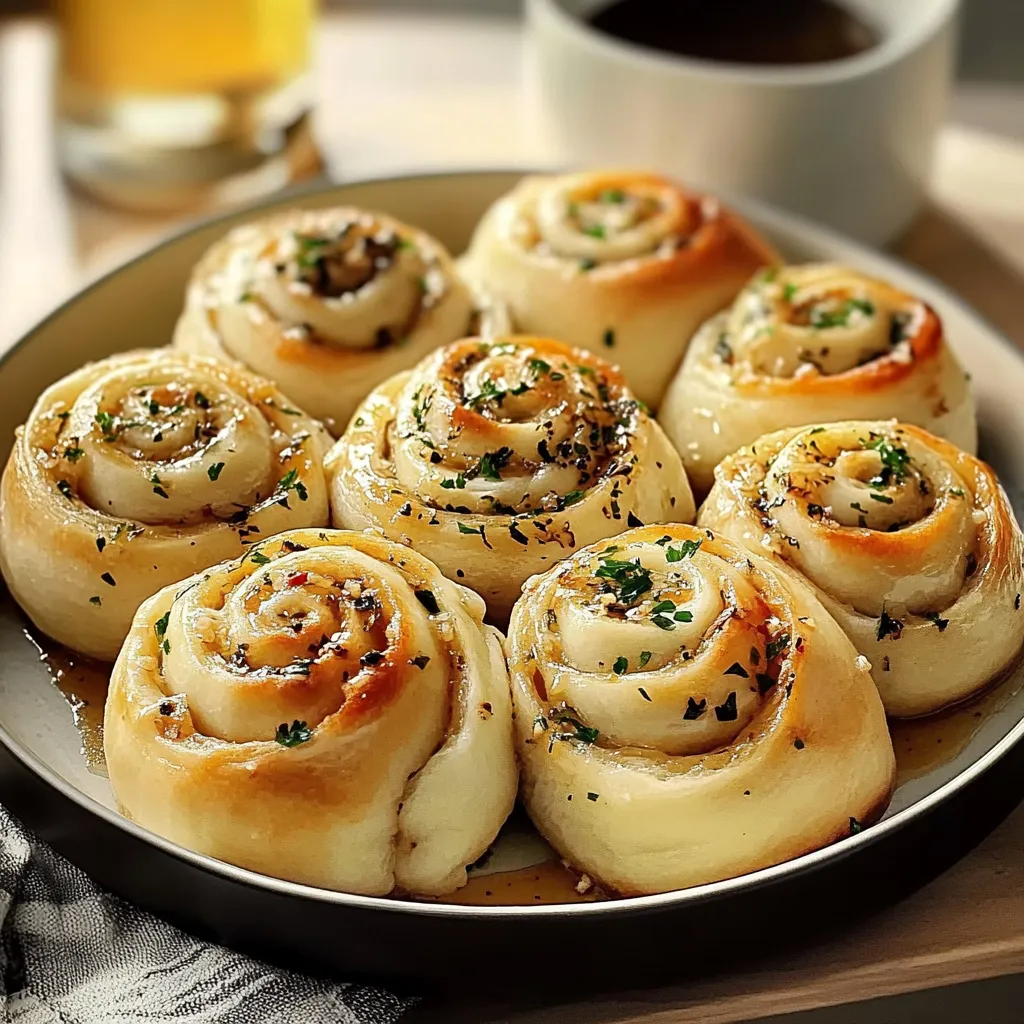
- Bake Them Up: Preheat your oven to 375°F (190°C). If you want a beautiful golden color, brush the tops of the rolls with the beaten egg. Bake for 25-30 minutes, or until the tops are golden brown and the rolls sound hollow when tapped. The best part? Your home will smell like a bakery.
- Cool and Enjoy! Let them cool for a few minutes before devouring those delightful garlic swirls!
Pro Tips & Variations
Want to mix things up? Here are some of my favorite variations:
- Herb Infusion: Add dried oregano and thyme to the garlic butter for an Italian flair!
- Cheesy Delights: Sprinkle some shredded mozzarella or cheddar inside the roll before you cut them! Your rolls will be ooey-gooey delicious.
- Vegan Twist: Substitute coconut milk for regular milk and use vegan butter. You can also omit the egg wash for a perfectly golden crust.
Serving Suggestions
These Garlic Swirl Rolls shine best when paired with your favorite dishes. Try serving them alongside a warm bowl of tomato soup or a fresh, robust salad for a well-rounded meal. They also make the best snack with a dollop of herb-infused cream cheese or just plain butter. Picture this: a snowy night outside, a plate of these rolls nestled beside a steaming cup of your favorite soup, wrapped in a cozy blanket… bliss!
Storage Tips
These rolls are so delicious; you might not have any leftovers, but just in case—here’s how to keep them fresh:
- Refrigeration: Store any leftover rolls in an airtight container in the fridge for up to 3 days. Simply reheat them in the oven for a few minutes before serving.
- Freezing: Allow the rolls to cool completely, then freeze them in a single layer. Once frozen, transfer them to a freezer-safe bag for up to a month. When you’re ready to enjoy, just entangle them slightly and pop them in the oven!
- Reheating: Thaw in the fridge overnight, then heat in the oven at 350°F (175°C) for about 10-15 minutes or until warmed through.
FAQs
Aren’t these rolls a bit too garlicky?
Not at all! The garlic flavor is rich but balances beautifully with the buttery dough. If you’re cautious about garlic, you can always reduce the amount according to your taste.
Can I use whole wheat flour instead of all-purpose flour?
Absolutely! Just know that whole wheat flour might yield a denser roll. You can also mix half whole wheat and half all-purpose for a healthier version!
What can I do with leftover rolls?
These rolls make for a fabulous breakfast! Just toast them lightly and spread some jam or honey. You could also use them as a base for garlic bread sandwiches.
Can I make the dough ahead of time?
You bet! You can prepare the dough and let it rise, then store it in the fridge for a day. Just bring it back to room temperature before shaping and baking.
Conclusion
And there you have it—Garlic Swirl Rolls that are not only a labor of love but also a dish to cherish. I hope you enjoy making these rolls as much as I do. Whether it’s for a gathering or just a quiet night at home, these little treasures will surely bring joy to your table. I’d love to hear how yours turn out, so please share your thoughts and any variations you try in the comments below. Happy baking, friends!

Savory Garlic Swirl Rolls Unleash Flavorful Delight Now
- Total Time: 1 hour 30 minutes
- Yield: 12 rolls 1x
Description
Indulge in Garlic Rolls that capture rich flavors Enjoy this delightful technique for a savory treat perfect for any occasion 155 chars
Ingredients
Instructions
- Prep Time: 1 hour
- hour: 1
- Cook Time: 30 minutes
- Category: Breads
- Cuisine: American
Nutrition
- Calories: 200 calories
- Sugar: 1 g
- Fat: 8 g
- Saturated Fat: 8 g
- Carbohydrates: 30 g
- Fiber: 1 g
- Protein: 4 g
Keywords: Garlic Swirl Rolls, Bread Recipe, Comfort Food