
Spooktacular Graveyard Dirt Cup Halloween Treats Recipe
Ah, Halloween! There’s just something magical about this time of year, isn’t there? The air grows crisp, leaves begin to turn, and all around us, there’s a buzz of spookiness and excitement. I can vividly remember the last Halloween party I hosted—decorating the house with all things eerie, and, of course, whipping up a feast of delightfully creepy treats. Among the spooky offerings, the one treat that disappeared the fastest was my special Graveyard Dirt Cup Halloween Treats.
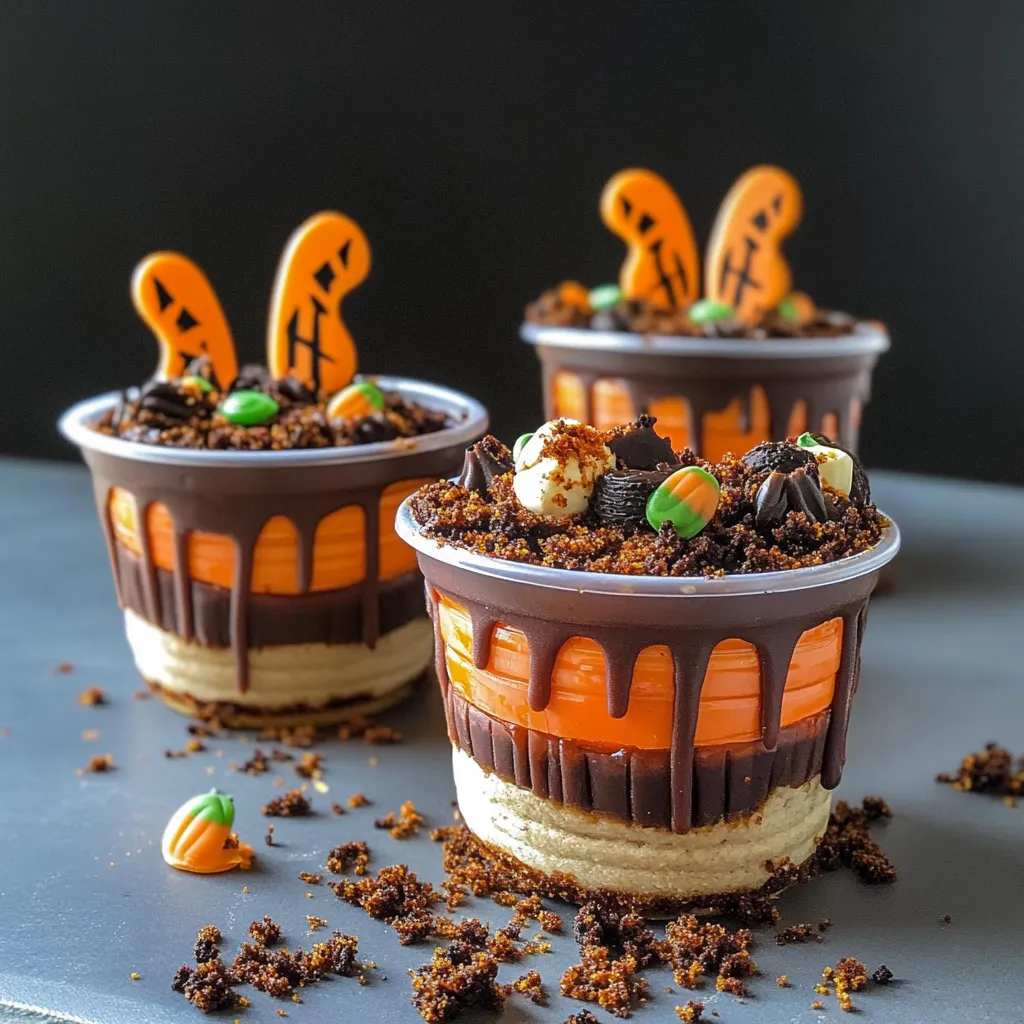
Picture this: a cup filled with velvety chocolate pudding, crumbled Oreo “dirt,” and gummy worms peeking out to scare (and delight) everyone! It’s not just a treat; it’s an experience that invites laughter and a few delightful gasps. Who wouldn’t want to dig into something that looks like it’s straight from a graveyard? It’s fun, it’s easy to make, and most importantly, it tastes divine. So, roll up your sleeves, let’s make something spooky and scrumptious together!
Why You’ll Love This Recipe
- Easy to Assemble: Perfect for both kids and adults; just layer and go!
- Budget-Friendly: A few simple ingredients and minimal prep make this a cost-effective treat.
- Fun for All Ages: Great for parties, gatherings, or just a spooky family night.
- Decadently Delicious: Rich chocolate pudding combined with crunchy Oreos is a winning combination.
Ingredients
Before we dive in, let’s gather our ingredients. Here’s what you’ll need:
- 1 package (3.9 oz) instant chocolate pudding mix
- 2 cups cold milk
- 1 cup whipped topping (like Cool Whip)
- 1 package (15 oz) Oreo cookies (crushed)
- 1 package gummy worms (or your favorite Halloween candies)
- Optional: chocolate cookie crumbs for extra topping
Note: Using cold milk is crucial for getting that perfect consistency in your pudding. If you want to really amp up the chocolate flavor, feel free to use chocolate milk!
Step-by-Step Instructions
Now that we’ve everything prepped, let’s get to the fun part—making our graveyard dirt cups!
- Prepare the Pudding: In a mixing bowl, combine the instant chocolate pudding mix and cold milk. Whisk them together for about 2 minutes until the pudding thickens. It should be luscious and slightly pourable.
- Add Whipped Topping: Gently fold in the whipped topping into the pudding mixture. Do this with a spatula or spoon; you want to keep that fluffiness! The result will be a light and airy chocolate mixture.
- Crush the Oreos: In a plastic bag, crush the Oreo cookies into fine crumbs. You can use a rolling pin or simply crush them with your hands (great stress relief, by the way!). Keep some chunks aside for decoration; they add great texture.
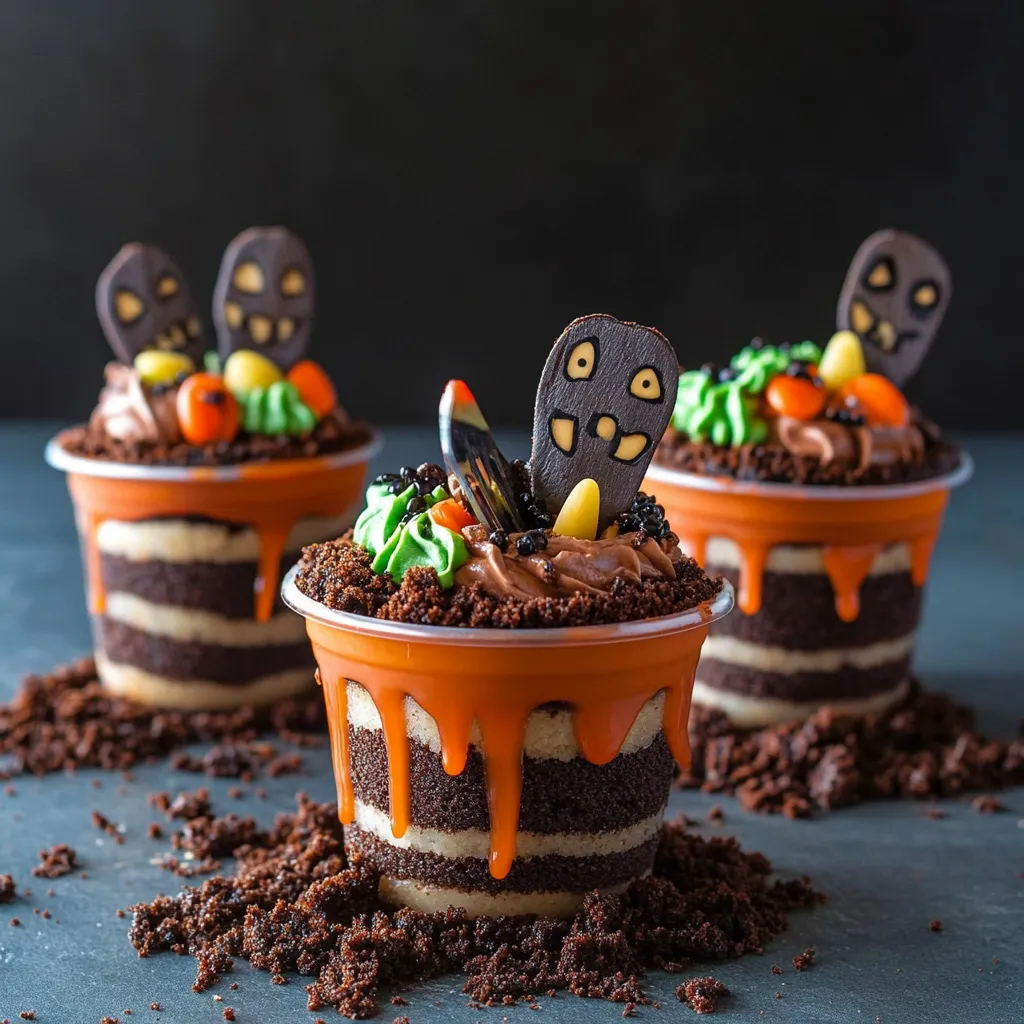
- Layer It Up: Grab your cups or small bowls. Start by adding a generous layer of the chocolate pudding mixture at the bottom. Follow it with a layer of crumbled Oreos (your “dirt”). Repeat this layering process until you reach the top of your cup. Finish with a nice layer of Oreo crumbs to give it that earthiness.
- Top It Off: This is where the fun begins! Place a few gummy worms on top, let them dangle over the edges for that perfect creepy look. You can sprinkle on additional crushed Oreos or a drizzle of chocolate syrup if you like things extra indulgent.
- Chill and Serve: Pop the cups into the refrigerator for at least 30 minutes. This helps the flavors meld together and the pudding to set, making the experience even richer when you dig in!
Tip: When layering, don’t be afraid to be a little messy—it adds to the rustic charm of your graveyard cups!
Pro Tips & Variations
Okay, let’s get creative! Here are some fun variations and tips to spice up your graveyard dirt cups:
- Use Different Puddings: Swap chocolate pudding for vanilla or even pumpkin spice flavor for a festive autumn twist. The color may change, but the fun remains!
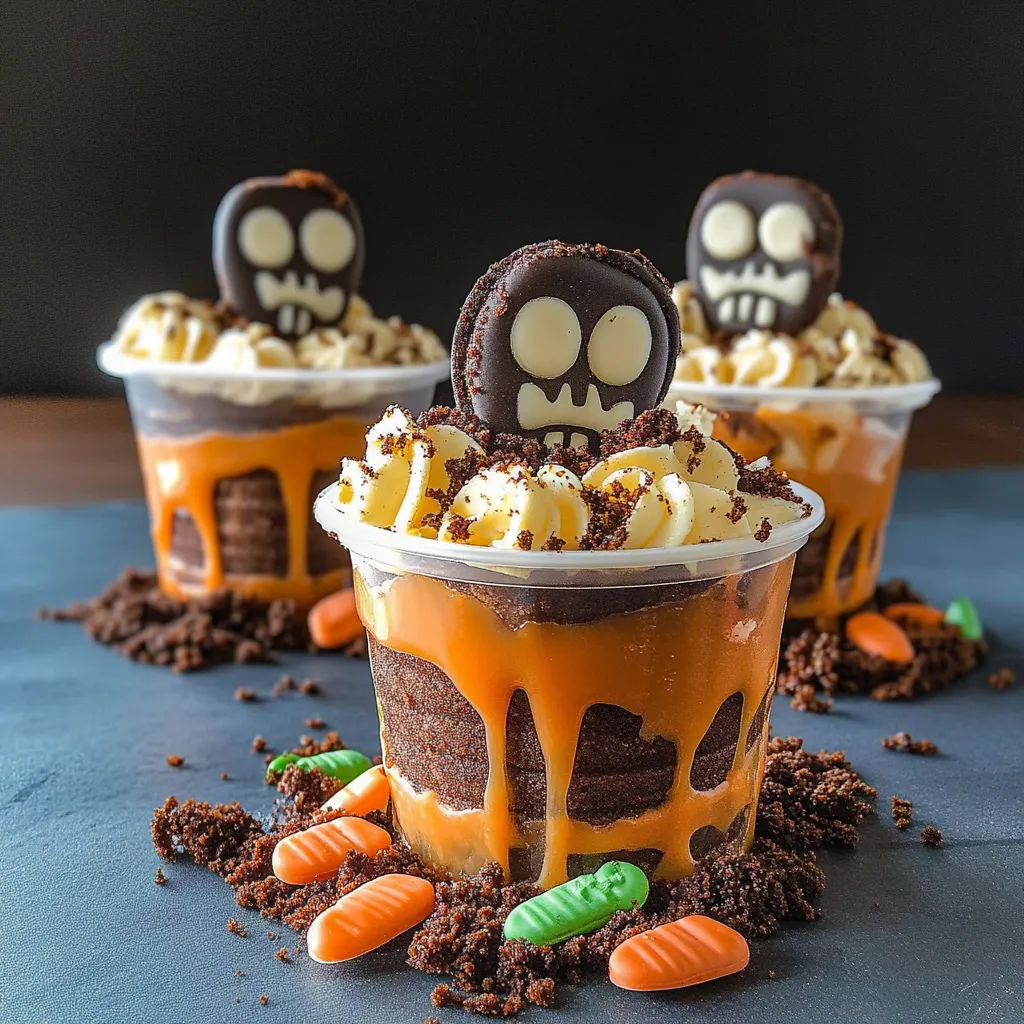
- Add Fun Garnishes: Try topping with candy eyeballs, chocolate skeletons, or even edible glitter for an eye-catching fancy touch!
- Diet Swaps: For a lighter version, opt for sugar-free pudding and low-fat whipped topping. Using gluten-free Oreos can make this dessert suitable for gluten-sensitive friends, too!
- Create a “Coffin”: Instead of individual cups, you can serve your graveyard dirt in a larger bowl, with gummy critters crawling all over the top.
Serving Suggestions
These spooky cups are great on their own, but if you’re hosting a Halloween get-together, consider pairing them with some spooky-themed snacks! How about serving with a platter of “witch’s fingers” (vegetable sticks with dip) or “mummy” hot dogs wrapped in crescent roll dough? Add cider or a spooky punch, and you’ve got yourself a delightful Halloween spread!
Presentation Tip: To really sell the graveyard theme, set the cups on a dark, spooky cloth or a piece of slate, and surround them with some faux spiders and cobwebs. Your guests will swoon over not just the taste, but the presentation, too!
Storage Tips
Got leftovers? No worries! Here’s how to keep your Graveyard Dirt Cups fresh:
- Refrigerate: Store any leftover cups in the fridge, covered with plastic wrap or in an airtight container. They’re best enjoyed within 2-3 days.
- Freezing: I wouldn’t recommend freezing these cups, as the whipped topping may change texture once thawed. However, if you must, do so without the gummy worms, and add them fresh when ready to serve!
- Reheat Tips: Reheating isn’t necessary for this treat, but if you must, remove the gummy worms and then let the pudding sit at room temperature for about 10-15 minutes before indulging again.
FAQs
Can I make these dirt cups ahead of time?
Absolutely! You can prepare these dirt cups a day in advance. Just keep them covered in the fridge until you’re ready to serve. This also allows the flavors to combine beautifully!
What can I use instead of Oreos?
If you want to explore different flavors or avoid Oreos, try crushed graham crackers or chocolate wafer cookies instead. You could even use a mix of several cookies for a fun texture!
How do I make this treat gluten-free?
Easy! Just swap out regular Oreos for gluten-free ones. Most varieties are available in stores now, so it’s simple to accommodate everyone’s diet!
What if I want to add more candy?
Feel free to be as creative as you like! Chopped-up candy bars, gummy bats, or even chocolate shavings make fabulous additions. Just remember to keep the spooky theme in mind!
Conclusion
And there you have it—an entertaining and delightful treat that will steal the show at any Halloween gathering! Your Graveyard Dirt Cup Halloween Treats are sure to become a favorite tradition year after year. I truly hope you try making these spooky cups and share them with your friends and family. They’re perfect for the season and a total crowd-pleaser.
Make sure to drop me a comment if you whip some up, or share how you’ve added your personal twist. Happy haunting, and enjoy each delicious bite of your creepy creations!
Print
Spooktacular Graveyard Dirt Cup Halloween Treats Recipe
- Total Time: 45 minutes
- Yield: 4 servings 1x
Description
Try this Spooktacular Graveyard Dirt Cup recipe to create haunted Halloween treats Easy creepy and perfect for your spooky celebrations 155 chars
Ingredients
Instructions
- Prep Time: 15 minutes
- minutes: 30
- Cook Time: 0 minutes
- Category: Dessert
- Cuisine: American
Nutrition
- Calories: 250 calories
- Sugar: 20g
- Fat: 12g
- Saturated Fat: 12g
- Carbohydrates: 33g
- Fiber: 2g
- Protein: 3g
Keywords: Halloween, Dessert, Graveyard, Dirt Cups, Treats, Spooky