
Spooktacular Halloween Icebox Cake Easy Delicious Recipe

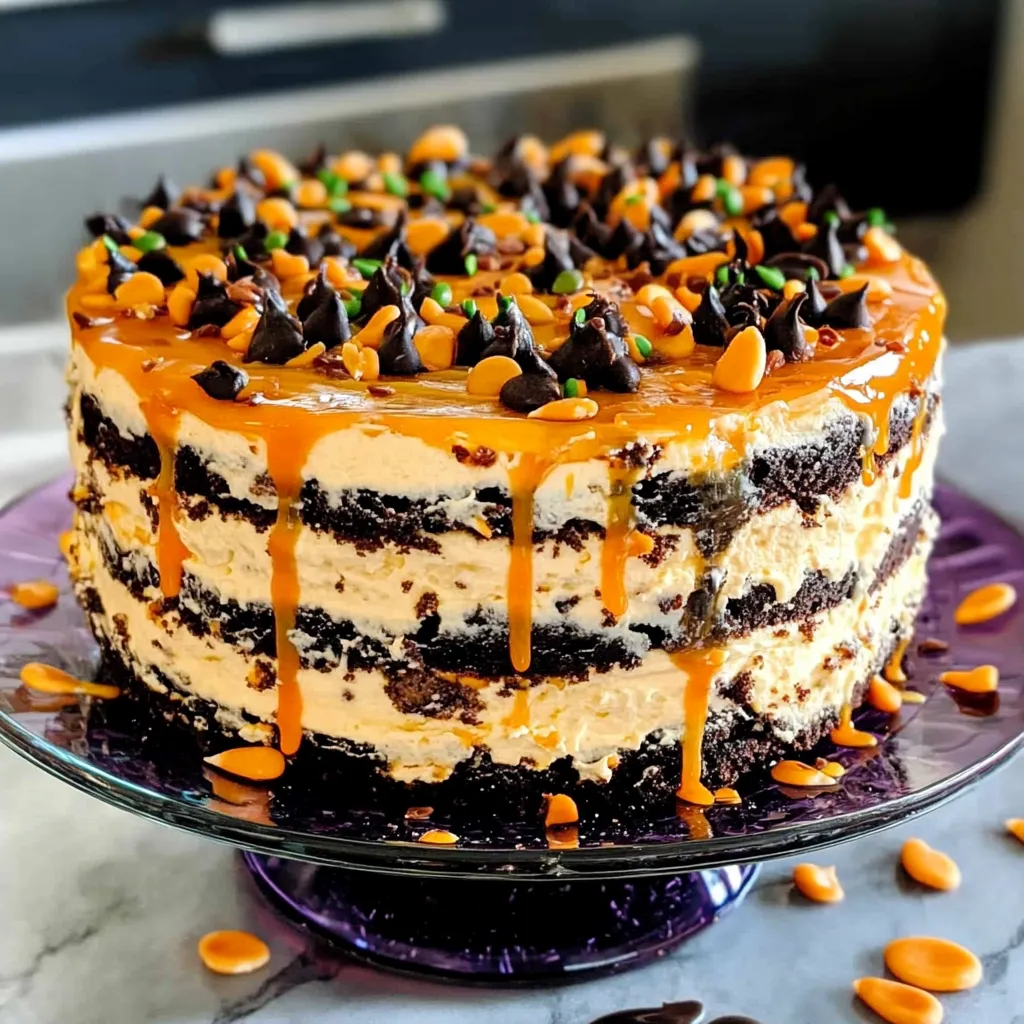
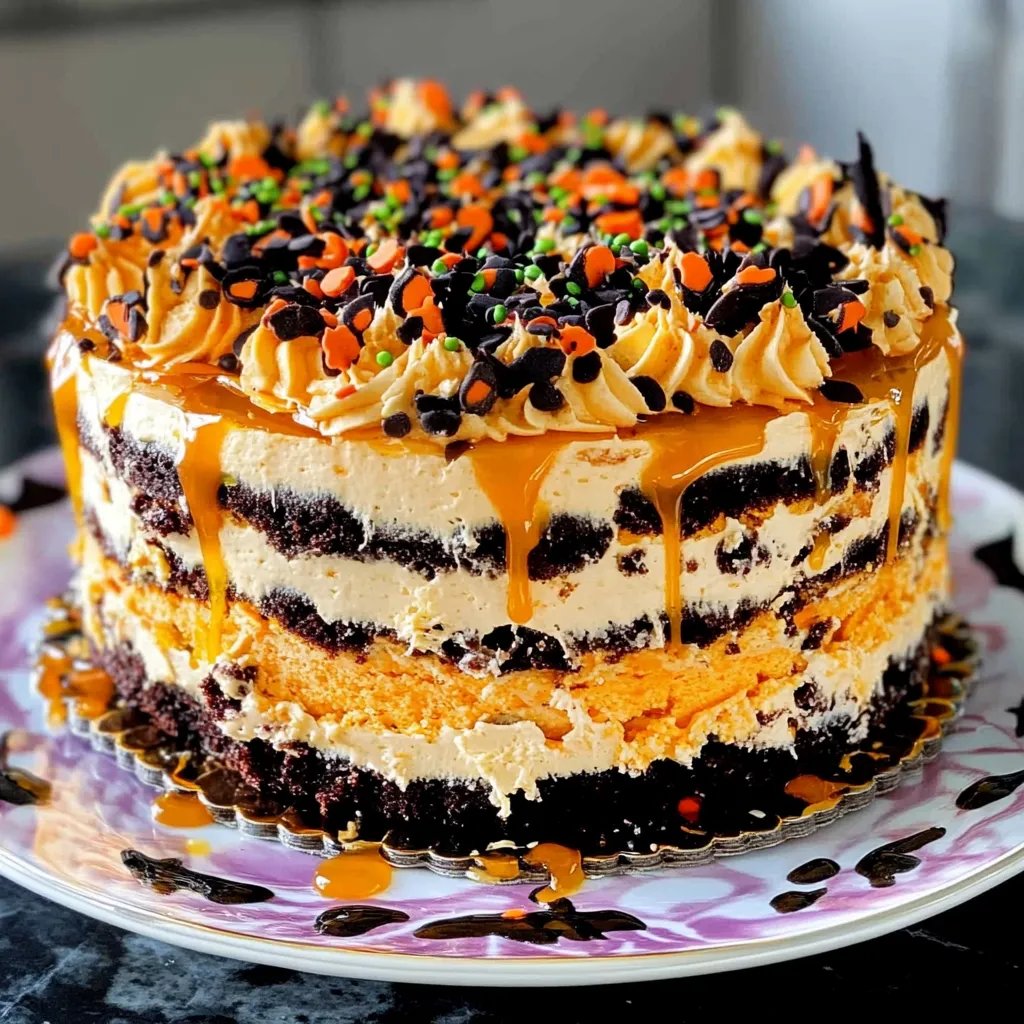
Ah, Halloween! That magical time of year when the air gets crisp, leaves turn golden, and children run around pretending to be little ghouls and goblins. Growing up, this season was all about candy corn, pumpkin carving, and, of course, the deliciously sweet treats my mom used to whip up for spooky gatherings. One of my absolute favorites was the Halloween Icebox Cake. It was the star of every party—no bake, so easy to assemble, and undeniably festive with its layers of rich chocolate and creamy filling. Each slice felt like a bite of joy that wrapped around you like a cozy blanket. Today, I want to share this beloved recipe with you—or as I like to think of it, my little bit of Halloween magic!
Why You’ll Love This Recipe
- Super easy to make—no baking required!
- Perfect for feeding a crowd or a small family.
- Delicious layers of chocolate and cream create a taste sensation!
- You can customize with fun Halloween-themed toppings.
- Can be prepared in advance, leaving you free to enjoy the festivities!
Ingredients
Let’s gather our ghoulish ingredients for this Halloween Icebox Cake!
- 2 cups heavy whipping cream
- 1 cup powdered sugar (plus more for dusting)
- 1 teaspoon vanilla extract
- 3 cups chocolate wafer cookies (you can also use graham crackers for a twist!)
- 1 cup milk (for dipping cookies)
- 2 tablespoons cocoa powder (for an extra chocolate kick)
- Colorful Halloween sprinkles, mini chocolate chips, or crushed candy bars for topping (optional)
Pro Tip: Using fresh heavy cream will give your cake a wonderfully rich flavor and delightful texture—avoid those pre-whipped toppings for the best results!
Step-by-Step Instructions
Now, let’s dive into making this enchanting dessert! Follow along, and I promise it’ll be an enjoyable experience.
- Whip Up the Cream: In a mixing bowl, combine the heavy cream, powdered sugar, vanilla extract, and cocoa powder. Using an electric mixer, whip until soft peaks form. This should take about 3-5 minutes. Tip: Don’t over-whip! You want it fluffy and airy, not grainy.
- Prepare the Cookies: Pour your milk into a shallow dish. Briefly dip each chocolate wafer cookie into the milk; don’t soak them, or they’ll become too soggy. You want just a light dip to soften them.
- Layer It Up: In a rectangular or square dish, lay down a single layer of the dipped cookies, covering the bottom. Then, spread a third of the whipped cream mixture over the cookies. Repeat this layering—cookies, whipped cream—until you use up all the cookies and cream, finishing with the cream on top.
- Chill: Cover the dish with plastic wrap and chill in the refrigerator for at least 4 hours (overnight is best!). This helps the cookies soften and absorb that creamy goodness.
- Add Some Spooky Spirit: Before serving, take the cake out and dust the top with extra powdered sugar or cocoa powder, and sprinkle with colorful Halloween sprinkles, mini chocolate chips, or crushed candy bars for a spooky touch!
Tip: If you find the cookies hard to dip, try using a fork to help submerge them quickly and lift them back out.
Pro Tips & Variations
Let’s get a bit creative! Here are some fun twists you can make to personalize your Halloween Icebox Cake:
- Flavor Swaps: Consider swapping out the vanilla for peppermint extract for a fun twist or adding a layer of peanut butter between the cream layers for extra richness.
- Diet-Friendly Versions: If you need a gluten-free option, use gluten-free cookies. For a lighter version, you can substitute half the cream with Greek yogurt.
- Layer In Some Fruit: Try adding layers of sliced strawberries or bananas between the cookie and cream layers for a lovely fruity surprise!
Feel free to let your imagination run wild with toppings! How about crumbled Oreos for a creepy “dirt” effect? The possibilities are endless!
Serving Suggestions
When it comes to serving this spooktacular treat, I love to slice it up and present it on festive Halloween-themed plates. You can layer them up on a cake stand for added elegance, or simply set them out on your table for guests to help themselves. Pair it with a warm cup of coffee or a spooky punch for added celebration vibes. Trust me, the contrasting flavors of bitter coffee with the sweet, creamy cake create a heavenly combo that’s hard to resist.
Storage Tips
This icebox cake is not just a treat—it’s a keeper! You can easily store leftovers (if there are any) in the refrigerator for up to 4 days. Just cover it tightly with plastic wrap. If you want to freeze it, make sure to wrap it well, and it will last for up to a month. Just defrost it in the fridge overnight before you enjoy another slice of spooky goodness! However, I recommend enjoying it fresh because the flavors meld beautifully with a little time in the fridge.
FAQs
Can I make this cake ahead of time?
Absolutely! In fact, it tastes even better when made the day before. The longer it chills, the softer the cookies get and the flavors meld together beautifully.
What else can I use instead of chocolate wafer cookies?
If you’re looking for an alternative, graham crackers work great too! For a twist, try vanilla cookies or even gingerbread cookies for a spicier flavor.
Can I use whipped topping instead of heavy cream?
While you can use whipped topping, I really recommend using fresh heavy cream for that rich, homemade taste and texture, plus it whips up wonderfully light and fluffy.
How do I make this cake dairy-free?
To make a dairy-free version, you can use coconut cream or dairy-free whipped topping. Just ensure any cookies you use are dairy-free as well!
Conclusion
And there you have it—the Halloween Icebox Cake, a simple, delightful treat that embodies everything wonderful about this spooky season! I hope you feel inspired to add this to your Halloween celebrations. Share your creations or any fun twists you come up with in the comments below; I’d love to hear all about your spooky adventures in the kitchen! Happy Halloween baking!
Print
Spooktacular Halloween Icebox Cake Easy Delicious Recipe
- Total Time: 4 hours 20 minutes
- Yield: 8 servings 1x
Description
Indulge in a spooktacular Halloween icebox cake Easy delish recipe perfect for your festive gatherings Celebrate with this frightfully fun dessert
Ingredients
Instructions
- Prep Time: 20 minutes
- Cook Time: 0 hours 0 minutes
- Category: Dessert
- Method: No-bake
- Cuisine: American
Nutrition
- Calories: 250 calories
- Sugar: 20 grams
- Fat: 15 grams
- Saturated Fat: 15 grams
- Carbohydrates: 30 grams
- Fiber: 1 gram
- Protein: 3 grams
Keywords: Halloween dessert, icebox cake, no-bake cake, chocolate cake, Halloween recipes