
Wow Your Guests with Spooktacular Halloween Rice Krispie Treats
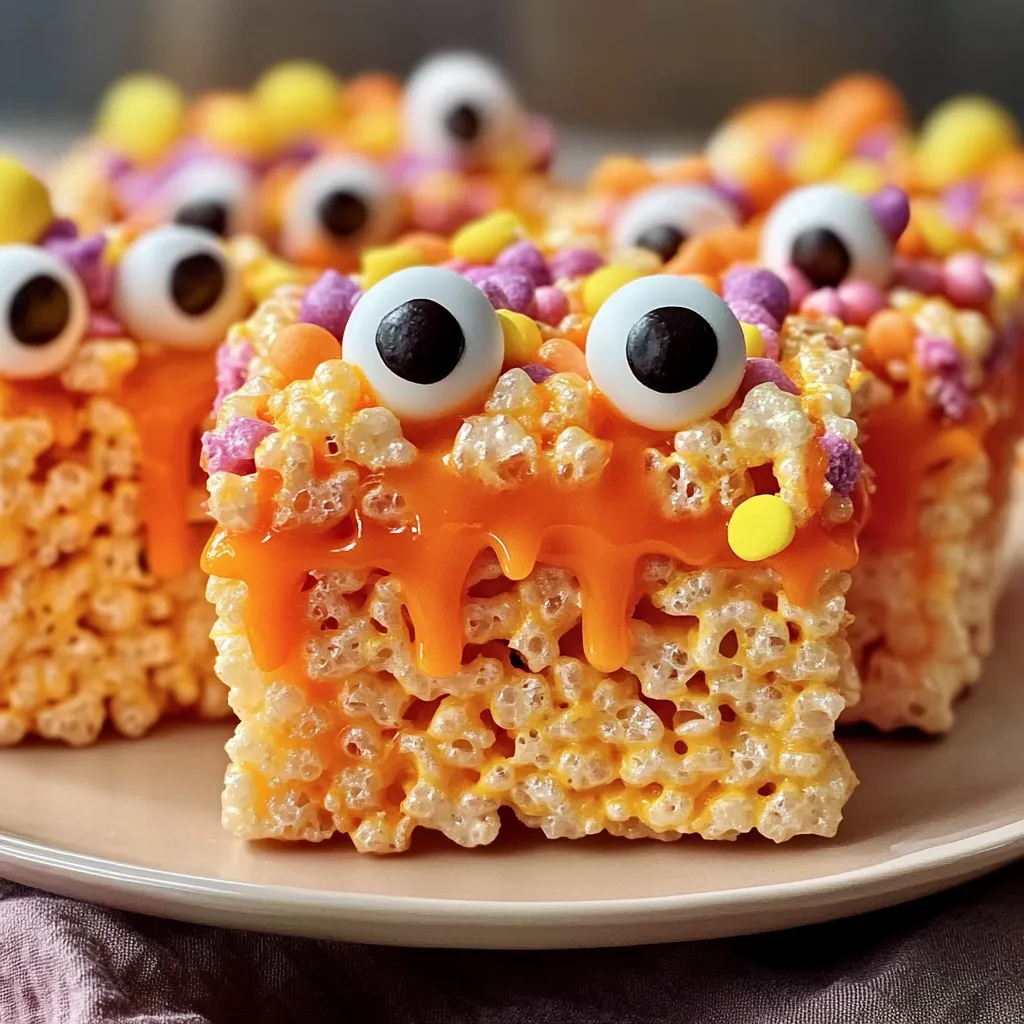
Ah, Halloween! That magical time of year when the air turns crisp, pumpkins light up our porches, and the scent of caramel wafts through the streets. I can still remember my first time trick-or-treating, dressed as a little witch with a too-big hat and a bag that always seemed to be lighter than it should be by the end of the night. And what’s a Halloween festivity without a delicious treat to munch on while you share spooky stories? This brings us to one of my absolute favorites—Halloween Rice Krispie Treats that Wow Your Guests!
These sweet, gooey delights are a fantastic addition to any Halloween gathering. Not only do they evoke fond memories of childhood, but they are also incredibly easy to whip up, making them perfect for last-minute entertaining. Trust me, these treats look impressive but take hardly any time at all, allowing you to focus on the fun and festivities. So roll up your sleeves, let’s get that spirit flowing, and create a treat that will wow your guests!
Why You’ll Love This Recipe
- Super easy to make—perfect for all ages!
- Customizable to fit your Halloween theme.
- No-bake, saving you from heating up the kitchen!
- Perfect for handing out at parties or enjoying at home.
- These treats are always a crowd-pleaser!
Ingredients
Here’s what you’ll need to whip up these magical Halloween Rice Krispie Treats:
- 6 cups Rice Krispies cereal
- 3 tablespoons butter
- 1 package (10 oz) marshmallows (or 4 cups of mini marshmallows)
- 1 teaspoon vanilla extract
- Food coloring (orange and black or any spooky colors you love)
- Halloween-themed sprinkles (think ghosts, pumpkins, or candy corn!)
- Optional: Chocolate chips, candies, or additional toppings of your choice!
Pro Tip: Using fresh marshmallows instead of older ones makes a big difference; they melt better and create that perfectly gooey texture!
Step-by-Step Instructions
Alright, let’s get mixing! Follow these simple steps to create your very own Halloween Rice Krispie Treats:
- Prepare your pan: Start by lining a 9×13-inch baking dish with parchment paper. This helps with easy removal later and ensures a lovely non-stick finish.
- Melt the butter: In a large saucepan over medium heat, melt the butter until it’s bubbly and fragrant. Keep an eye on it so it doesn’t burn!
- Add the marshmallows: Once your butter is melted, add the marshmallows to the pot. Stir constantly until they’re completely melted and smooth. It should look like a creamy, magical potion!
- Add the vanilla: Remove the pot from heat and stir in the vanilla extract. This little addition adds a lovely flavor that pairs perfectly with the sweetness of the marshmallows.
- Mix in the Rice Krispies: Gradually add the Rice Krispies cereal to the melted marshmallow mixture. Stir gently until every cereal piece is coated and gooey goodness gets everywhere—they’re meant to be. But be careful: you don’t want to overmix or they may become too tough!
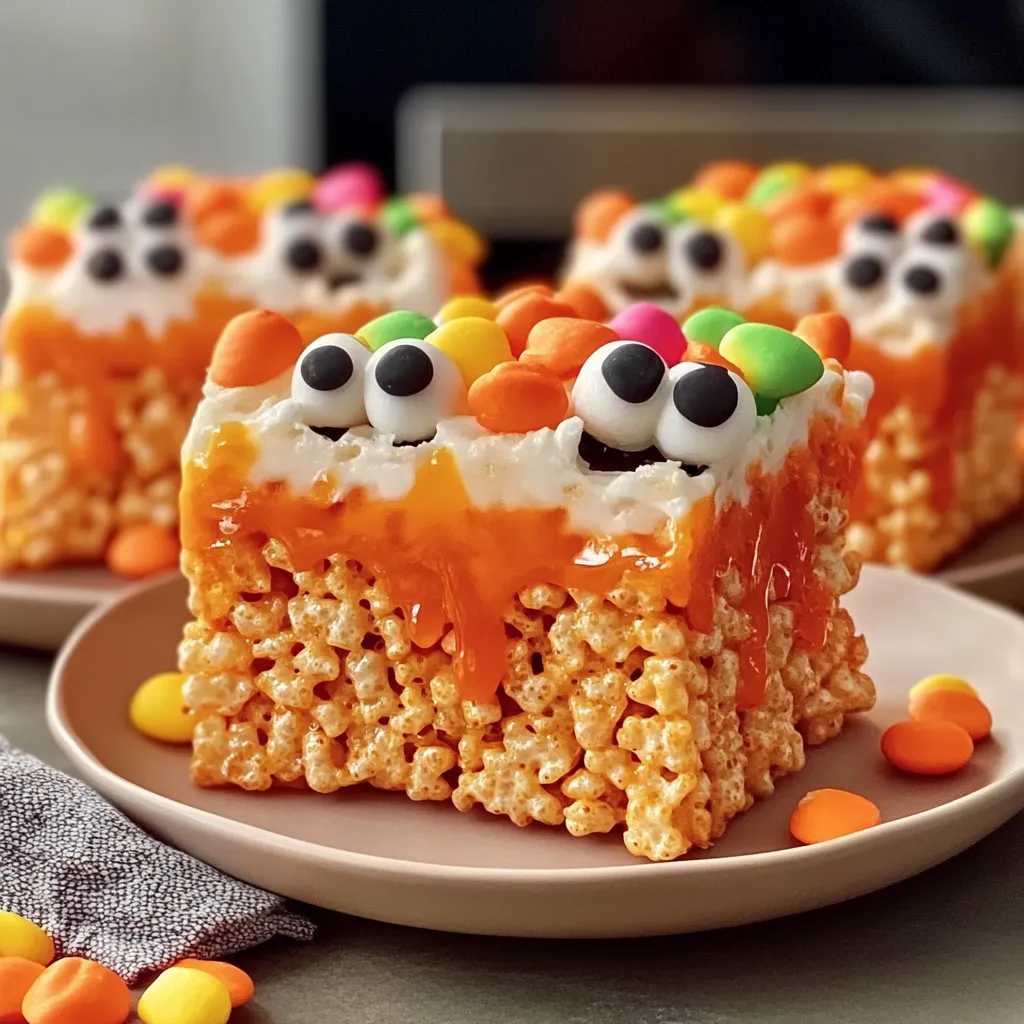
- Color your treats: Now comes the fun part! If you’re going for a classic Halloween theme, divide the mixture into two bowls. Add a few drops of orange food coloring to one bowl and black to the other. Mix until you achieve your desired color.
- Layer them up: Press the orange mixture evenly into the prepared pan, then top it with the black mixture. Gently press the layers together! You want them to stick but don’t squish them too much; we want that fluffy texture to shine through!
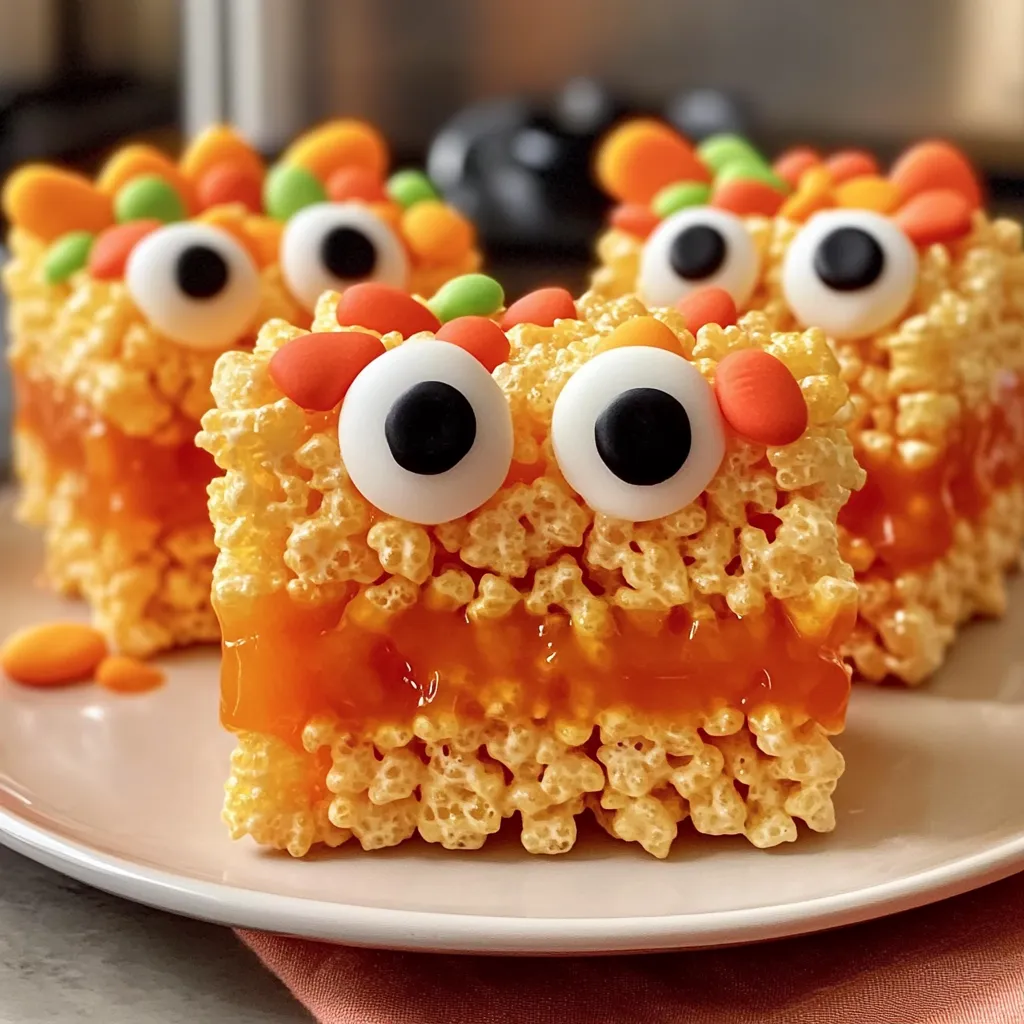
- Add toppings: Now, sprinkle on your favorite Halloween sprinkles or any fun toppings to give them that extra crunchy element. This is the time to get creative—let your spooky spirit shine!
- Let them cool: Allow the treats to cool for at least 30 minutes, or until set. This will help them hold together when you cut them.
- Cut and enjoy: Once cooled, lift them out of the pan using the sides of the parchment paper, place them on a cutting board, and cut into squares or fun shapes using cookie cutters.
Remember, the joy in making these treats is in the fun—so feel free to invite little kitchen helpers to join the action!
Pro Tips & Variations
Want to mix things up a bit? Here are some fun twists and variations that’ll keep your Halloween Rice Krispie Treats fresh and exciting!
- Try different colors: Use different colored food coloring for a rainbow of treats! Think vibrant greens, blues, and purples for a quirky twist.
- Extra flavor: Mix in some crushed cookies like Oreos for a delightful crunch or add in chocolate chips for a sweet surprise.
- Make it spooky: Use ghost-shaped or bat-shaped cookie cutters for a thematic presentation. Your guests will love the extra effort!
- Go allergy-friendly: Substitute gluten-free Rice Krispies and dairy-free butter and marshmallows for a treat that everyone can enjoy.
Serving Suggestions
These Halloween Rice Krispie Treats are perfect for a variety of occasions! Serve them as a spooky centerpiece at your Halloween party, or wrap them up individually in clear bags tied with whimsical ribbons for trick-or-treaters. Pair them with hot apple cider or a pumpkin spice latte for a cozy fall treat. Imagine the laughter and squeals of delight as guests dive into these sweet delights! They pair wonderfully with a friendly gathering where everyone shares their ghost stories or Halloween memories.
Storage Tips
Let’s say you have a few leftovers (if that even happens!). Here’s how to store them so they stay fresh:
- Room temperature: Place your Rice Krispie treats in an airtight container. They will stay fresh for about 3 to 5 days.
- Refrigeration: If you’d like to make them last longer, you can store them in the fridge. Just keep in mind they may become a bit firmer due to the cold! Seal them tightly to prevent them from absorbing any unwanted odors.
- Freezing: Yes, you can freeze them! Cut them into individual squares, wrap them tightly in plastic wrap or foil, and store them in a freezer bag. They’ll last up to 3 months. Just let them thaw at room temperature for a while before enjoying again.
FAQs
Can I use different cereals instead of Rice Krispies?
Absolutely! You can use any crispy cereal you love—Corn Chex or another gluten-free option work wonderfully! Just keep an eye on the texture and sweetness, as different cereals may absorb marshmallows differently.
How do I keep the treats from getting too hard?
The key is not to overcook the mixture and to make sure you allow them to cool in the pan. If they seem too dense when you press them into the pan, they may have been squished too tightly—so go gentle!
Can I make these in advance?
Yes, you can make these Rice Krispie treats a day or two ahead. Just keep them wrapped well to stay fresh. This way, you can simply unwrap and serve when you’re ready. Who doesn’t love a stress-free party preparation?
What can I use instead of marshmallows?
If you’re avoiding marshmallows, you can use marshmallow fluff as a substitute! It provides the same sweetness and gooey texture. Just use a 2:1 ratio (2 cups fluff for every cup of traditional marshmallows).
Conclusion
And there you have it—Halloween Rice Krispie Treats that are sure to wow your guests! I hope you enjoy making these delightful treats as much as I do. They’re just the right mix of nostalgia and fun, not to mention completely satisfying! I’d love to hear how they turn out for you, so please feel free to drop a comment below or share your spooky creations on social media. Happy Halloween baking, my friends!
Print
Wow Your Guests with Spooktacular Halloween Rice Krispie Treats
- Total Time: 15 minutes
- Yield: 12 servings 1x
Description
Create spooktacular Halloween Rice Krispie Treats that wow your guests Discover fun recipes and techniques to elevate your spooky celebrations
Ingredients
Instructions
- Prep Time: 10 minutes
- minutes: 30
- Cook Time: 5 minutes
- Category: Dessert
- Cuisine: American
Nutrition
- Calories: 120 calories
- Sugar: 10 grams
- Fat: 3 grams
- Saturated Fat: 3 grams
- Carbohydrates: 22 grams
- Fiber: 0 grams
- Protein: 1 gram
Keywords: Halloween, Rice Krispie Treats, Dessert, Easy Recipe, Halloween Party