
Irresistible Homemade Snickers Bars Recipe NoBake Treat
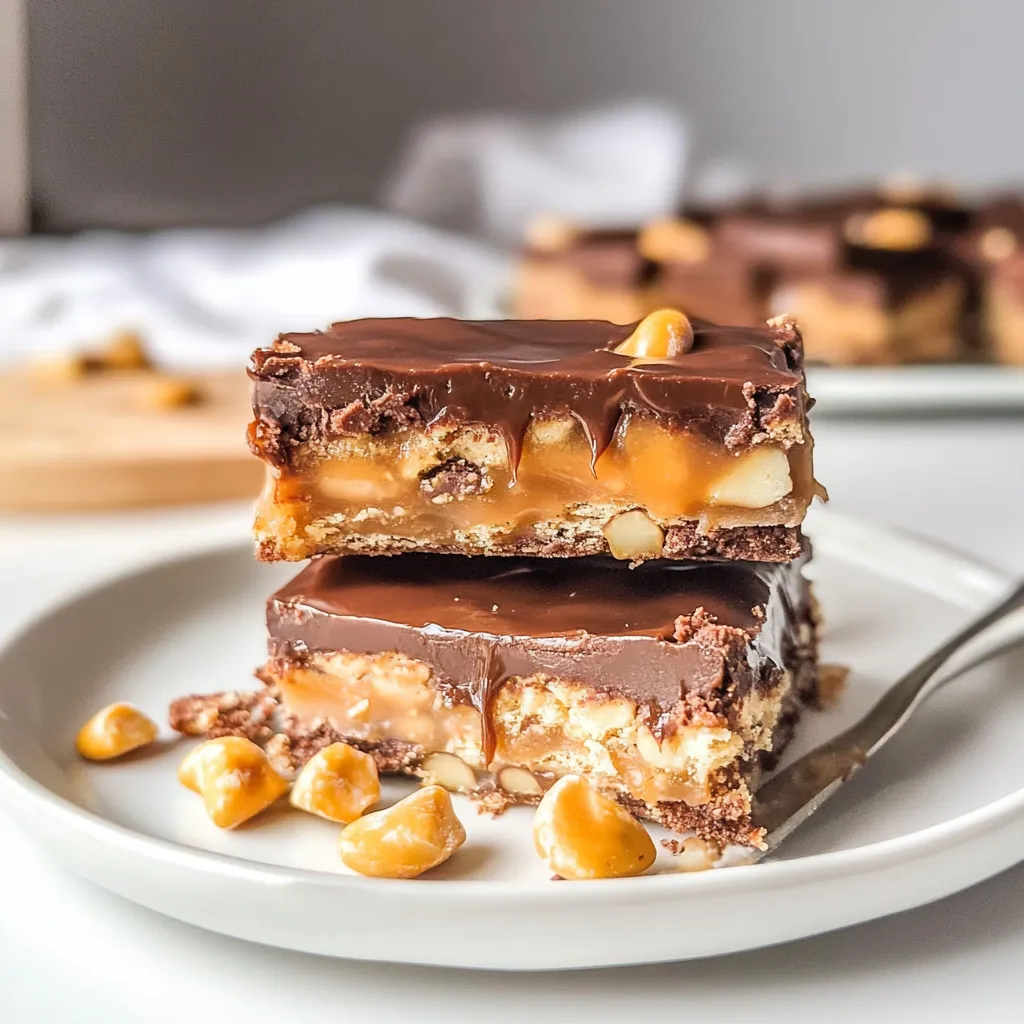
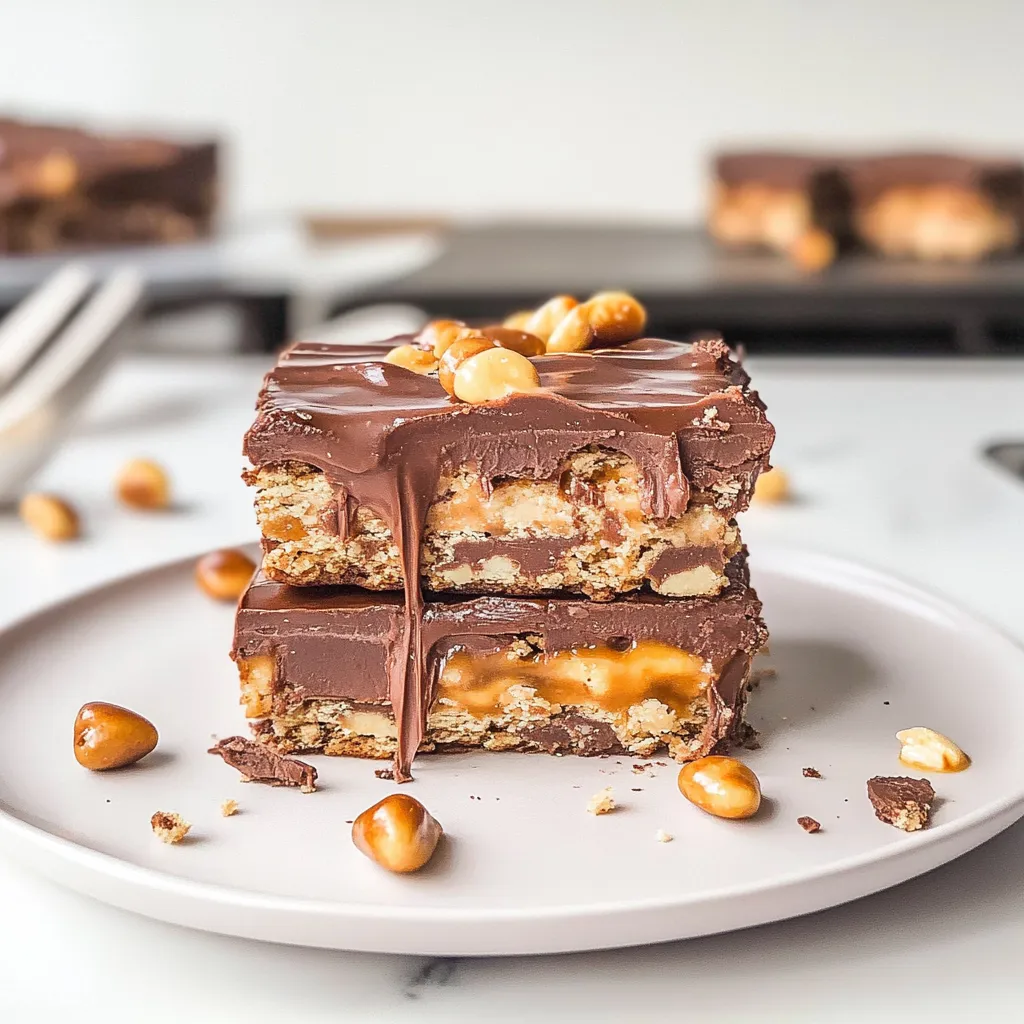
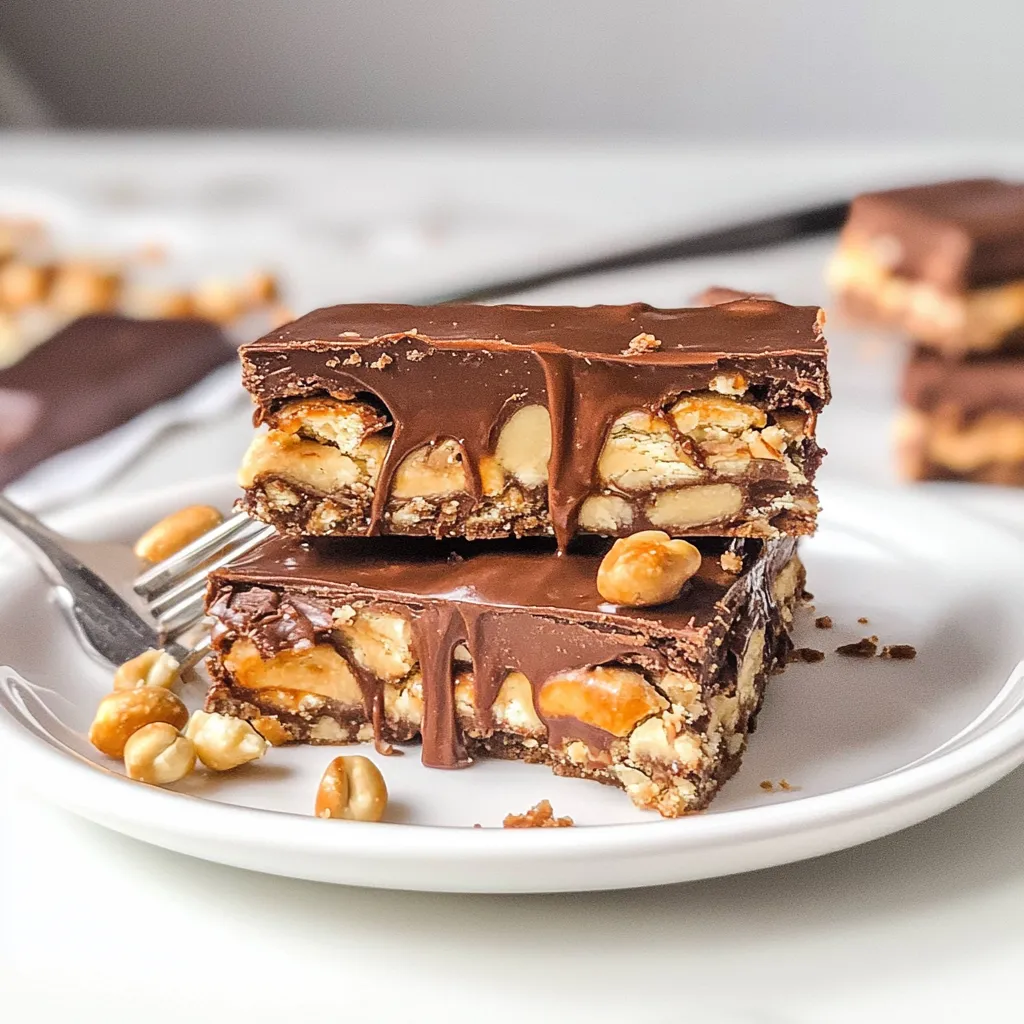
Ah, Snickers bars! Just the thought of those delightful layers of nougat, caramel, and peanuts, all enrobed in rich chocolate, sends me right back to my childhood! I have fond memories of rummaging through my Halloween stash, always on the hunt for that little gold-wrapped treasure. You know what I’m talking about, right? The sheer joy of sinking your teeth into that chewy goodness—it’s like a sweet reunion with a long-lost friend! That’s why I absolutely adore making Homemade Snickers Bars. It’s a labor of love, a little indulgence I can share with friends and family, and honestly, it’s a fab way to impress your guests at a gathering or simply treat yourself on a cozy night in.
Why You’ll Love This Recipe
- Deliciously customizable: make it vegan, nut-free, or gluten-free!
- Perfect for satisfying your sweet tooth—no store-bought can compare!
- Fresh ingredients mean you can taste the love in every bite.
- Fun to make with family or friends—put on some music and make an afternoon of it!
- Store them for a guilt-free treat throughout the week.
Ingredients
Let’s gather our ingredients! Here’s what you’ll need:
- For the nougat layer:
- 1 cup milk chocolate chips
- 1 cup marshmallow fluff
- ½ cup creamy peanut butter
- 1 cup powdered sugar
- 1 teaspoon vanilla extract
- For the caramel layer:
- 1 cup granulated sugar
- ½ cup unsalted butter (cut into pieces)
- 1/3 cup sweetened condensed milk
- 1 teaspoon vanilla extract
- For the peanut layer:
- 1 cup roasted salted peanuts
- For the chocolate coating:
- 2 cups milk chocolate chips
- 1 tablespoon vegetable oil (for a smooth finish)
Step-by-Step Instructions
Alright, let’s roll up our sleeves and make some magic happen! Follow these steps to create your very own canvas of chocolatey delight!
- Prepare your dish: Line an 8×8-inch square baking pan with parchment paper, leaving some overhang on the sides to lift out the bars later. This is your safety net!
- Make the nougat layer: In a medium saucepan over low heat, melt the chocolate chips. Stir in the marshmallow fluff and peanut butter until smooth. Remove from heat and whisk in the powdered sugar and vanilla extract. The mixture will be thick and oh-so creamy!
- Pour and spread: Pour the nougat mixture into the prepared pan, spreading it evenly. I like to use a silicone spatula for this—it helps reach those corners perfectly. Pop it in the fridge for about 30 minutes to set.
- Prepare the caramel: In another saucepan, combine the granulated sugar and butter over medium heat. Stir continuously until the butter melts and the mixture comes to a gentle boil. Cook for about 4-5 minutes until it turns a nice golden color—don’t wander off and forget about it! Trust me; burnt sugar is a real mood killer.
- Add the condensed milk: Carefully stir in the sweetened condensed milk and vanilla extract. Keep stirring for another 2-3 minutes until well combined and thickened just a bit. Remove from heat and let it cool for a few minutes.
- Add the peanuts: Once the caramel has cooled slightly, mix in the roasted salted peanuts. They add that crunch we all love!
- Layer it all up: Pour the caramel and peanut mixture over the nougat layer in the pan. Spread it evenly and return it to the fridge for another 30 minutes to set.
- Melt the chocolate coating: Now for the fun part! In a microwave-safe bowl, melt the chocolate chips and vegetable oil in 30-second bursts, stirring in between until smooth. Be patient—it’s worth it!
- Coat the bars: Remove the set nougat and caramel from the fridge. Lift it out of the pan using the parchment paper. Cut into bars or squares as big as your heart desires! Dip each piece into the melted chocolate, coating fully, then place them on a parchment-lined baking sheet. Don’t be shy; let that chocolate drizzle happen!
- Set and serve: Once all the bars are coated, pop them back into the fridge until the chocolate sets, about 30 minutes. And just like that, you’re ready to indulge!
Pro Tips & Variations
Here’s where you can inject your personality into these bars! Feel free to experiment:
- Nut Options: Switch up the nuts! Try almonds or pecans for a new flavor twist.
- Flavored Chocolate: Use dark chocolate or white chocolate for coating. Each gives a unique flavor that can change the whole vibe of your bars.
- Extra Crunch: For an extra layer of texture, add crushed graham crackers or crispy rice cereal to the nougat mix.
- Sweetener Swap: Use natural sweeteners like honey or maple syrup instead of sugar for a different flavor profile (though it may change the texture slightly).
Serving Suggestions
Once your Homemade Snickers Bars are ready, you might want to indulge while kicking back with a cozy blanket and your favorite movie. Or, am I the only one who feels like I should serve them with a steaming cup of coffee? Their sweetness pairs perfectly with a nice, bold brew. You can also crush them up and sprinkle over vanilla ice cream for a tantalizing sundae experience—talk about decadent!
Storage Tips
Now, let’s talk about keeping your heavenly creation fresh! Here’s how:
- Refrigerator: Store the bars in an airtight container in the fridge. They can last up to 2 weeks (if you can resist eating them all at once!).
- Freezer: Wrap them individually in plastic wrap and stash them in a freezer-safe bag. They can be frozen for up to 3 months! When you’re ready to enjoy, just pop them in the fridge to thaw overnight.
- Reheating: There’s really no need to reheat these goodies. They’re perfect cold or at room temperature. If they happen to lose some of their texture, a few seconds in the microwave can restore that wonderful gooeyness!
FAQs
Can I make these bars vegan?
Absolutely! Just swap out the milk chocolate for vegan chocolate chips, use a plant-based butter alternative, and ensure that your marshmallow fluff is vegan-friendly.
What if I don’t have marshmallow fluff?
No worries! You can make your own by whipping aquafaba (the liquid from canned chickpeas) and then adding some powdered sugar until you reach the right consistency. It’s a fun little experiment!
Can I use a different type of nut butter?
Definitely! Almond butter or cashew butter work great if you want to try something different. Just keep in mind that this may slightly alter the flavor, but in a delicious way!
How can I prevent the chocolate from cracking when cutting?
Try to let your bars sit at room temperature for about 10-15 minutes before cutting. This gentle warming allows the chocolate to soften just enough for a cleaner cut!
What should I do if the nougat is too sticky?
If it’s super sticky, lightly greasing your hands with a bit of oil can help. Also, a little more powdered sugar can help to firm things up—just keep an eye on the mixture’s consistency.
Conclusion
And there you have it! Your very own Homemade Snickers Bars ready to wow your taste buds and fill your home with that sweet aroma of chocolatey, nutty goodness. I hope you enjoy making (and eating!) these just as much as I do. Feel free to leave a comment below and let me know how yours turned out, or share any of your own twists on this classic. Happy cooking, sweet friends!
Print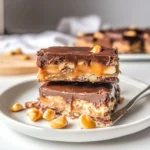
Irresistible Homemade Snickers Bars Recipe NoBake Treat
- Total Time: 1 hour
- Yield: 12 bars 1x
Description
Discover a nobake recipe for homemade Snickers bars perfect for satisfying your sweet tooth with this easy irresistible treat 155 chars
Ingredients
Instructions
Notes
Delightful layers of nougat, caramel, and peanuts, all enrobed in rich chocolate. Homemade Snickers Bars are a labor of love perfect for sharing with friends and family.
- Prep Time: 30 minutes
- Cook Time: 15 minutes
- Category: Dessert
- Cuisine: American
Nutrition
- Serving Size: 12 bars
- Calories: 350
- Sugar: 25g
- Fat: 20g
- Carbohydrates: 32g
- Fiber: 1g
- Protein: 5g
Keywords: Homemade Snickers Bars, Candy Recipe, Dessert, Chocolate, Peanut