
Irresistible Icebox Cake: Easy Recipe for Delicious Layers!
Icebox Cake: The Ultimate No-Bake Dessert
Introduction
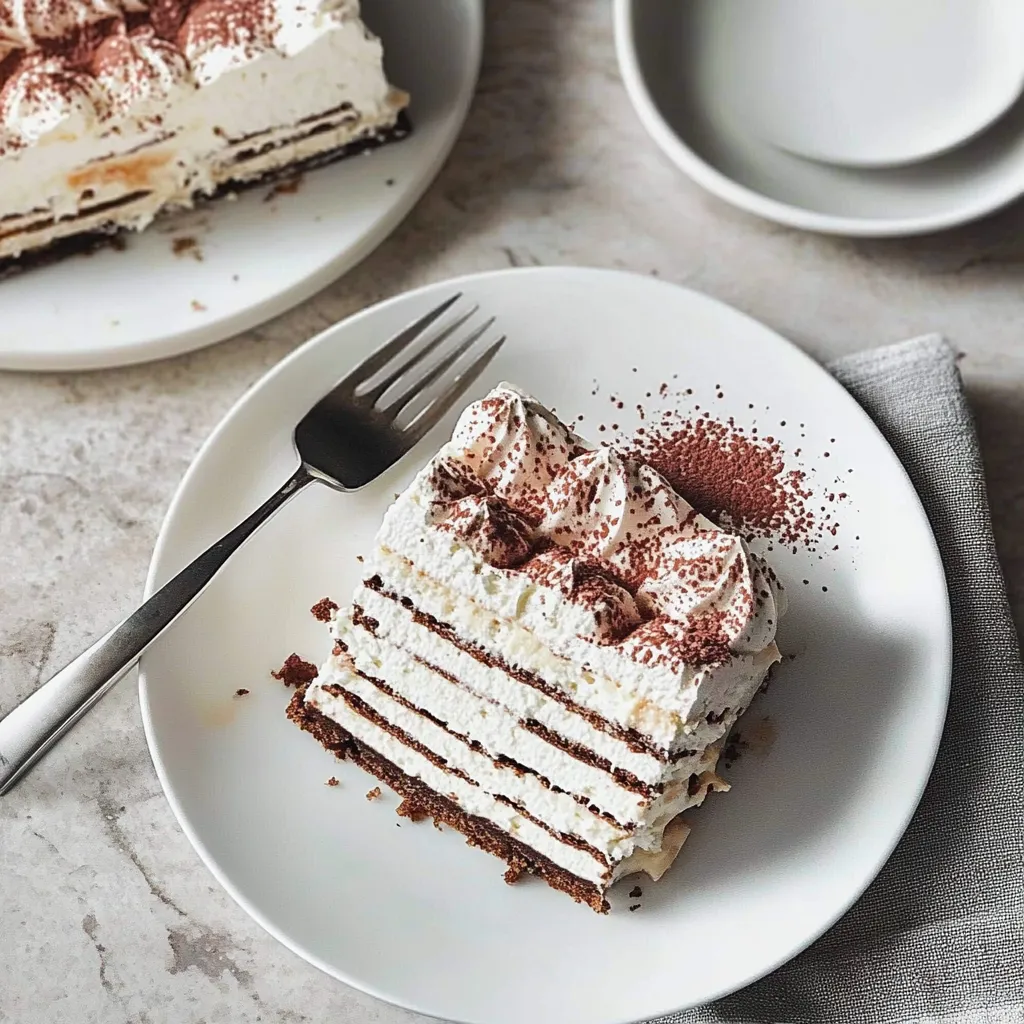
Every summer, my family would gather for a picnic, and without fail, my Aunt Margaret would whip up her famous Icebox Cake. Oh, the tantalizing aroma of freshly whipped cream and the sweet scent of chocolate wafting through the air—those memories are still so vivid! Sitting on the grass, laughter echoing, and digging into creamy layers of this no-bake dessert was pure bliss. There’s something about the cool, rich layers of Icebox Cake that feels like a hug on a hot day.
This delightfully simple Icebox Cake is all about convenience and flavor. No baking, just an assembly of layers, and some chilling time in the fridge. You can practically feel the anticipation building as you sneak a spoonful of that luscious cream while preparing it. Today, I want to share with you how to make this dreamy dessert that brings joy to both kids and adults alike. So, let’s roll up our sleeves and dive into this delightful recipe!
Why You’ll Love This Recipe
- Easy to assemble—no baking required!
- Layers of creamy goodness with a delightful crunch from the cookies.
- Customizable to suit your taste preferences.
- A perfect make-ahead dessert for gatherings or just a cozy night in.
- Great for warm weather since it’s served chilled.
Ingredients
Gathering your ingredients ahead of time is always a good idea. Here’s what you’ll need for this scrumptious Icebox Cake:
- 2 cups heavy whipping cream (for that dreamy, luscious texture)
- 1 cup powdered sugar (use fresh to avoid clumps)
- 1 teaspoon vanilla extract (pure extract adds a lovely depth of flavor)
- 2 cups chocolate wafer cookies (or graham crackers for a twist)
- 1/2 cup cocoa powder (unsweetened)
- Optional toppings: fresh berries, chocolate shavings, or crushed nuts for crunch
Step-by-Step Instructions
Now that we have everything gathered together, let’s create something magical!
- Beat the cream: In a large mixing bowl, pour in the heavy whipping cream, add the powdered sugar, and vanilla extract. Using an electric mixer, whip on medium-high speed until soft peaks form. Be careful not to overbeat, or you’ll end up with butter!
- Prepare the layers: In a separate bowl, sift the cocoa powder to ensure no lumps. If you love chocolate, feel free to skip sifting; it’s just a step for aesthetics. Then, fold a couple of tablespoons of the whipped cream into the cocoa powder to create a chocolate base.
- Layer it up: Grab a rectangular or square dish. Start with a layer of your whipped cream mixture at the bottom, spreading it out gently. Then, take your chocolate wafer cookies and dip each one briefly in cold water (this softens them a bit) before laying them over the whipped cream. Repeat this process: another layer of cream, more cookies, until you reach the top. Aim for three layers if you can.
- Finish strong: Top your final layer with the remaining whipped cream mixture. To make it extra special, sprinkle some cocoa powder on top or crush up those optional toppings (fresh berries add a lovely freshness!).
- Chill out: Cover your Icebox Cake with plastic wrap and refrigerate for at least 4 hours, but overnight is even better. The cookies will soften, creating a luscious, cake-like texture—trust me, it’s worth the wait!
Pro Tips & Variations
Now that you’re feeling confident in your Icebox Cake-making skills, let’s talk about some fun twists!
- Flavor changes: Swap out the chocolate for vanilla wafers and use strawberry or lemon curd for a fruity twist.
- Add spices: A sprinkle of cinnamon or espresso powder in the cream can elevate flavors tremendously. Just a pinch can do the trick!
- Healthier option: Use Greek yogurt in place of whipped cream for a tangy twist—though it’ll be a bit denser, still delicious!
- Go nuts: Sprinkle chopped nuts between the layers for added crunch.
Serving Suggestions
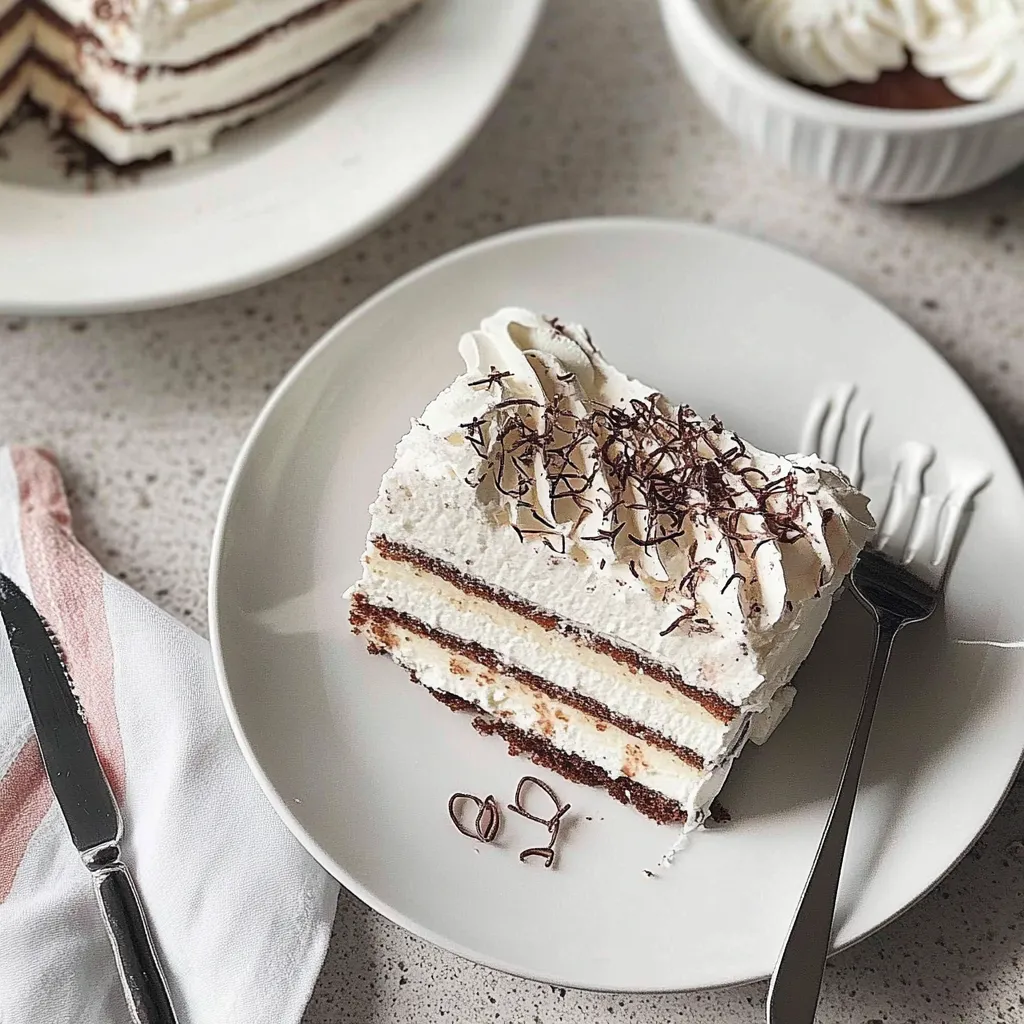
When it comes to serving your Icebox Cake, the world is your oyster! I love cutting generous squares and placing them on pretty dessert plates. Pair it with a dollop of whipped cream and a few fresh berries on the side for a pop of color. If you fancy a warm drink, a cup of coffee or homemade iced tea perfectly complements the richness of this treat. You could even serve a scoop of vanilla ice cream alongside for the ultimate dessert experience!
Storage Tips
So you’ve baked a big batch (if you can bring yourself to share!). Storing it is super simple:
- Refrigeration: Keep your Icebox Cake tightly covered in the fridge. It’ll stay good for up to a week—if you can resist it that long!
- Freezing: You can freeze slices too! Just wrap them well in plastic wrap and then in foil. It’ll last for about a month. Thaw in the fridge for a few hours before enjoying.
FAQs
Can I use different types of cookies?
Absolutely! While chocolate wafer cookies are traditional, you can use graham crackers, vanilla wafers, or even Oreos for a fun twist. Get creative with what you have on hand!
How do I make sure my whipped cream stays fluffy?
Chill both your mixing bowl and beaters before whipping to ensure the cream holds its volume. Also, try not to overbeat it; stop as soon as you see soft peaks!
Can I use non-dairy alternatives for the cream?
Yes! You can use coconut cream or a non-dairy whipped topping. Just be mindful of the flavor differences—it’ll give your Icebox Cake a subtle coconut vibe!
How can I make this dessert kid-friendly?
This Icebox Cake is already a hit with kids, but you can make it even more fun by letting them help assemble the layers or by adding sprinkles or colorful fruit on top for a festive look.
Can I make this without cocoa powder?
Sure! Just skip the cocoa powder and you can create a vanilla version by adding some lemon or fruit purees between the layers. Just keep it fruity and fresh!
Conclusion
As you take that first forkful of your glorious Icebox Cake, remember the joy of creating something so simple yet so utterly satisfying. I hope this recipe brings as much happiness to your gathering as it has to mine over the years. Feel free to drop a comment below with your Icebox Cake experiences or any personal twists you’ve tried! Happy baking, and may your summer be filled with love, laughter, and a slice (or two) of Icebox Cake!
Print
Irresistible Icebox Cake: Easy Recipe for Delicious Layers!
- Total Time: 4 hours 20 minutes
- Yield: 8 servings 1x
Description
Discover a simple recipe for Icebox Cake, featuring delectable layers that will satisfy your sweet cravings. Perfect for any occasion!
Ingredients
Instructions
Notes
This delightful Icebox Cake is a simple, no-bake dessert featuring layers of whipped cream and chocolate wafer cookies, perfect for summer gatherings.
- Prep Time: 20 minutes
- Category: Dessert
- Cuisine: American
Nutrition
- Serving Size: 8 servings
- Calories: 350
- Sugar: 20g
- Fat: 25g
- Carbohydrates: 30g
- Fiber: 1g
- Protein: 3g
Keywords: Icebox Cake, no-bake dessert, summer dessert, chocolate cake, easy dessert