
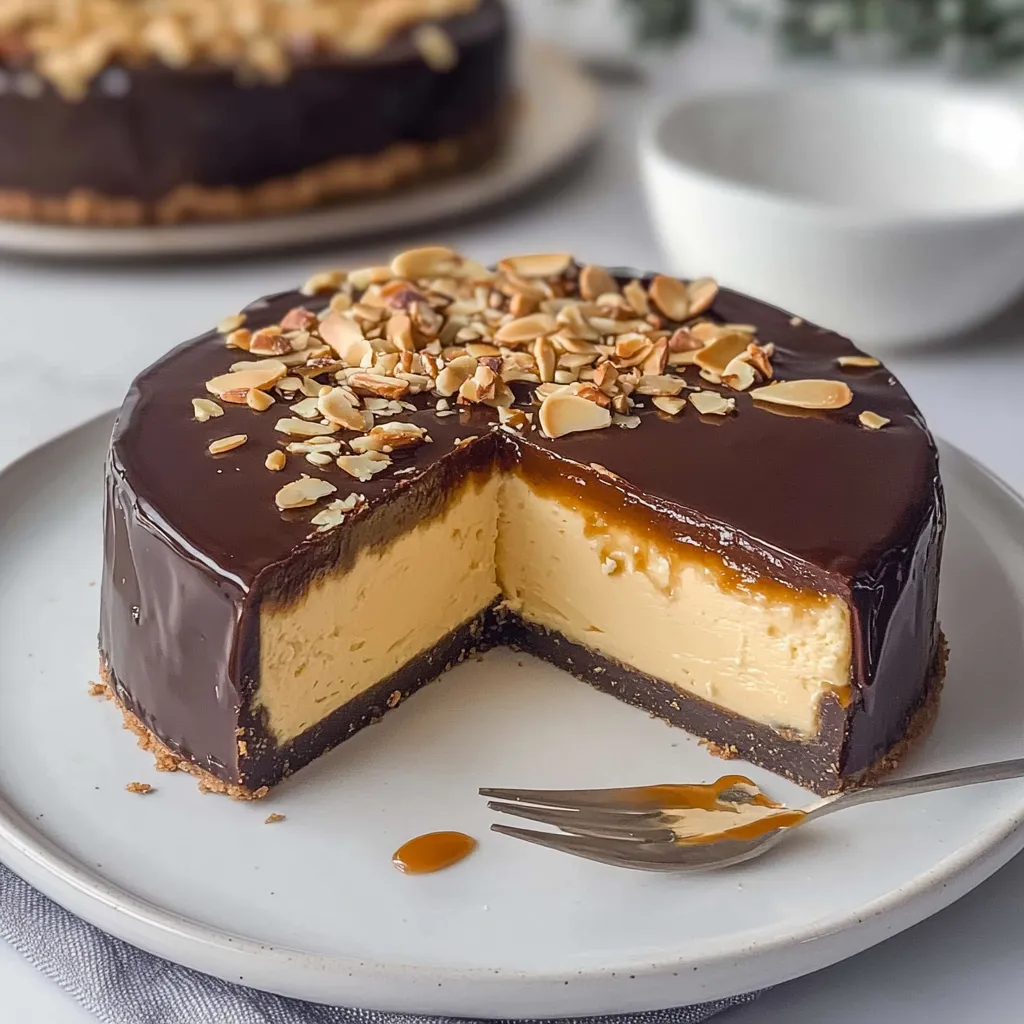
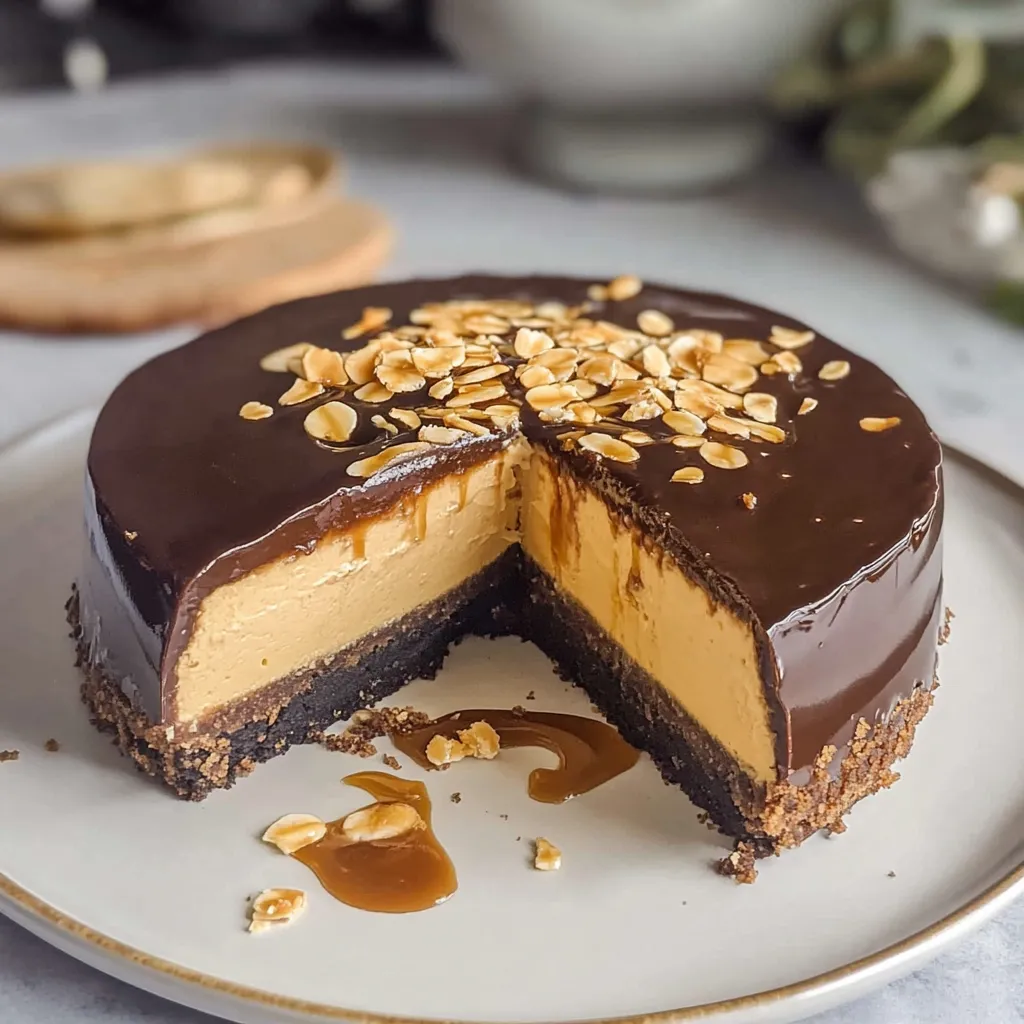
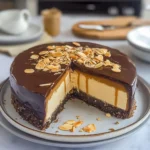
Irresistible No Bake Nanaimo Bar Cheesecake Recipe to Try

Growing up, my summers were blissfully filled with the sweet smell of treats wafting through the kitchen. There was one dessert that always conjured up a sense of nostalgia: Nanaimo bars. If you’ve ever had one, you know what I mean—those little layers of chocolate, vanilla custard, and a nutty crust are something special! Now, if you take that classic Canadian dessert and turn it into a cheesecake? Well, that’s pure magic! I am absolutely thrilled to share my No Bake Nanaimo Bar Cheesecake Recipe with you. It’s a delightful twist on a beloved treat, perfect for any gathering or just to satisfy that sweet tooth without turning on the oven!
Why You’ll Love This Recipe
- No baking required: Perfect for those hot summer days when you want dessert but don’t want to heat up your kitchen!
- Quick to assemble: This cheesecake comes together in a jiffy, so you can whip it up even on a busy weeknight.
- Rich and layered flavors: Each bite offers a delightful combination of chocolate, creaminess, and just the right amount of crunch.
- Impressive and dessert-table worthy: It looks gorgeous, making it a showstopper for any potluck or get-together.
- Easy to customize: Add your favorite toppings or flavors to make it uniquely yours!
Ingredients
Let’s gather our ingredients. You’ll be delighted to see how simple and straightforward they are for this No Bake Nanaimo Bar Cheesecake.
For the crust:
- 1 ½ cups graham cracker crumbs
- ½ cup unsweetened cocoa powder
- ½ cup unsweetened shredded coconut
- ½ cup finely chopped walnuts or almonds (optional for nut allergy concerns)
- ½ cup unsalted butter, melted
- 2 tablespoons brown sugar
For the custard layer:
- 1 cup heavy cream
- 8 oz cream cheese, softened
- ¾ cup powdered sugar
- 2 tablespoons vanilla pudding mix (instant)
- 2 teaspoons vanilla extract
For the chocolate topping:
- 1 cup semi-sweet chocolate chips
- ¼ cup heavy cream
Step-by-Step Instructions
Are you ready to dive in? This process is as enjoyable as the end result, I promise!
- Create the crust: In a large mixing bowl, combine the graham cracker crumbs, cocoa powder, shredded coconut, and chopped nuts. Pour in the melted butter and brown sugar, and mix until everything is nicely combined and sticks together when pressed.
- Press and chill: Firmly press the crust mixture into the bottom of a lined 9-inch springform pan. Make sure it’s even, so every slice has that delicious crunch. Pop this into the refrigerator to chill while you work on the next layer.
- Make the custard layer: In a mixing bowl, whip the heavy cream until soft peaks form. In another bowl, beat the softened cream cheese with powdered sugar, vanilla pudding mix, and vanilla extract until smooth and creamy.
- Fold it all together: Gently fold the whipped cream into the cream cheese mixture, being careful not to deflate the airiness. You want it light and fluffy!
- Spread the custard: Spoon the custard mixture onto the crust in the springform pan, smoothing it out with a spatula. Cover and return to the fridge to set for about 2 hours.
- Prepare the chocolate topping: In a small saucepan over low heat, combine the chocolate chips and heavy cream. Stir until smooth and fully melted, then let it cool slightly before pouring it over the cheesecake layer.
- Final touches: Once the chocolate layer is drizzled on top, spread it gently for an even coating. Return the cheesecake to the fridge for another hour to allow the chocolate to set.
Pro Tips & Variations
Want to make this recipe even more personal? Here are some playful twists and suggestions:
- Flavor it up: Add a pinch of espresso powder to the crust or custard layer for a coffee kick.
- Make it fruity: Top your cheesecake with fresh raspberries or blueberries for a tart contrast to the sweetness.
- Dairy-free option: Substitute coconut cream for the cream cheese and use dairy-free chocolate chips!
- Spice it up: A dash of cinnamon in the crust or custard can add a warm undertone that complements the chocolate beautifully.
Serving Suggestions
When it comes to serving this No Bake Nanaimo Bar Cheesecake, I like to go all out with the presentation! Serve it chilled, garnished with a sprinkle of toasted coconut and a few chocolate shavings on top. Pair it with a hot cup of coffee or a scoop of creamy vanilla ice cream for an extra treat. I can just picture gathering friends or family around after dinner, serving generous slices, and watching their eyes light up with delight as they take the first bite of that creamy, decadent goodness!
Storage Tips
This cheesecake keeps wonderfully, making it perfect for making ahead of time. Here’s how to store it without losing that delightful flavor:
- Refrigerate: Cover the cheesecake with plastic wrap or foil and store it in the refrigerator. It will stay fresh for about a week.
- Freeze: You can also freeze it for up to 2 months. Just make sure to wrap it well in plastic wrap and then in foil. Thaw it in the fridge the night before you plan to serve it.
- Reheat: Since it’s a no-bake cheesecake, you don’t need to reheat it. Enjoy it chilled for the best taste and texture!
FAQs
Can I use another type of nut for the crust?
Absolutely! If you prefer pecans, almonds, or even sunflower seeds, feel free to substitute. Just be sure to chop them finely to blend seamlessly into the crust.
What if I can’t find vanilla pudding mix?
No worries! You can omit it and use an extra bit of powdered sugar with a dash of vanilla extract, or use a bit of cornstarch to help thicken the custard. Just remember, the flavor may slightly differ!
How can I make this a faster recipe?
If you’re short on time, you can skip the chilling steps between layers. Just give the cheesecake enough time to set before slicing. It might be a bit softer, but still delicious!
Can I make this cheesecake ahead of time?
Definitely! In fact, it’s even better when made a day in advance, as the flavors deepen and blend beautifully over time. Just be sure to cover it well in the fridge.
Conclusion
There you have it, my dear friends—a No Bake Nanaimo Bar Cheesecake that’s sure to steal the show at any gathering. I hope you give this a try! It’s a lovely dessert that combines nostalgia, flavor, and a little bit of fun in the kitchen. I’d love to hear how you enjoyed it—feel free to leave a comment below or share your own twists. Happy baking (or should I say, assembling?), and enjoy every delightful bite!
Irresistible No Bake Nanaimo Bar Cheesecake Recipe to Try
- Total Time: 2 hours 30 minutes
- Yield: 12 servings 1x
Description
Delight in this easy no bake cheesecake recipe inspired by classic Nanaimo bars Perfect for any occasion its a musttry dessert 154 chars
Ingredients
Instructions
Notes
A delightful No Bake Nanaimo Bar Cheesecake that combines the classic flavors of Nanaimo bars into a creamy, layered dessert!
- Prep Time: 30 minutes
- Category: Dessert
- Cuisine: Canadian
Nutrition
- Serving Size: 12 servings
- Calories: 350
- Sugar: 15g
- Fat: 24g
- Carbohydrates: 30g
- Fiber: 2g
- Protein: 5g
Keywords: Nanaimo bar cheesecake, no bake cheesecake, Canadian dessert