
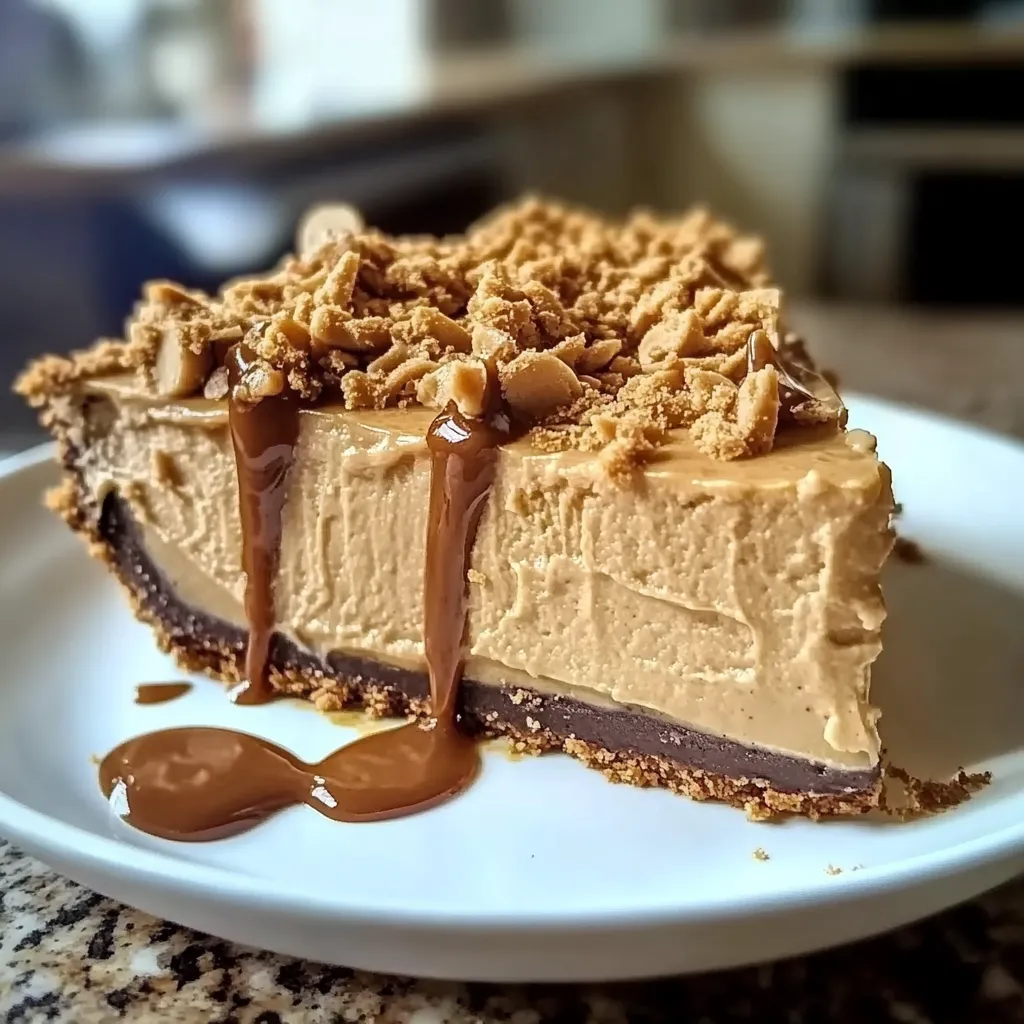
Irresistible OldFashioned Amish Peanut Butter Dream Pie Recipe
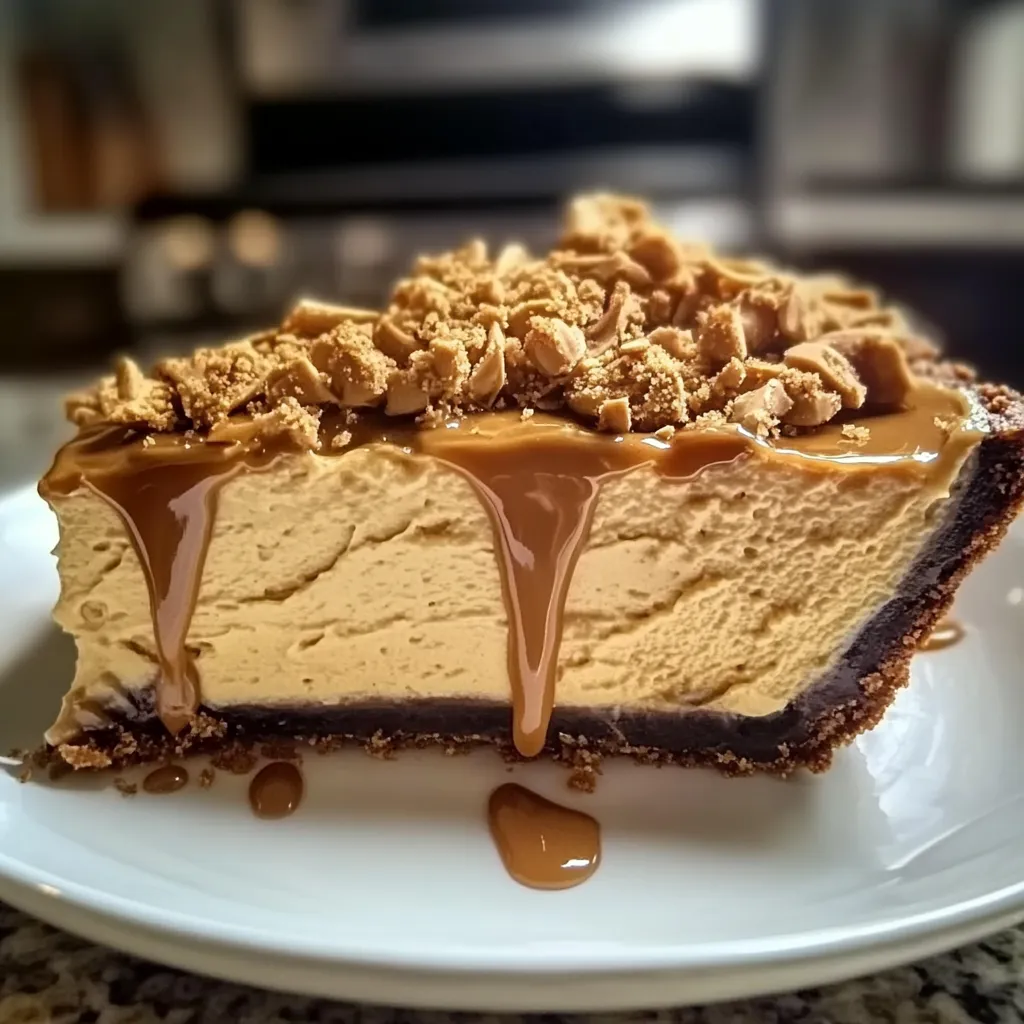
Ah, the comforting embrace of a homemade pie. Growing up, my grandmother would often whip up a special treat from her cherished collection of recipes—especially on those crisp autumn afternoons when the air began to smell like cinnamon and caramel. One of my all-time favorites? The Old Fashioned Amish Peanut Butter Dream Pie. There’s something magical about the silky, creamy peanut butter filling nestled into a golden, flaky crust and topped with fluffy whipped cream. Each bite is a reminder of home, love, and the joy that comes from sharing good food with those we cherish.
This pie is not just about variety; it’s about nostalgia, warmth, and the smiles it brings to faces around the table. Plus, it’s easy enough to whip up on a weeknight, making it the perfect companion for cozy gatherings or a casual family dessert. Trust me, once you try it, you’ll find yourself dreaming about this pie long after the last slice has been devoured!
Why You’ll Love This Recipe
- Simple and quick to make—perfect for busy weeknights!
- Budget-friendly ingredients that pack a flavorful punch.
- Rich and creamy texture that melts in your mouth.
- Can be customized with your favorite toppings!
Ingredients
Let’s gather our ingredients and get ready to create something wonderful!
- 1 pre-made 9-inch pie crust (homemade or store-bought)
- 1 cup creamy peanut butter (make sure it’s not too sugary!)
- 1 cup powdered sugar
- 1 cup heavy whipping cream (plus more for topping)
- 1 teaspoon vanilla extract
- 1/2 cup milk (any kind will do)
- Chocolate shavings or crushed peanuts (for garnish)
Note: Using freshly ground peanut butter brings out a richer flavor than the regular store brands. But if smooth and creamy is more your style, don’t hesitate to go that route!
Step-by-Step Instructions
Alright, friends, let’s dive into this luscious peanut butter dream!
- Prep the Crust: If using a homemade pie crust, roll it out and place it in a 9-inch pie plate. Crimp the edges beautifully, because we eat with our eyes first! If you’re using store-bought, just follow the package instructions.
- Bake the Crust: Preheat your oven to 350°F (175°C). Place the pie crust in the oven for about 10-12 minutes, or until golden brown. Let it cool completely before filling—this prevents that dreaded sogginess.
- Create the Filling: In a mixing bowl, beat together the creamy peanut butter and powdered sugar until well blended. It should look thick and fluffy.
- Whip the Cream: In another bowl, whip the heavy cream and vanilla extract until soft peaks form. It’s like giving the cream a love letter! Gently fold about one-third of this whipped cream into the peanut butter mixture to lighten it up.
- Mix It All Together: Now, gently fold the lightened peanut butter mixture back into the remaining whipped cream. Be careful not to overmix; we’re going for airy and delightful!
- Add Milk: Carefully pour in the milk and mix until combined. This will make the filling silky and dreamy!
- Fill the Crust: Spoon this heavenly mixture into your cooled pie crust, spreading it out evenly. Trust me, it’s hard to resist sneaking a spoonful at this stage.
- Chill: Pop the pie in the fridge for at least 4 hours, or ideally, overnight. This allows all those scrumptious flavors to mingle beautifully.
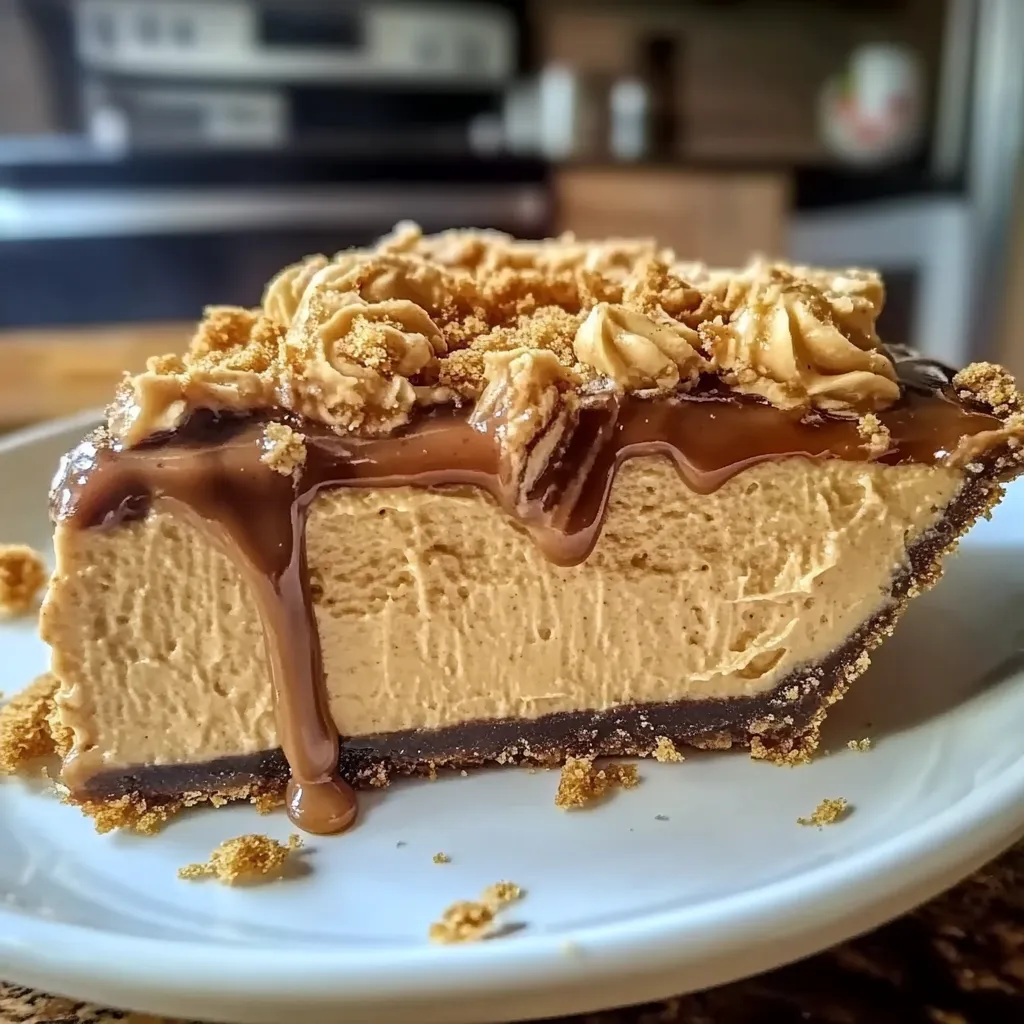
- Top It Off: Before serving, whip up extra heavy cream and dollop or pipe it over the top of the pie. Sprinkle chocolate shavings or crushed peanuts, if desired, for that extra touch of indulgence!
Tip: If you’re in a rush, you can freeze the pie instead of chilling it. Just make sure to cover it well after adding the topping!
Pro Tips & Variations
Let’s get creative! This pie is incredibly versatile, and you can switch things up based on your taste or what you have on hand.
- Fun Twists: Consider swirling in some chocolate ganache into the peanut butter filling for a rich chocolate-peanut butter combo!
- Nutty Options: Substitute half of the peanut butter for almond or cashew butter for a unique flavor. Just be sure to choose creamy versions!
- Spice It Up: A sprinkle of cinnamon or a dash of nutmeg can add warmth and depth to the flavors.
- Diet Swaps: For a lighter version, use Greek yogurt instead of heavy cream. This still yields a creamy filling but reduces some calories!
Feel free to get wild with toppings too! Some chopped bananas or sliced strawberries would make fabulous companions just before serving.
Serving Suggestions
When it comes time to serve, I can’t resist bringing out a beautiful pie server and perhaps a pot of hot coffee. This pie pairs wonderfully with a rich, bold cup of joe or even a scoop of vanilla ice cream to take it over the top!
Another great idea? Serve it alongside fresh fruit for a balance of flavors—the tartness of berries complements the creamy sweetness superbly.
Storage Tips
Got leftovers? You’ll want to savor every bite! Here’s how to store your pie:
- Refrigerate: Cover the pie tightly with plastic wrap or aluminum foil and keep it in the fridge for up to a week. Just know, it might not last that long—it’s too good!
- Freeze: You can also freeze individual slices. Wrap each slice in plastic wrap and then place them in a freezer-safe container. Thaw in the fridge for a few hours before enjoying!
- Reheat: If you prefer warm pie, gently microwave a slice for 10-15 seconds (not too long, or it will become gooey). Pair it with a fresh dollop of whipped cream afterward!
FAQs
Can I use natural peanut butter instead of regular peanut butter?
Yes, absolutely! Natural peanut butter adds a wonderful flavor, but keep in mind it might be a little less sweet. You can adjust the sugar accordingly to maintain the dreaminess!
Can I make this pie ahead of time?
Definitely! This pie actually gets better as it rests in the fridge. Making it a day ahead is ideal, as it gives the flavors time to meld and creates a lovely texture.
What can I use instead of heavy cream?
If you want a lighter option, try using coconut cream or Greek yogurt. Just remember that the flavor will change a bit, but it’ll still be delicious!
How can I make this pie gluten-free?
You can easily make this dish gluten-free by using a gluten-free pie crust. Make sure to check the ingredient list on store-bought crusts or whip up your own from gluten-free flour.
Conclusion
This Old Fashioned Amish Peanut Butter Dream Pie is the epitome of comforting desserts, blending simplicity with rich, tantalizing flavors. Whether it’s for a family gathering or just a bit of self-love, I hope you find as much joy in making and sharing this pie as I do. I’d love to hear how yours turns out! Share your thoughts in the comments, and let’s create more sweet memories together. Happy baking!
Print
Irresistible OldFashioned Amish Peanut Butter Dream Pie Recipe
- Total Time: 4 hours 32 minutes
- Yield: 8 servings 1x
Description
Savor the creamy delight of Amish Peanut Butter Dream Pie a classic dessert that promises to be the star of your next meal Enjoy this cherished recipe
Ingredients
Instructions
Notes
This Old Fashioned Amish Peanut Butter Dream Pie is a delightful mix of creamy peanut butter filling in a buttery crust, topped with whipped cream, perfect for family gatherings or cozy nights.
- Prep Time: 20 minutes
- Cook Time: 12 minutes
- Category: Dessert
- Cuisine: American
Nutrition
- Serving Size: 8 servings
- Calories: 300
- Sugar: 12 grams
- Fat: 20 grams
- Carbohydrates: 25 grams
- Fiber: 2 grams
- Protein: 6 grams
Keywords: peanut butter pie, Amish pie, dessert, easy pie recipe