
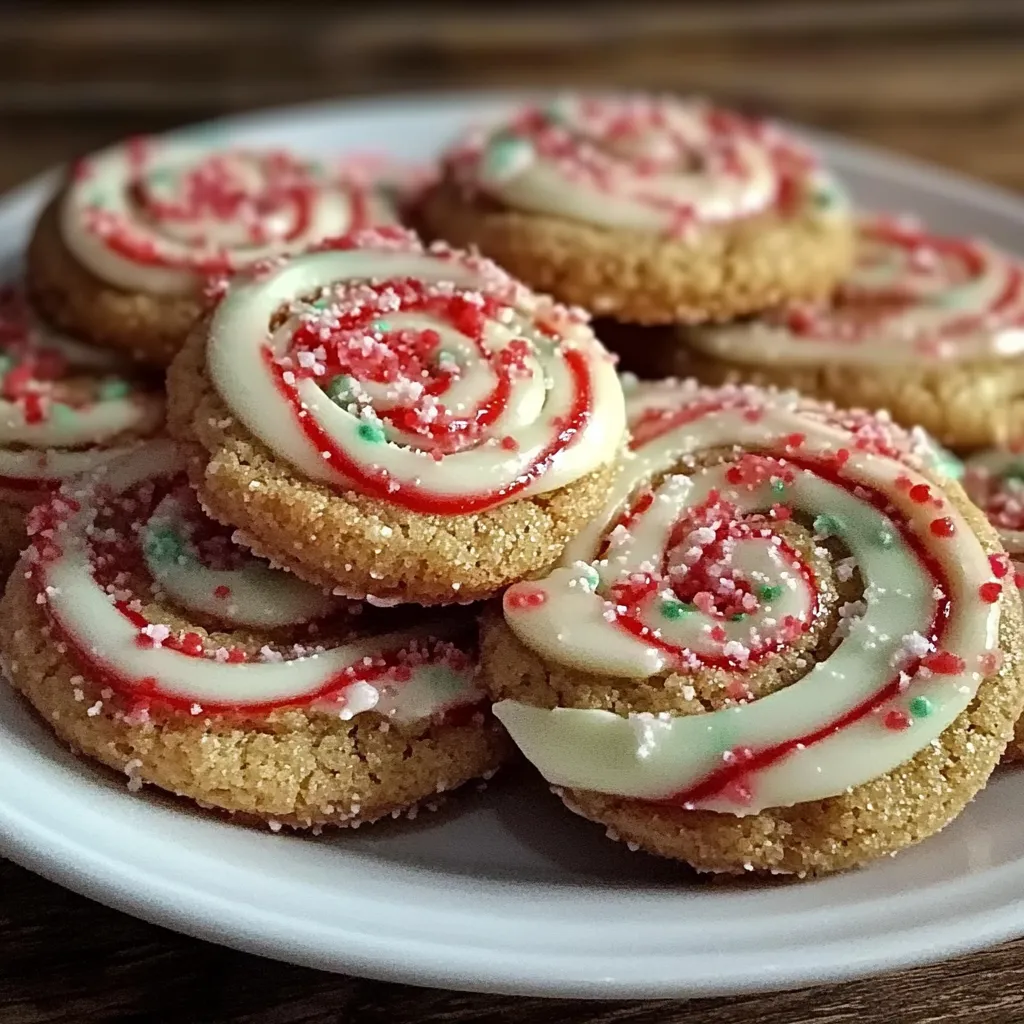
Irresistible Peppermint Swirl Cookies Recipe for the Holidays

Oh, December! There’s just something magical about this time of year, isn’t there? The air is filled with festive cheer, and every corner seems to whisper tales of holiday traditions. One of my favorite memories growing up was baking peppermint swirl cookies with my mother in our cozy kitchen, the warmth of the oven battling the cold outside. The sweet, minty aroma wafting through the house was like a warm hug, letting everyone know that something delightful was coming! Today, I’m excited to share my go-to recipe for Peppermint Swirl Cookies, the perfect treat to bring that nostalgic warmth back into your own home.
Why You’ll Love This Recipe
- Festive and Fun: Perfect for holiday celebrations or cozy evenings.
- Easy to Make: Simple steps make these delightful cookies approachable for any baker!
- Kid-Friendly: Great for baking with little helpers—watch their faces light up when they swirl the colors!
- Irresistibly Delicious: The combination of sweet dough and refreshing peppermint will make your taste buds dance.
Ingredients
Gather these ingredients to create your festive treats:
- 1 cup unsalted butter, softened (make sure it’s at room temperature for easy mixing!)
- 1 cup granulated sugar
- 1 cup brown sugar, packed
- 2 large eggs
- 2 teaspoons pure vanilla extract
- 3 cups all-purpose flour
- 1 teaspoon baking soda
- ½ teaspoon salt
- 1 teaspoon peppermint extract (this is where the magic happens!)
- Red gel food coloring (for swirls)
- Crushed peppermint candies (for topping, optional but totally recommended)
Step-by-Step Instructions
Get ready to create some cookie magic! Follow these easy steps:
- Preheat your oven: Set your oven to 350°F (175°C). This gives it time to get nice and hot while you prepare your dough.
- Mix the wet ingredients: In a large bowl, cream together the softened butter, granulated sugar, and brown sugar until light and fluffy. It’s okay to take a minute and enjoy the smell here—it’s heavenly! Add the eggs, one at a time, letting each mix in before adding the next, followed by the vanilla and peppermint extracts. This is when your kitchen will start to smell amazing!
- Combine dry ingredients: In another bowl, whisk together the flour, baking soda, and salt. Gradually add this to your wet mixture, beating on low speed until just combined. Be careful not to overmix—this can lead to tough cookies, and we definitely want them to be soft and chewy!
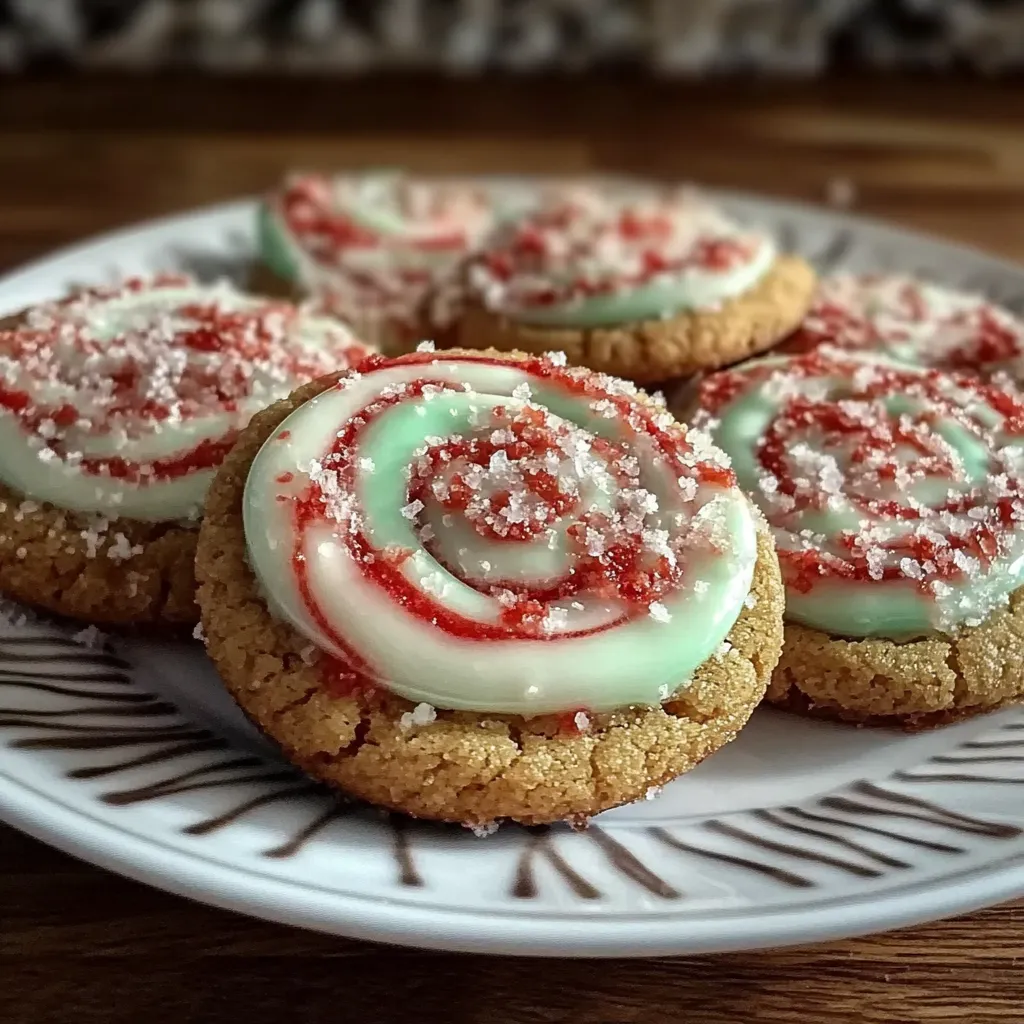
- Divide and color the dough: This is where the fun begins! Divide the dough into two equal portions. Leave one portion as is for the classic cookie color. In the other bowl, add red gel food coloring, a few drops at a time, until you reach a lovely swirl-worthy red. Mix just enough to incorporate the color!
- Form the swirls: Take a spoonful of each colored dough and stack them beside each other. Gently roll them up together to get a log shape, then twist it to create beautiful swirls. Don’t worry about perfection; each cookie will be uniquely beautiful!
- Chill the dough: Wrap your dough log in plastic wrap and chill in the fridge for about 30 minutes. This helps the cookies hold their shape while baking.
- Slice and bake: Remove the dough from the fridge and slice it into ¼-inch thick rounds. Place them on a baking sheet lined with parchment paper, about 2 inches apart to allow for spreading. Optional: sprinkle some crushed peppermint on top for that extra holiday touch!
- Bake: Pop them in the oven for about 10-12 minutes or until the edges are just golden. They might look a bit soft in the middle, but they will continue to firm up as they cool down. Enjoy the intoxicating scent filling your kitchen!
- Cool: Let the cookies cool on the baking sheet for about 5 minutes before transferring them to a wire rack to cool completely. Not that you’ll be able to resist stealing a few warm ones right off the sheet!
Pro Tips & Variations
Want to get even more creative with your peppermint swirl cookies? Here are some fun twists and pro tips:
- Add some chocolate: Mix in some mini chocolate chips or drizzle melted chocolate on top for a decadent touch. Chocolate and peppermint are like the perfect duo!
- Switch up the flavors: Instead of peppermint, try orange or almond extract for a different festive feel. Whatever your taste, have fun with it!
- Go gluten-free: You can substitute all-purpose flour with a gluten-free blend if you need a gluten-free option. Just make sure it has a good binding agent!
- Change the shape: Instead of traditional swirls, you can create peppermint swirl squares! Just press the dough into a square baking dish and swirl it out with a toothpick or skewer to create the marbled effect.
Serving Suggestions
Now that you have your gorgeous peppermint swirl cookies, how should you serve them? Here are a few cozy ideas:
- With a steaming cup of hot cocoa topped with whipped cream and a sprinkle of nutmeg—a match made in heaven!
- As part of a festive cookie platter alongside other holiday treats. They are sure to stand out and be a crowd-pleaser!
- Pack them up in cute boxes as gifts for family, friends, or coworkers. Personal touch + delicious cookies? So thoughtful!
Storage Tips
Want to enjoy your peppermint swirl cookies a little longer? Here is how to store them:
- Room temperature: Keep them in an airtight container at room temperature for up to 5 days. They’ll stay soft and chewy!
- Refrigerator: If you want to keep them fresh longer, you can place them in the fridge. Just be sure to let them come to room temperature before serving.
- Freezing: To freeze, layer your cookies between sheets of parchment paper in a freezer-safe container or bag. They’ll keep well for up to 3 months. Just thaw at room temperature when you’re ready to enjoy them again!
FAQs
Can I use candy canes instead of peppermint extract?
Absolutely! Crushed candy canes can add a lovely texture and an extra pop of candy cane flavor. Just make sure to crush them finely so they mix well into the dough.
How do I prevent my cookies from spreading too much?
The key is to chill your dough before baking. It helps maintain their shape. If they still spread too much, you might check if your butter was too softened or consider adding a little more flour next time!
What can I do if I don’t have gel food coloring?
No worries! Liquid food coloring works too, but you may need a bit more. Just be cautious not to add too much liquid—your dough should remain firm!
Can I add nuts or other toppings?
Absolutely! Chopped nuts like walnuts or pecans can add a delightful crunch. Just fold them lightly into the dough before slicing!
How should I store leftover dough?
Leftover dough can be wrapped tightly and stored in the fridge for up to a week. If you want to keep it longer, you can freeze it for up to three months. Just let it thaw in the fridge overnight before baking!
Conclusion
And there you have it, my friend! A festive recipe for Peppermint Swirl Cookies that fills your home with joy and your stomach with deliciousness. Baking these cookies is not just about the end result, but the memories made along the way—from the swirling colors to the warm cookies fresh out of the oven. I’d love to hear how your baking adventure goes! Leave a comment below to share your experience or any special twists you tried. Happy baking, and may your holidays be as sweet as these cookies!
Print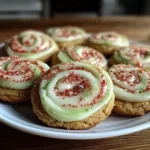
Irresistible Peppermint Swirl Cookies Recipe for the Holidays
- Total Time: 42 minutes
- Yield: 24 cookies 1x
Description
Bake festive peppermint cookies with a delightful swirl Perfect for the holidays enjoy these tasty treats that will impress everyone 154 chars
Ingredients
Instructions
Notes
The perfect treat for holiday celebrations that combines sweet dough with refreshing peppermint in a delightful swirl.
- Prep Time: 30 minutes
- Cook Time: 12 minutes
- Category: Dessert
- Cuisine: American
Nutrition
- Serving Size: 24 cookies
- Calories: 120
- Sugar: 9g
- Fat: 6g
- Carbohydrates: 17g
- Fiber: 0.5g
- Protein: 1.5g
Keywords: peppermint, cookies, holiday baking, dessert recipes