
Indulge in Irresistible Red Velvet Thumbprint Cookies Today
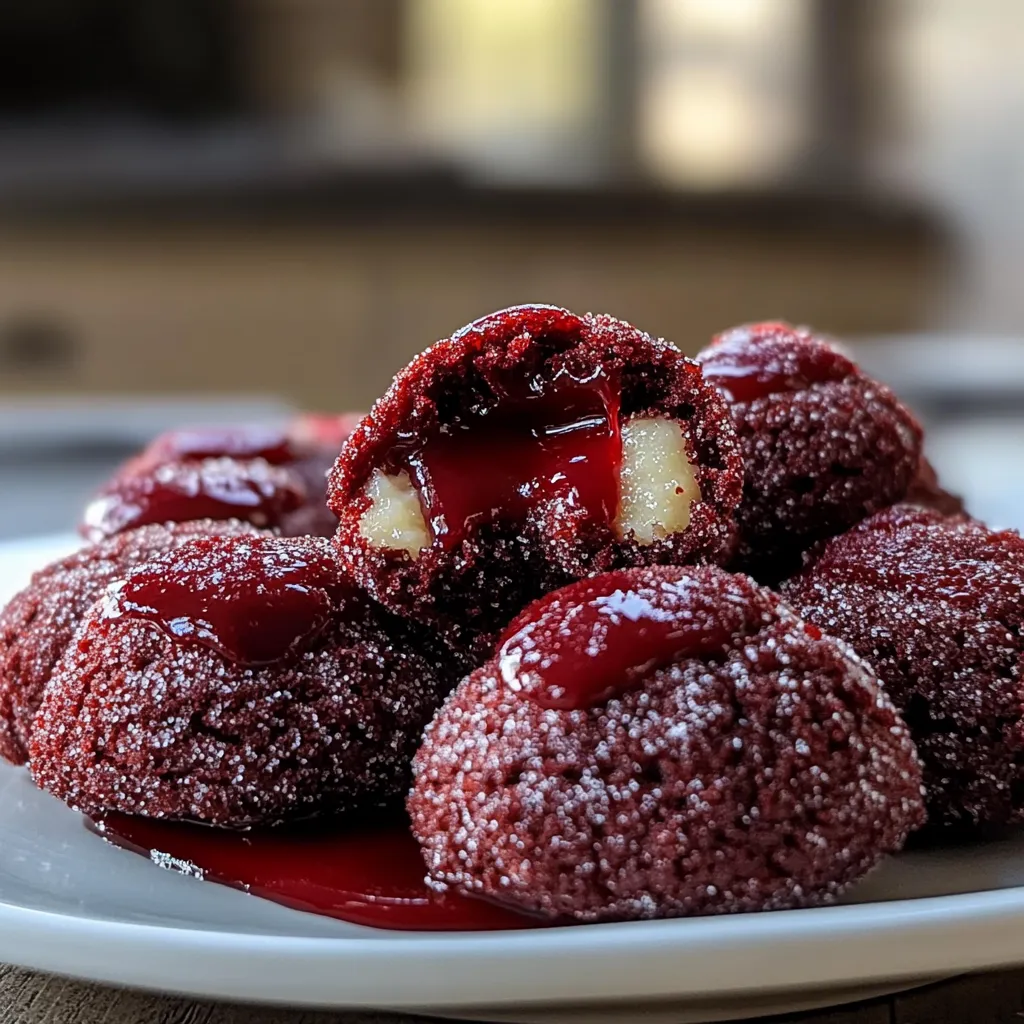
Ah, red velvet thumbprint cookies—just the name evokes a cozy, festive vibe! I remember the first time I baked these delightful treats. It was a chilly December afternoon, and the scent of cocoa and vanilla wafted through my kitchen, instantly warming my heart. My kids, with their wide, eager eyes, danced around, excited for the sweetness that was about to come. It didn’t take long for those cookies to go from the oven to our mouths. They were rich, soft, and had that classic red velvet flavor, punctuated by the delightful dab of jam right in the middle. Every bite was like a warm hug, and I knew I had created something special. So, whether you’re gearing up for a holiday celebration or just want to sweeten up an ordinary day, let’s dive into the world of Red Velvet Thumbprint Cookies!
Why You’ll Love This Recipe
- They’re irresistibly soft and chewy, with a rich chocolate flavor!
- Perfect for sharing—make friends and family swoon.
- These beauties are simple enough for anyone to bake, even if you’re a newbie in the kitchen.
- Versatile for any occasion: Christmas, birthdays, or just a cozy night in.
- Just the right touch of color to brighten up your dessert table.
Ingredients
Ready to whip up a batch of these charming cookies? Here’s what you’ll need:
- 2 ½ cups all-purpose flour (sifted for a light texture)
- 1 tablespoon unsweetened cocoa powder (because chocolate makes everything better!)
- 1 teaspoon baking soda
- ½ teaspoon salt
- 1 cup unsalted butter (softened to room temperature)
- 1 cup granulated sugar
- ½ cup brown sugar (for a hint of molasses flavor)
- 2 large eggs
- 2 tablespoons red food coloring (Don’t be shy—this is where the magic happens!)
- 1 teaspoon vanilla extract (the more, the merrier)
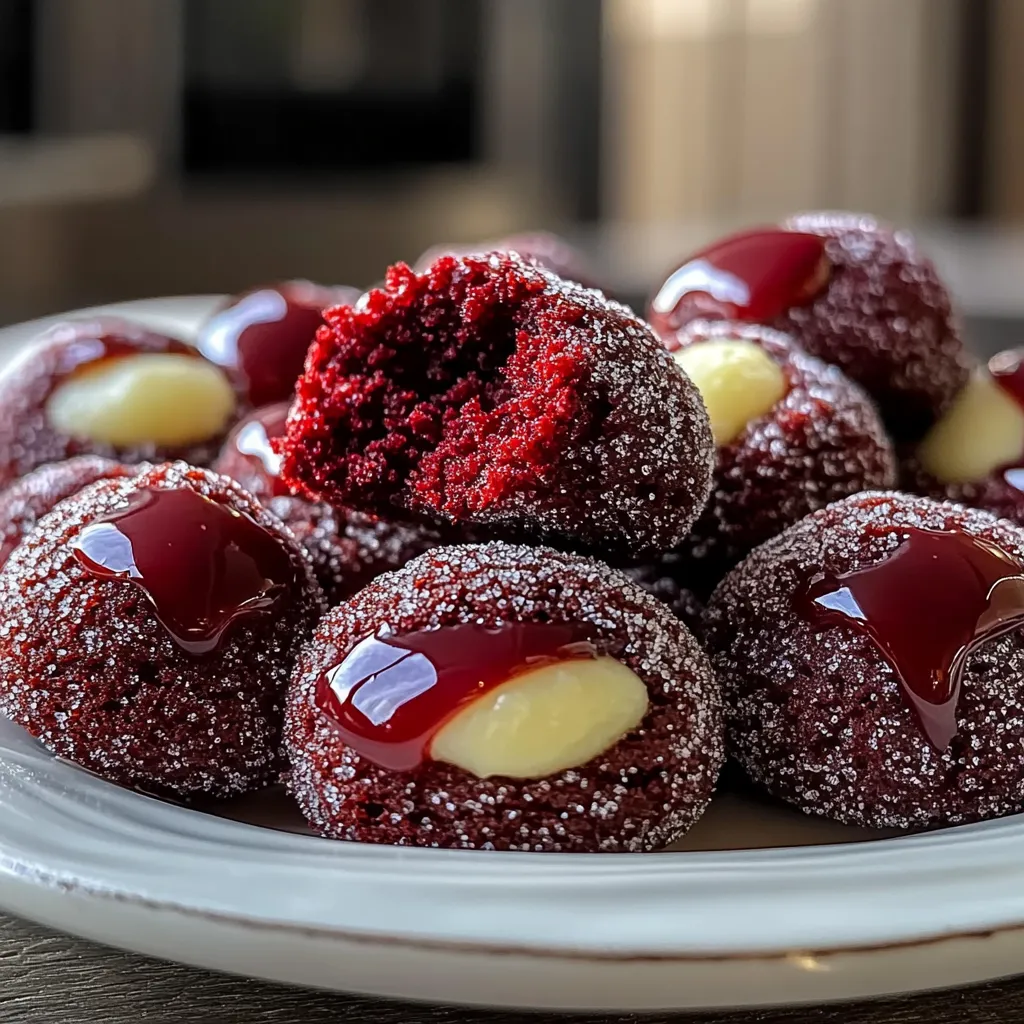
- ½ cup raspberry jam (or your favorite jam for that delightful thumbprint)
Note: Using fresh butter is key; it gives your cookies that perfect melt-in-your-mouth goodness!
Step-by-Step Instructions
Let’s turn on the oven and get baking! Here’s how to do it step-by-step:
- Preheat your oven to 350°F (175°C). It’s time to get things warm and cozy in your kitchen!
- In a bowl, whisk together the flour, cocoa powder, baking soda, and salt. Set that aside for now.
- In a separate big bowl (or stand mixer if you have one), cream together the butter, granulated sugar, and brown sugar until it’s light and fluffy. This will take about 3-5 minutes. Don’t rush this part; it’s where the magic starts!
- Add the eggs, red food coloring, and vanilla extract to the butter mixture. Mix until combined, scraping down the sides of the bowl as needed.
- Gradually add the dry flour mixture to the wet ingredients. Mix on low speed just until combined. Watch out! You don’t want to overmix; it’ll make your cookies dense rather than light and fluffy.
- Using your hands or a small cookie scoop, roll the dough into balls about 1-inch in diameter and place them on a parchment-lined baking sheet, about 2 inches apart.
- Now, here’s the fun part! Make a dent in the center of each ball with your thumb (or the back of a teaspoon). This is where that glorious raspberry jam will go!
- Fill each dent with about ½ teaspoon of jam. Don’t be afraid to be generous—it’ll cook down and create a lovely filling!
- Bake for 10-12 minutes, or until the edges are set but the centers are still soft. Watch them closely; they can go from perfect to overbaked in no time!
- Let them cool on the baking sheet for 5 minutes before transferring them to a wire rack to cool completely. Try not to eat them all while they’re cooling!
Pro Tips & Variations
Want to kick your Red Velvet Thumbprint Cookies up a notch? Here are some playful ideas:
- Spice it up: Add a teaspoon of cinnamon for a warm, festive twist.
- Chocolate surprise: Try filling the thumbprint with Nutella or chocolate ganache instead of jam for a decadent treat!
- Swap the jam: Experiment with different jams—fig, apricot, or even a tart lemon curd can be fabulous!
- Gluten-free version: Use a gluten-free flour blend to make these cookies suitable for different diets.
- Frosted finish: Drizzle them with a simple cream cheese frosting for extra indulgence.
Have fun with it! These cookies are incredibly versatile, and there’s really no wrong way to make them.
Serving Suggestions
Imagine serving these beauties on a cozy dessert platter at your next gathering. I love to pair them with a warm mug of cocoa or a tall glass of cold milk. Picture this: family and friends gathered around the table, laughter filling the air, all indulging in these scrumptious cookies. You could even dust them with a sprinkle of powdered sugar for an extra fancy touch!
If you’re feeling even more creative, why not serve them alongside a scoop of vanilla ice cream? The warm cookie with cool ice cream is a match made in heaven! Be prepared for delightful dessert moments that will leave smiles all around.
Storage Tips
These cookies are best enjoyed fresh, but if you have any leftovers (which is rare, trust me!), here’s how to store them:
- Room temperature: Keep them in an airtight container for up to 3 days. They’ll stay soft and chewy—just make sure you don’t expose them to humidity!
- Refrigeration: If you want to keep them a bit longer, you can refrigerate the cookies in an airtight container for up to a week. Just beware that the jam filling may become a little firmer when chilled.
- Freezing: Freeze the baked cookies in a single layer, then transfer them to a freezer-safe container or bag. They can last up to 3 months. To enjoy them, simply let them thaw at room temperature or warm them up in the oven briefly.
FAQs
Can I use other colors for these cookies?
Absolutely! While red is the classic choice for the festive feel, you can play around with other colors—think green for St. Patrick’s Day or even blue for a summer celebration! Just remember, different colors might have slightly different flavorings depending on the food coloring used.
What kind of jam works best?
Honestly, your taste buds are the limit! Raspberry jam is a traditional choice, but anything from strawberry, apricot, to blueberry works beautifully. The key is to pick a jam that complements the rich chocolate flavor of the cookie.
Why are my cookies flattening out?
Ah, the age-old issue of flattening cookies! This can happen if the dough is too warm when you place it in the oven or if you over-mixed the dough. Just make sure your butter is softened but not melting, and chill the dough for about 20-30 minutes before baking for added structure!
Can I make the dough ahead of time?
Absolutely! You can prepare the dough in advance and refrigerate it for up to 24 hours. Just let it sit at room temperature for a few minutes before rolling it into balls and baking. You’ll be just minutes away from delightful cookies whenever you want!
Can I use an egg substitute?
Yes, for a vegan-friendly version, substitute each egg with ¼ cup of unsweetened applesauce or 1 tablespoon of flaxseed meal mixed with 2.5 tablespoons of water (let it sit for about 5 minutes to thicken up before using!). It will change the texture slightly, but still delicious!
Conclusion
And there you have it—delicious, delightful Red Velvet Thumbprint Cookies ready to dazzle your taste buds! I hope you enjoy making—and sharing—these little parcels of joy as much as I do. Remember, baking is all about love and creativity, so feel free to make them your own. If you try this recipe, I’d love to hear how they turned out. Drop a comment below, share your tips, or tell me what you filled your thumbprints with! Happy baking!
Print
Indulge in Irresistible Red Velvet Thumbprint Cookies Today
- Total Time: 32 minutes
- Yield: 24 cookies 1x
Description
Savor tasty Red Velvet Thumbprint Cookies a delightful treat combining rich flavor soft texture Perfect for any occasiontry them now
Ingredients
Instructions
Notes
Delightful soft and chewy red velvet thumbprint cookies filled with your favorite jam.
- Prep Time: 20 minutes
- Cook Time: 12 minutes
- Category: Dessert
- Cuisine: American
Nutrition
- Serving Size: 24 cookies
- Calories: 120 calories
- Sugar: 8g
- Fat: 6g
- Carbohydrates: 16g
- Fiber: 0g
- Protein: 1g
Keywords: Red Velvet, Cookies, Thumbprint, Dessert, Holiday Baking