
Delightful Santa Belt Xmas Macarons Festive Treats Youll Love
The air is crisp, twinkling lights are strung around every corner, and the delightful scent of gingerbread fills the air. There’s something so magical about the holiday season, and it always brings back fond memories of baking with my grandma. I remember standing on a stool by her side, my tiny hands dusted with flour as we crafted a feast fit for Santa himself. One of my favorite creations was always the macarons—elegant, delicate, and bursting with festive flavors. That nostalgia is why I’m thrilled to share my version of Santa Belt Christmas Macarons. These sweet treats not only look adorable but also taste divine, making them the perfect holiday treat to share (or keep all to yourself!).
Why You’ll Love This Recipe
- Delightfully festive: Perfect for holiday parties, gift-giving, or just a cozy day at home.
- Fluffy and flavorful: Light textures with a burst of peppermint flavor that will have you dreaming of candy canes.
- Creative and fun: Decorating them like Santa’s belt is a joy in itself—let your imagination run wild!
- Simple ingredients: You won’t need to hunt for anything too fancy in your pantry.
Ingredients
Here’s what you’ll need to whip up these merry macarons:
- For the Macarons:
- 1 cup almond flour (make sure it’s finely ground for that signature smooth texture)
- 1¾ cups powdered sugar
- 3 large egg whites (room temperature, for that perfect fluffiness)
- ¼ cup granulated sugar
- ½ teaspoon cream of tartar (helps stabilize those egg whites!)
- Red gel food coloring (a little goes a long way!)
- For the Filling:
- 1 cup unsalted butter (softened, yum!)
- 4 cups powdered sugar (trust me on this one)
- 2 teaspoons peppermint extract (for that holiday cheer)
- 1-2 tablespoons heavy cream (to achieve that perfect consistency)
- For Decoration:
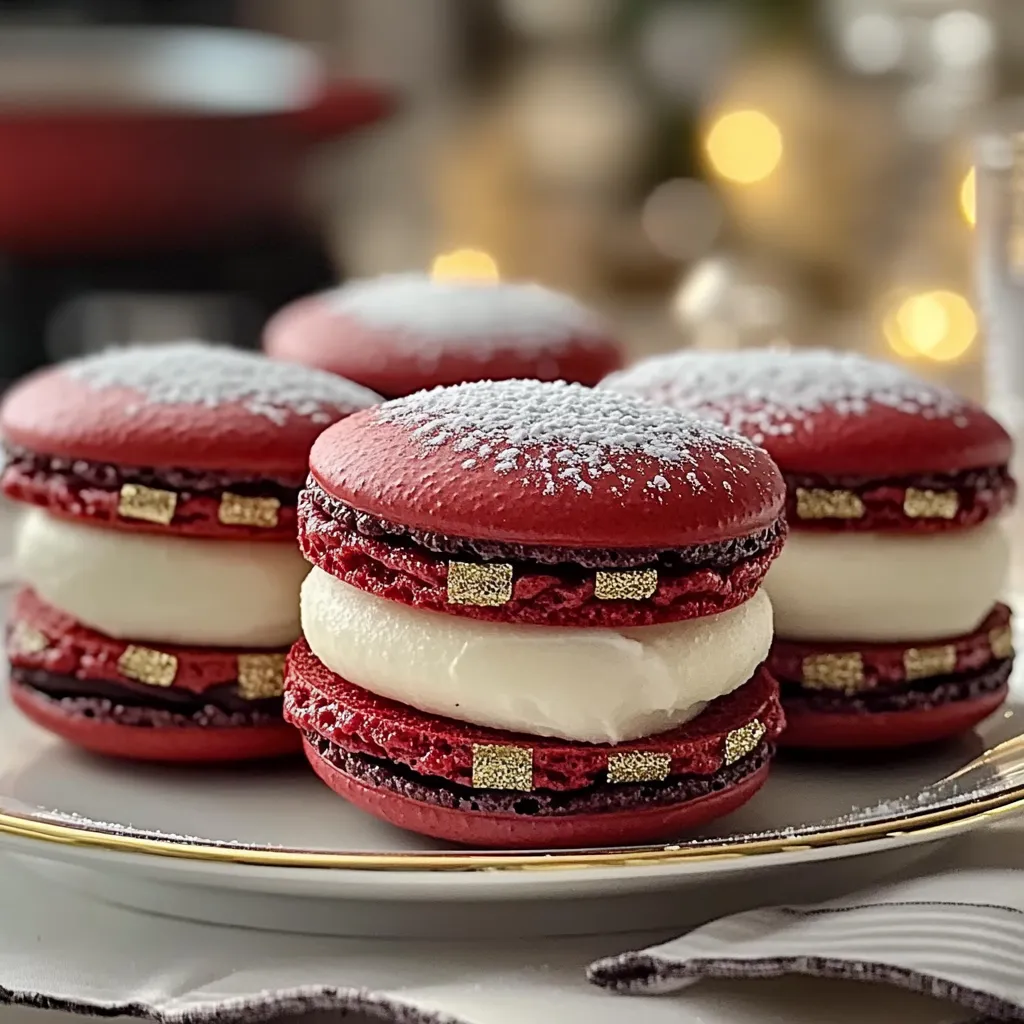
- Black fondant (for Santa’s belt, you can find this at cake stores or online)
- Gold edible luster dust (to give that shiny belt buckle effect!)
Step-by-Step Instructions
Okay, let’s get our hands a little dusty, shall we? Follow these steps, and I’ll guide you through it all!
- Prep Your Oven: Preheat your oven to 300°F (150°C) and line two baking sheets with parchment paper. This part is essential—don’t skip it!
- Combine Your Dry Ingredients: In a bowl, whisk together the almond flour and powdered sugar until they’re light and fluffy. This helps get rid of any lumps!
- Whip the Egg Whites: In a stand mixer or using a hand mixer, beat the egg whites on medium speed until foamy. Add the cream of tartar and gradually add the granulated sugar. Increase to high speed and beat until you have stiff peaks. You want that beautiful, glossy meringue—think clouds!
- Add Color: Once your meringue is ready, gently add a few drops of red gel food coloring. Fold it in carefully using a spatula, being mindful not to overmix. We want just the right shade of Santa red!
- Combine Mixtures: Gently fold the almond flour mixture into the meringue, about one-third at a time. This is where you’ll want to watch the texture—stop folding when the batter flows like lava. Too much folding will ruin that delicate texture!
- Pipe the Macarons: Transfer the batter to a piping bag fitted with a round tip. Pipe small circles onto your prepared baking sheets, leaving a little space in between (they will spread!). Tap the baking sheets gently on the counter to release any air bubbles.
- Rest the Macarons: Allow the piped macarons to sit at room temperature for 30-60 minutes until a skin forms on the surface. This is a crucial step for that beautiful “foot” on each macaron!
- Bake Them Up: Bake in the preheated oven for 15-18 minutes, or until the macarons don’t stick to the parchment. You can tell they’re ready when they don’t rock back and forth when nudged.
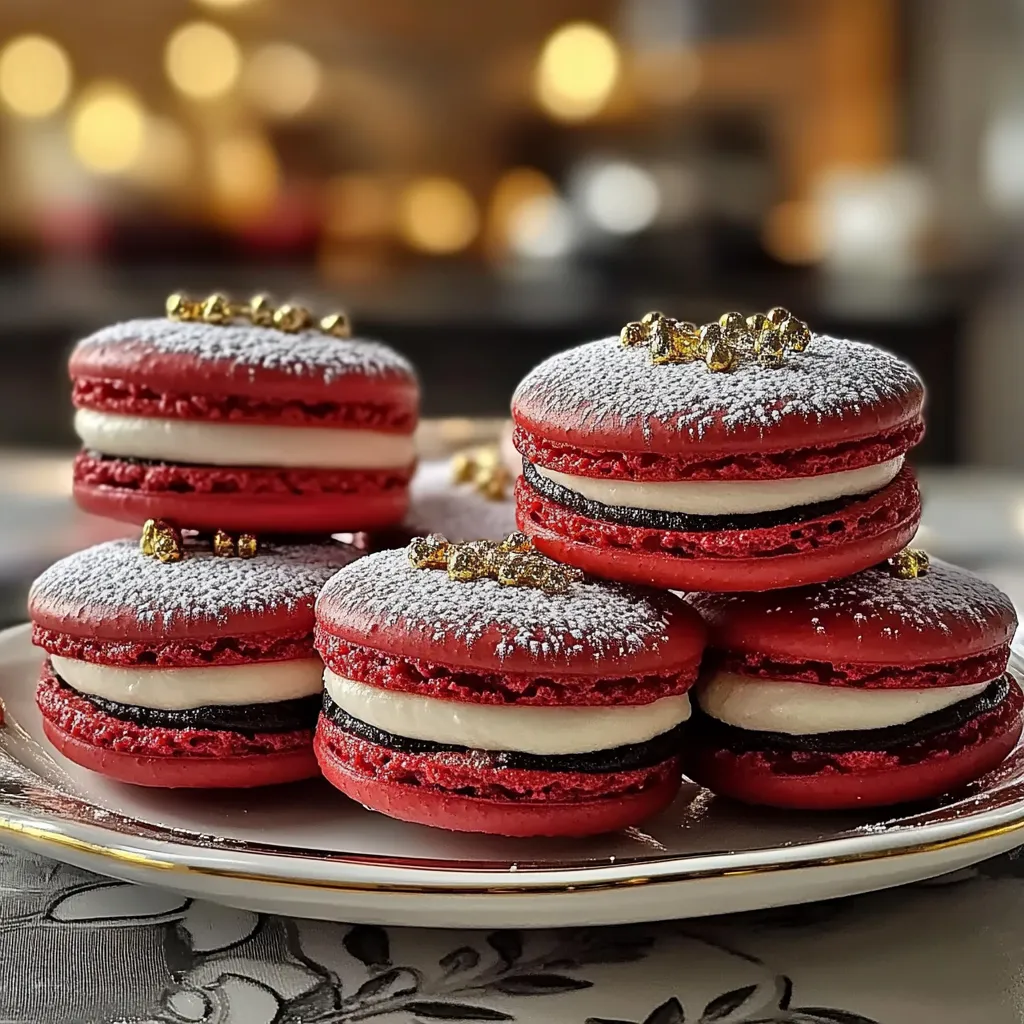
- Cool and Fill: Allow the macarons to cool completely on the sheets. While they cool, make the filling: in a mixing bowl, beat together the softened butter, powdered sugar, and peppermint extract until creamy. Add the heavy cream gradually until you reach your desired consistency.
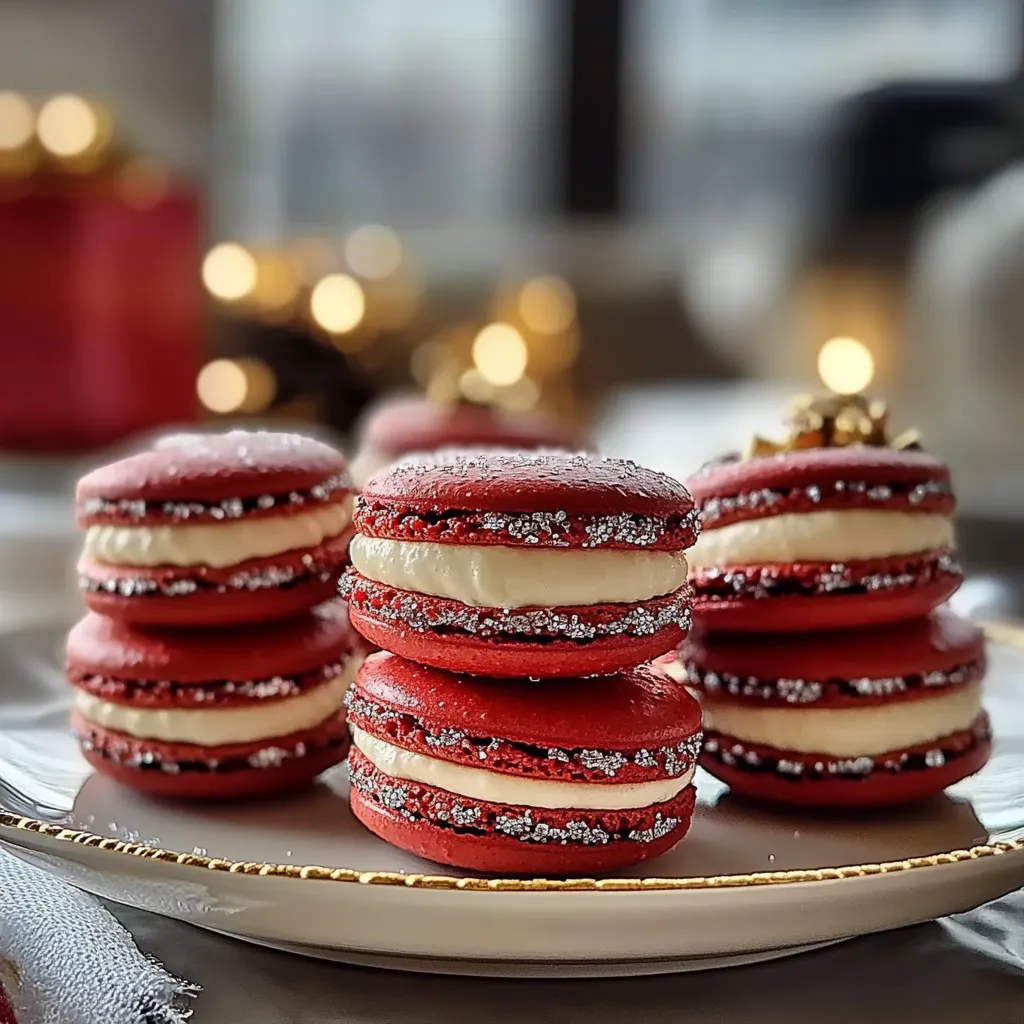
- Assemble: Pair your macarons, pipe a dollop of filling onto the flat side of one macaron, and gently sandwich it with another. Don’t squeeze too hard—you want them to hold their shape!
- Create Santa’s Belt: Roll out your black fondant and cut small strips for the belt. Use a cookie cutter (or a knife) to cut a round piece for the buckle. Dust it with some edible gold luster to make it shine, and place it on the macaron. How cute is that?
Pro Tips & Variations
Want to mix things up? Here are some fun twists!
- Add some crushed candy canes to the filling for a delightful crunch.
- Try using different colors for the macarons—green for a festive touch, or even a marbled effect!
- If you’re feeling adventurous, swap out the peppermint for other flavors! Vanilla or chocolate buttercream filling could be scrumptious too.
Serving Suggestions
These little delights are perfect for holiday gatherings! Serve them on a pretty plate next to spiced chai or hot cocoa—as you sip, you’ll be wrapped in warmth just like a cozy blanket. They also make fabulous gifts when nestled in clear bags with a festive ribbon. Who wouldn’t want a taste of this cheer?
Storage Tips
These macarons can be a bit finicky, but if stored properly, they’ll last wonderfully. Here’s how:
- Refrigerate: Store them in an airtight container in the fridge for up to a week. Let them sit at room temperature for about 30 minutes before serving for optimal texture.
- Freeze: You can also freeze unfilled macarons for up to a month. Just be sure to layer them with parchment paper in between to avoid sticking when you take them out later.
- Reheat: There’s no need to reheat macarons. Just let them thaw in the fridge or at room temperature to enjoy their delightful crispy-soft texture.
FAQs
Can I make the macarons ahead of time?
Absolutely! You can prepare the shells a few days in advance and store them in the refrigerator. Just make sure they’re in an airtight container. The filling can also be made ahead of time; just keep it in a separate container until you’re ready to assemble.
What’s the best way to achieve the perfect macaron foot?
Making sure your batter has the right consistency is key! The resting time is vital, so don’t skip that step. Also, be gentle when folding your dry ingredients into the meringue.
What if my macarons turn out hollow inside?
If your macarons are hollow, it could be due to overmixing or underbaking. Make sure you’re handling the batter gently and check that they’re fully baked before taking them out of the oven!
Can I turn this into a festive dessert for a party?
Definitely! These macarons are not just delicious but also visually impressive. Arrange them on a tiered stand, and you’ll have a stunning centerpiece for your holiday dessert table!
Conclusion
There you have it—my Santa Belt Christmas Macarons recipe, filled with love and holiday magic! I hope you gather your loved ones in the kitchen and create delightful memories as you bake these little beauties. If you try making them (and I hope you do!), I’d love to hear how your macarons turn out. Feel free to drop a comment below or share your own creative ideas! Happy baking and Merry Christmas!

Delightful Santa Belt Xmas Macarons Festive Treats Youll Love
Description
Indulge in Santa Belt Xmas Macarons the perfect festive treats for your holiday celebrations Sweeten your festivities with these delightful bites