
Ultimate Red Velvet Oreo Cheesecake Recipe You Must Try
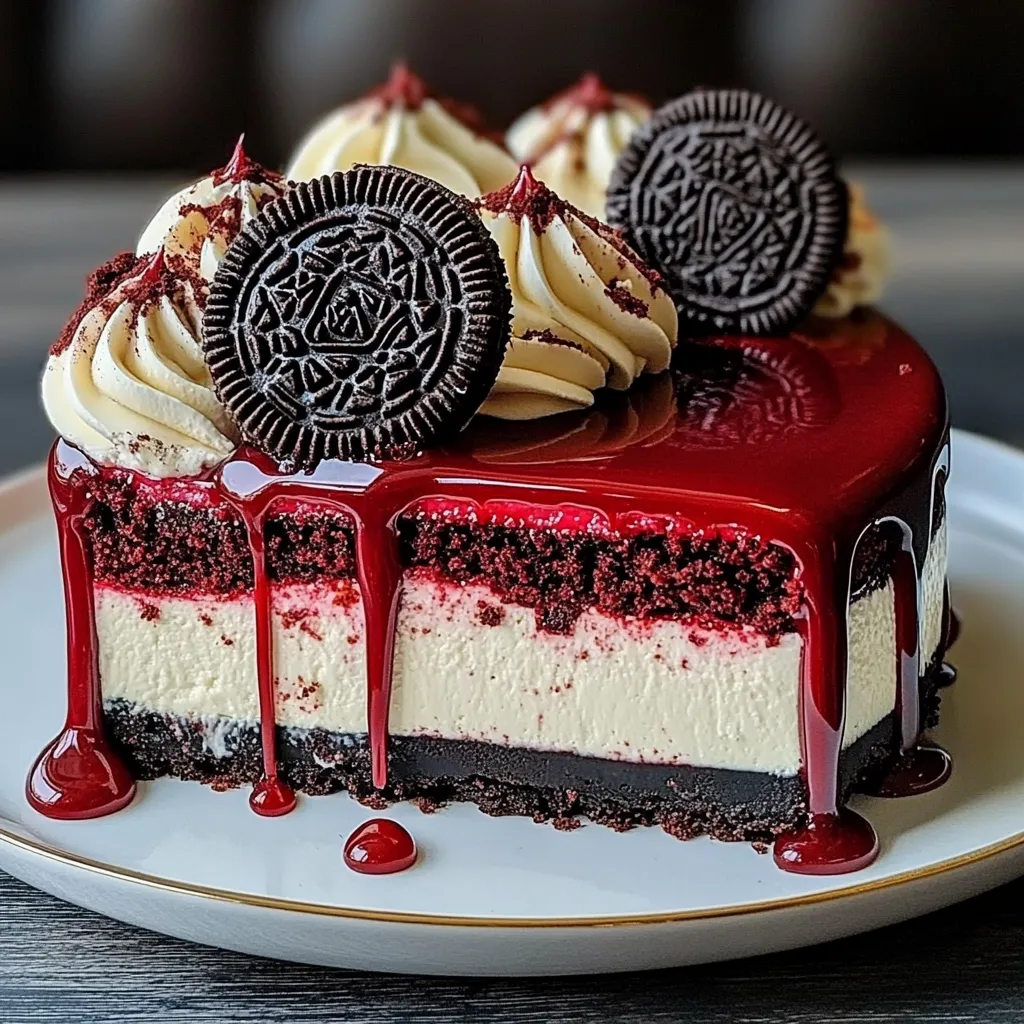
Oh, the joy that a good dessert brings! I remember the first time I laid eyes on a red velvet cake—it was at a friend’s birthday party, and I was immediately enchanted by its deep red hue and velvety texture. Fast forward a few years, and I’ve discovered the magic of combining that beloved flavor with the richness of cheesecake and the delightful crunch of Oreo cookies. That’s right, folks—you’re in for a treat today with my The Best Red Velvet Oreo Cheesecake Recipe.
Whether it’s a family gathering, a holiday celebration, or just a cozy night in, this cheesecake is sure to impress. With its creamy, luscious filling and a taste that dances between chocolate and hint of vanilla, every bite feels like a warm hug. Grab your apron, and let’s dive into this fabulous recipe together!
Why You’ll Love This Recipe
- Decadent Delight: The creamy cheesecake paired with the fun crunch of Oreos is a match made in dessert heaven.
- Showstopper: It looks stunning and tastes even better—perfect for impressing your guests.
- Easy to Make: With a few simple steps, you’ll wow everyone without spending all day in the kitchen.
- Versatile: Perfect for any occasion—birthdays, holidays, or just because you feel like indulging!
Ingredients
Here’s what you’ll need to create this masterpiece:
- For the crust:
- 24 Oreo cookies, crushed into fine crumbs
- 5 tablespoons unsalted butter, melted
- For the cheesecake filling:
- 2 (8 oz) packages cream cheese, softened
- 1 cup granulated sugar
- 1 cup sour cream
- 3 large eggs
- 1 teaspoon vanilla extract
- 2 tablespoons cocoa powder
- 1 tablespoon red food coloring (or more to achieve desired color)
- For the topping:
- 1 cup whipped cream
- Oreos, for decorating
- Fresh raspberries or strawberries (optional)
Pro tip: Make sure your cream cheese is at room temperature—it makes blending a breeze and gives you that silky-smooth texture.
Step-by-Step Instructions
- Preheat your oven: Set it to 325°F (160°C) so it’s nice and hot by the time we’re ready to bake.
- Make the crust: In a mixing bowl, combine the crushed Oreos with the melted butter. Mix until it resembles wet sand. Press this mixture firmly into the bottom of a 9-inch springform pan. Pop it in the oven for about 10 minutes to set. Smell that deliciousness already?
- Prepare the cheesecake filling: In a large bowl, beat the cream cheese with an electric mixer until it’s fluffy and smooth. Scrape down the sides of the bowl to ensure everything’s mixed well.
- Add in the sugar: Gradually mix in the granulated sugar until well combined, then add the sour cream, eggs, vanilla extract, cocoa powder, and red food coloring. Mix on low speed until everything is just combined. Watch out! Don’t overmix, or your cheesecake could crack in the oven.
- Fold in crushed Oreos: Gently fold in about 1/3 of the crushed Oreos into the cheesecake batter, saving the rest for your topping. This adds little surprise bites of crunchy goodness!
- Pour the filling: Carefully pour the cheesecake filling over the crust, smoothing the top with a spatula. Tap the pan on the counter to remove any air bubbles.
- Bake: Bake for 50-60 minutes, or until the edges are set but the center still has a slight jiggle. Don’t worry if it jiggles; it will firm up as it cools.
- Cool it down: Once done, turn off the oven and crack the door, letting the cheesecake cool slowly for about an hour. This helps prevent cracking!
- Chill: After it’s cooled to room temperature, cover and refrigerate for at least 4 hours or overnight if you have the patience.
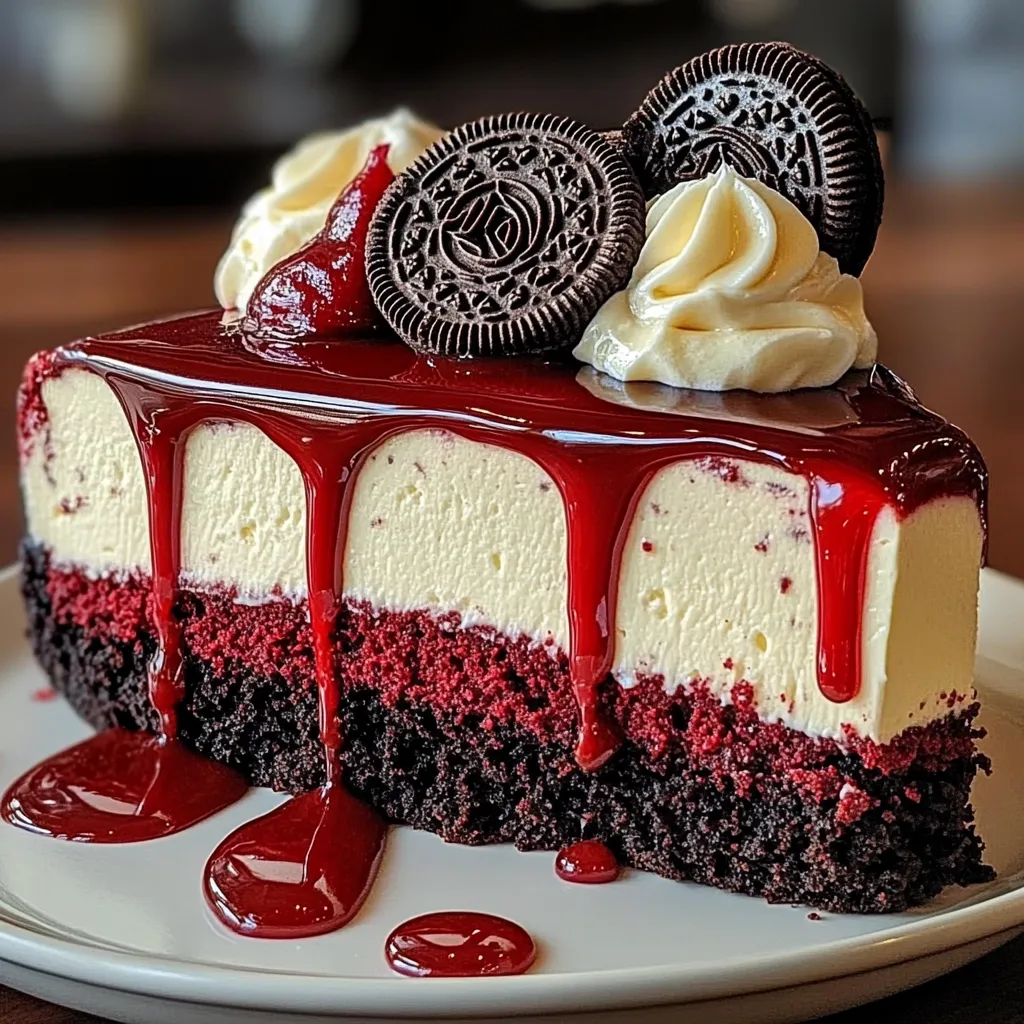
- Decorate: Before serving, top the cheesecake with the whipped cream, sprinkle the remaining Oreo crumbs on top, and feel free to add some fresh berries for a pop of color!
And voila! There you have it—the Most Delicious Red Velvet Oreo Cheesecake that’s bound to be the star of your dessert table.
Pro Tips & Variations
This recipe is incredibly versatile, so feel free to get creative!
- Red Velvet Lovers: For an extra punch of flavor, consider adding a teaspoon of cinnamon or a splash of almond extract to the filling.
- Chocolate Lover: Swap out the regular Oreos for mint or peanut butter Oreos for a fun twist.
- Less Sweet Version: Use Greek yogurt in place of sour cream for a tangy bite and a little less sweetness.
- Mini Cheesecakes: You can also use muffin tins to create mini cheesecakes for easy, portion-controlled servings! Just adjust the baking time accordingly.
Remember, baking is all about having fun, so don’t be afraid to put your own spin on this recipe!
Serving Suggestions
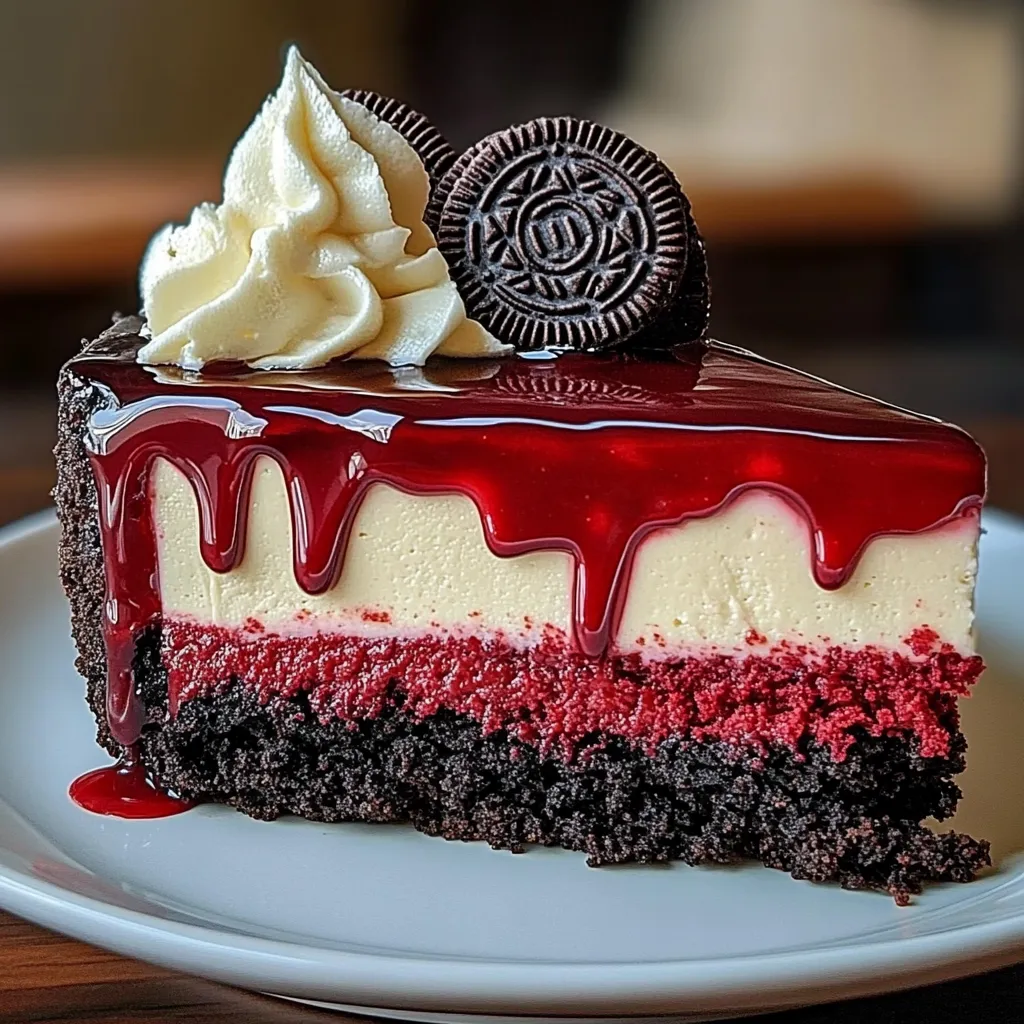
Picture this: it’s a lovely evening, and you’ve just cut a slice of your show-stopping cheesecake. It’s rich and creamy, the perfect balance of flavors that pairs wonderfully with a cup of strong coffee or hot chocolate. If you want to make it an even sweeter experience, serve with a side of fresh berries or a drizzle of chocolate sauce. The colors play beautifully together, and every bite will feel indulgent, yet comforting.
This cheesecake is perfect for family gatherings, potlucks, or even just a cozy night in. Just slice, serve, and bask in the compliments that come your way!
Storage Tips
Got leftovers? No problem! This cheesecake stores beautifully. Here’s how to keep it fresh:
- Refrigerate: Cover with plastic wrap or a cheesecake dome and store in the fridge for up to a week. Trust me, it won’t last that long, but you can hope!
- Freeze: If you want to save it for later, wrap individual slices in plastic wrap and place them in an airtight container. It will keep in the freezer for up to three months.
- Reheat: Thaw in the refrigerator overnight, and if you want to bring back that fresh-from-the-oven warmth, pop a slice in the microwave for about 10-15 seconds before serving. Just be careful not to overheat it!
FAQs
Can I use a different type of cookie for the crust?
Absolutely! You can switch it up with graham crackers, chocolate cookies, or even gluten-free options. Just make sure they’re crushed fine enough to hold together when mixed with butter.
How do I prevent cracks in my cheesecake?
To prevent cracks, make sure not to overmix the batter, bake at a lower temperature, and let it cool gradually in the oven with the door ajar. High temperatures and rapid cooling can cause cracking, so take it easy! Patience is key.
Can I make this cheesecake ahead of time?
You bet! This cheesecake actually tastes even better after it’s been chilled overnight in the fridge. It’s perfect for making in advance for special occasions.
What if I don’t have red food coloring?
No red food coloring? No worries! You can leave it out entirely, but the cheesecake won’t have that classic red hue. You could also try beet juice as a natural alternative; just make sure to adjust the sweetness accordingly.
Conclusion
And there you have it, my friend! You’ve just created a stunning Red Velvet Oreo Cheesecake that will have everyone asking for seconds. I can’t wait for you to give it a try—make sure to let me know how yours turns out! Whether you’re celebrating a special occasion or just treating yourself, this cheesecake is a must-make dessert. Feel free to drop a comment below to share your experience, ask questions, or even suggest your own variations. Happy baking!
Ultimate Red Velvet Oreo Cheesecake Recipe You Must Try
- Total Time: 4 hours 20 minutes
- Yield: 8 servings 1x
Description
Discover a delicious red velvet oreo cheesecake recipe thats easy to make and perfect for any occasion Indulge in this creamy dessert treat today
Ingredients
Instructions
- Prep Time: 20 minutes
- hours: 4
- Cook Time: 1 hour
- Category: Dessert
- Cuisine: American
Nutrition
- Calories: 350 calories
- Sugar: 20 grams
- Fat: 22 grams
- Saturated Fat: 22 grams
- Carbohydrates: 34 grams
- Fiber: 1 gram
- Protein: 6 grams
Keywords: Red Velvet, Oreo, Cheesecake, Dessert, Recipe